Convert to Gherkin
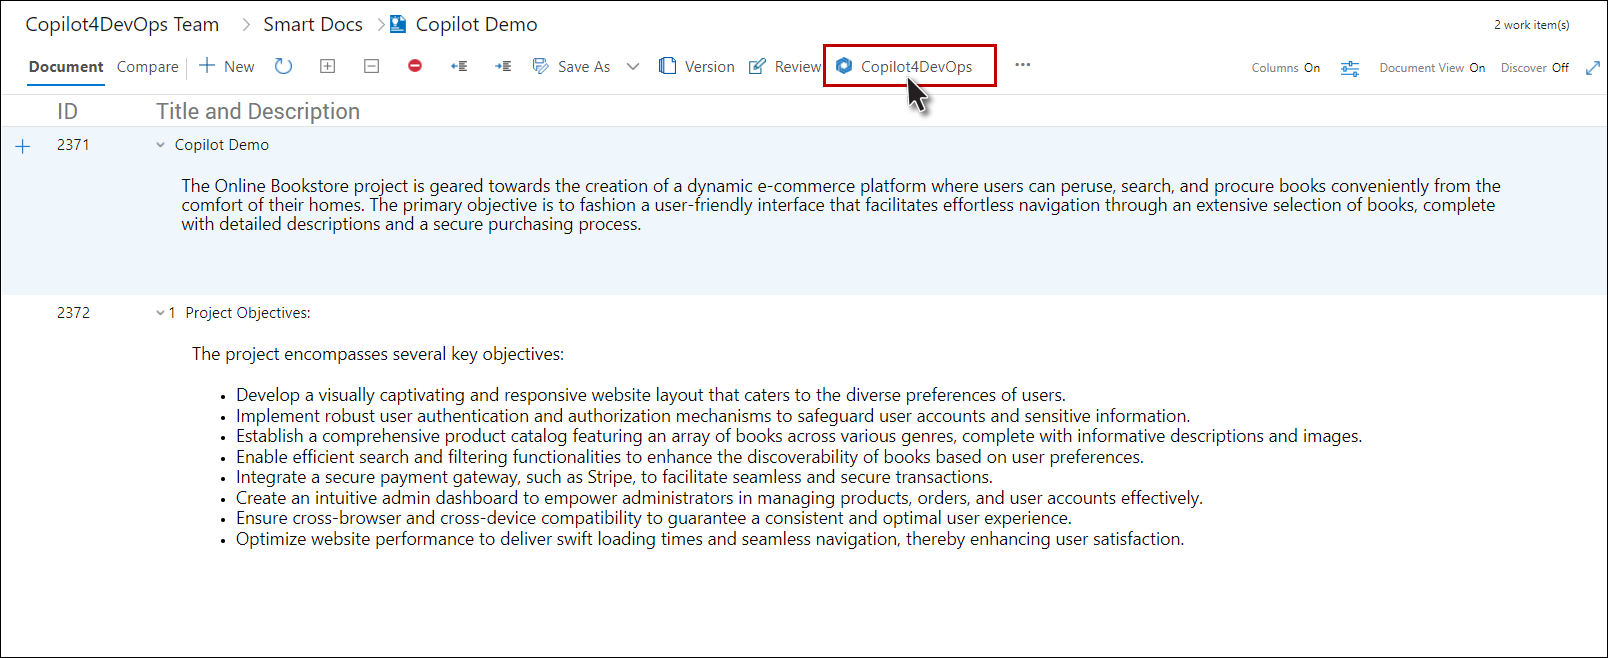
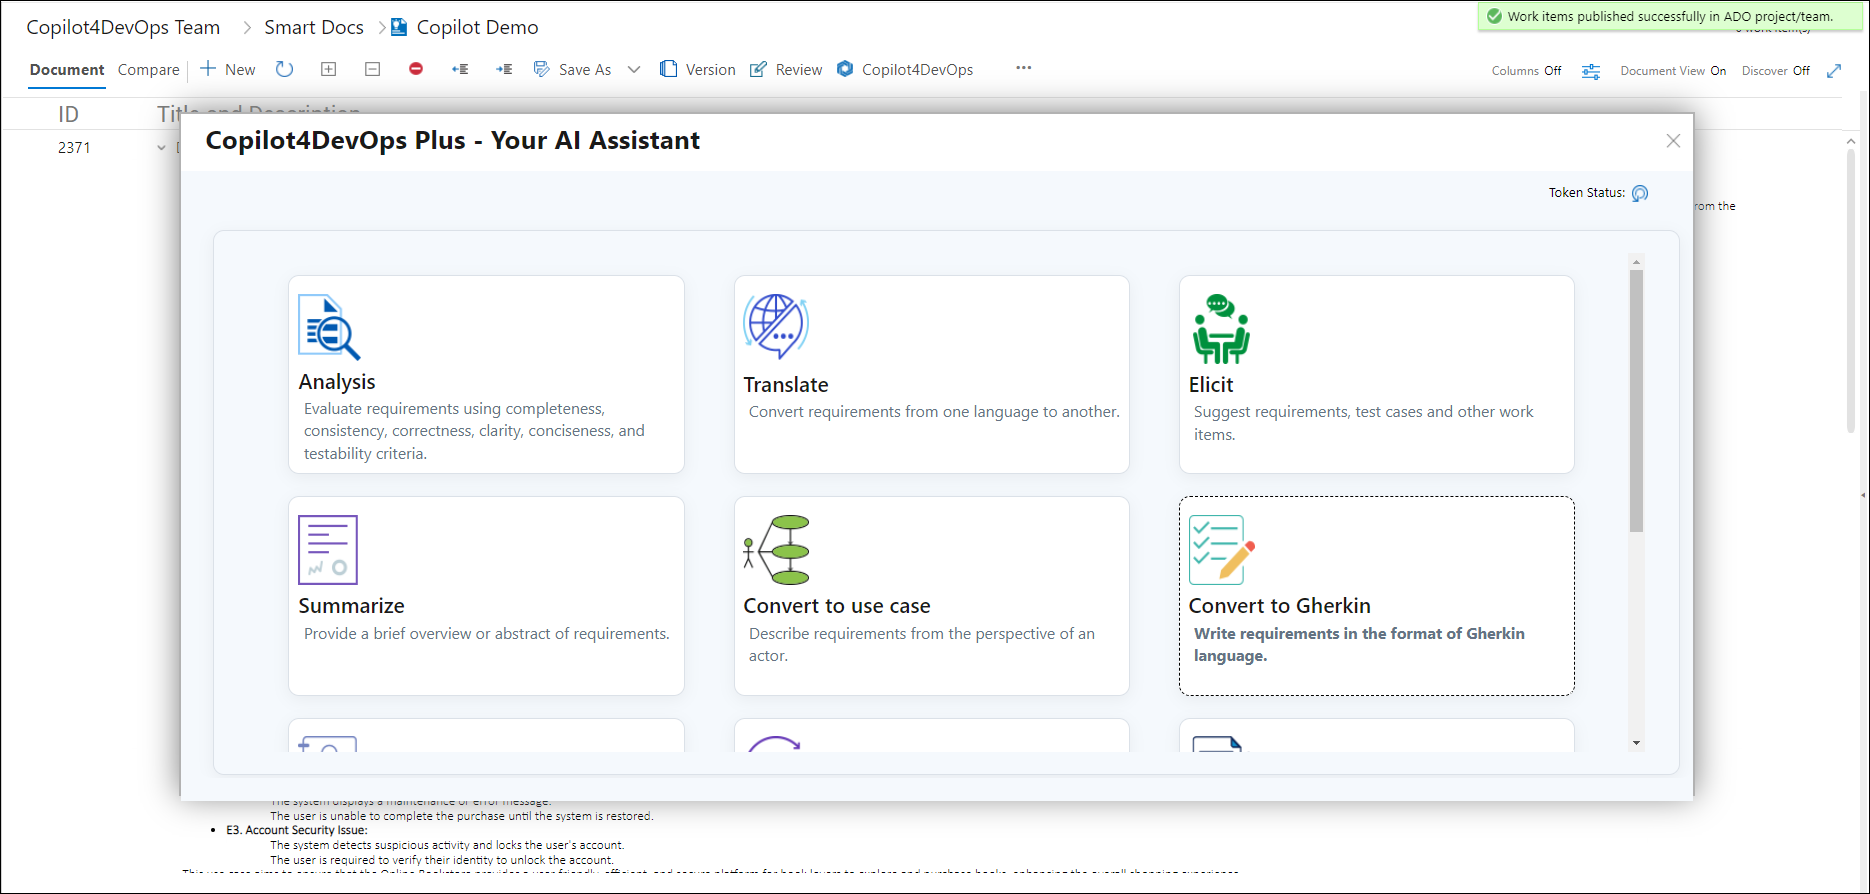
1. Click on the  Copilot4DevOps option from the toolbar.
2. The Copilot4DevOps pop-up appears.
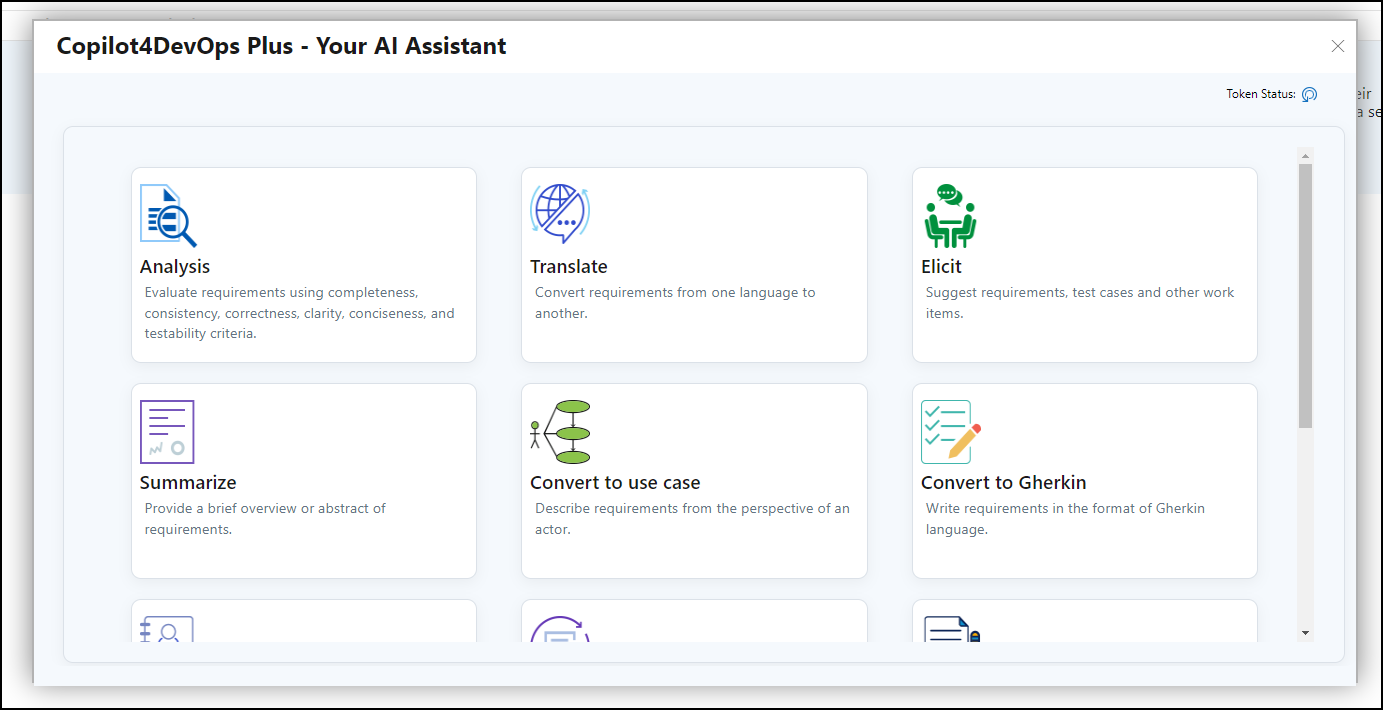
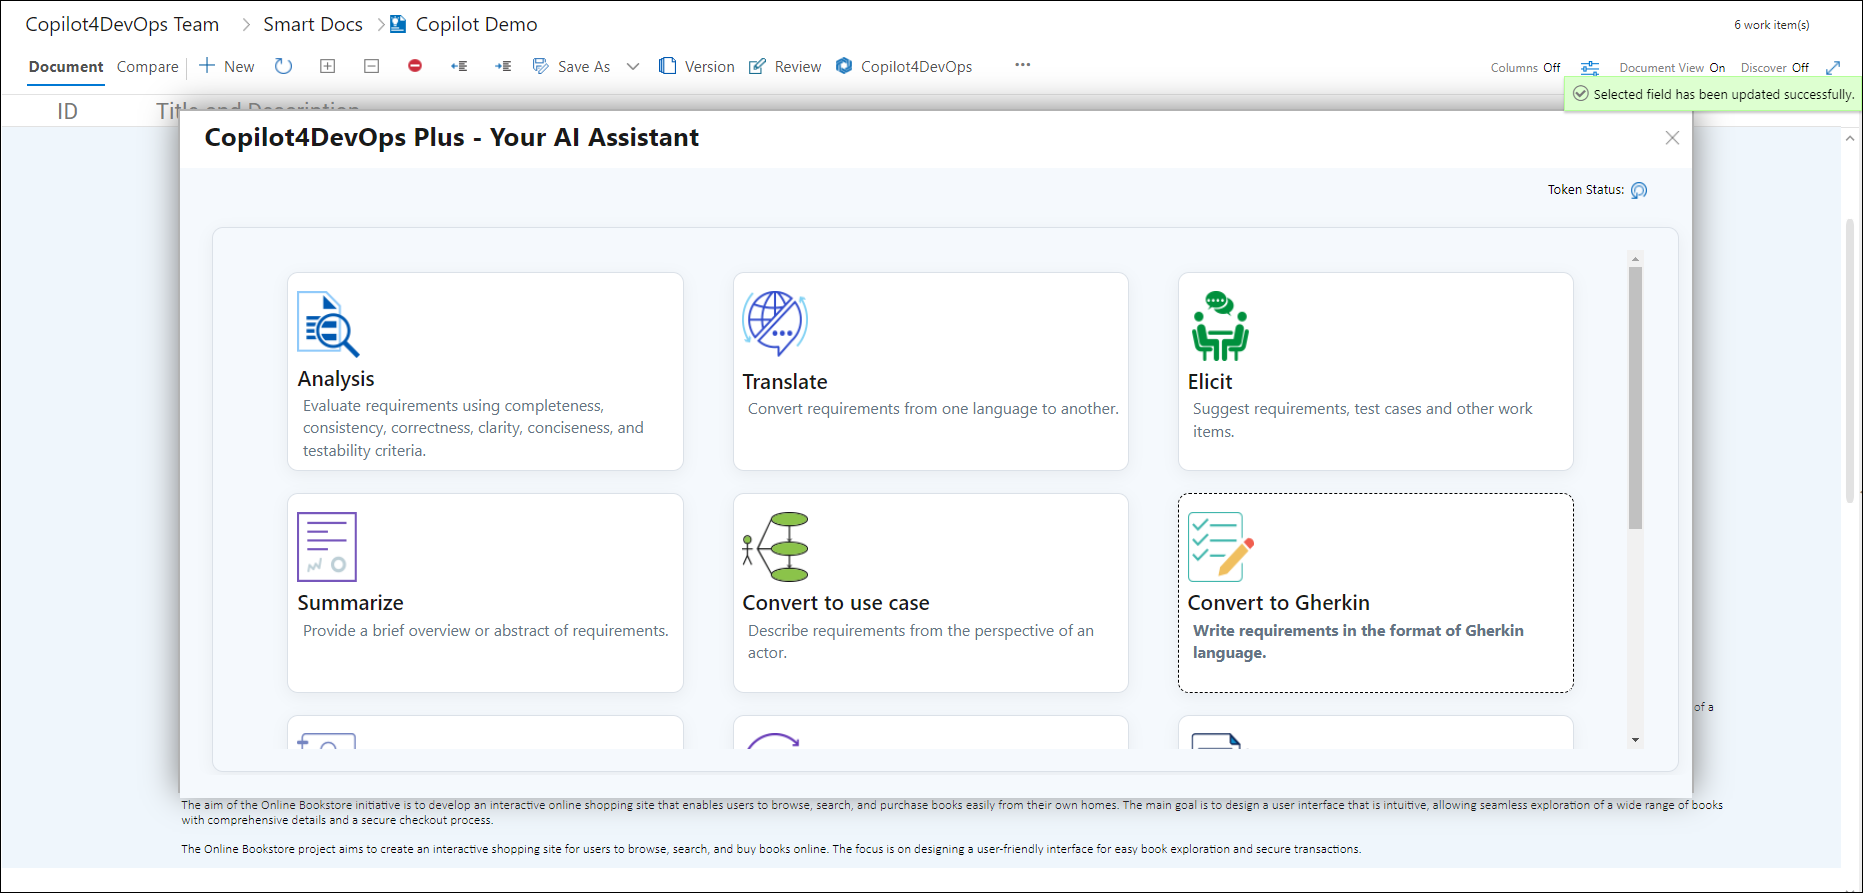
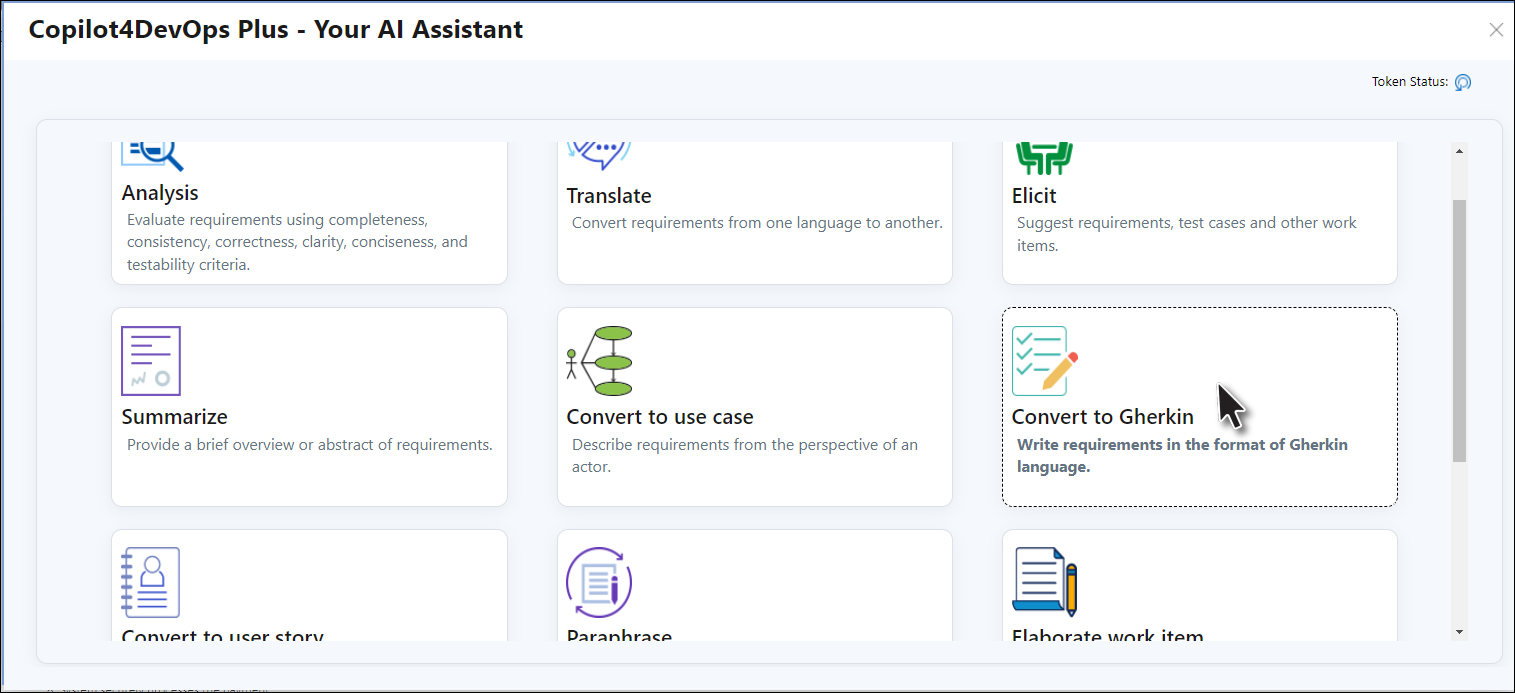
3. Click on the “Convert to Gherkin” function shown on the popup.
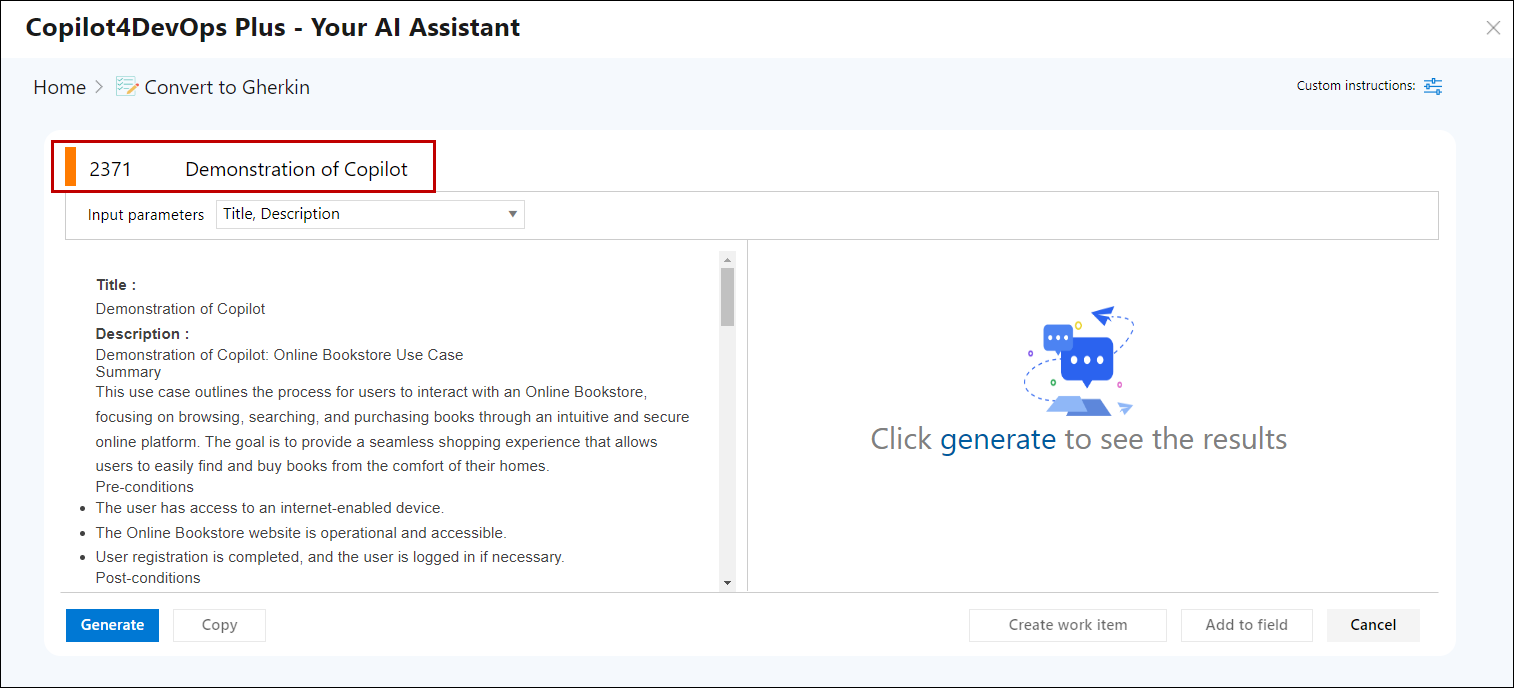
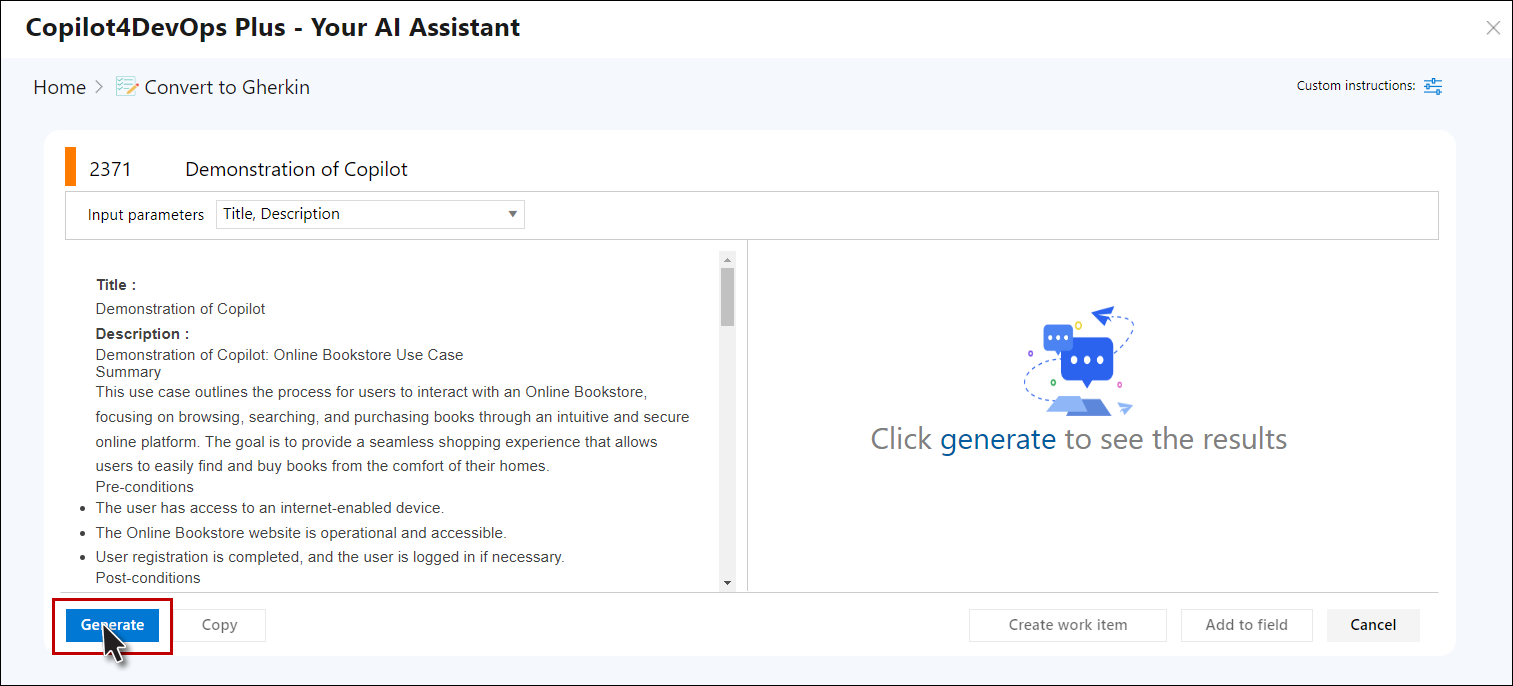
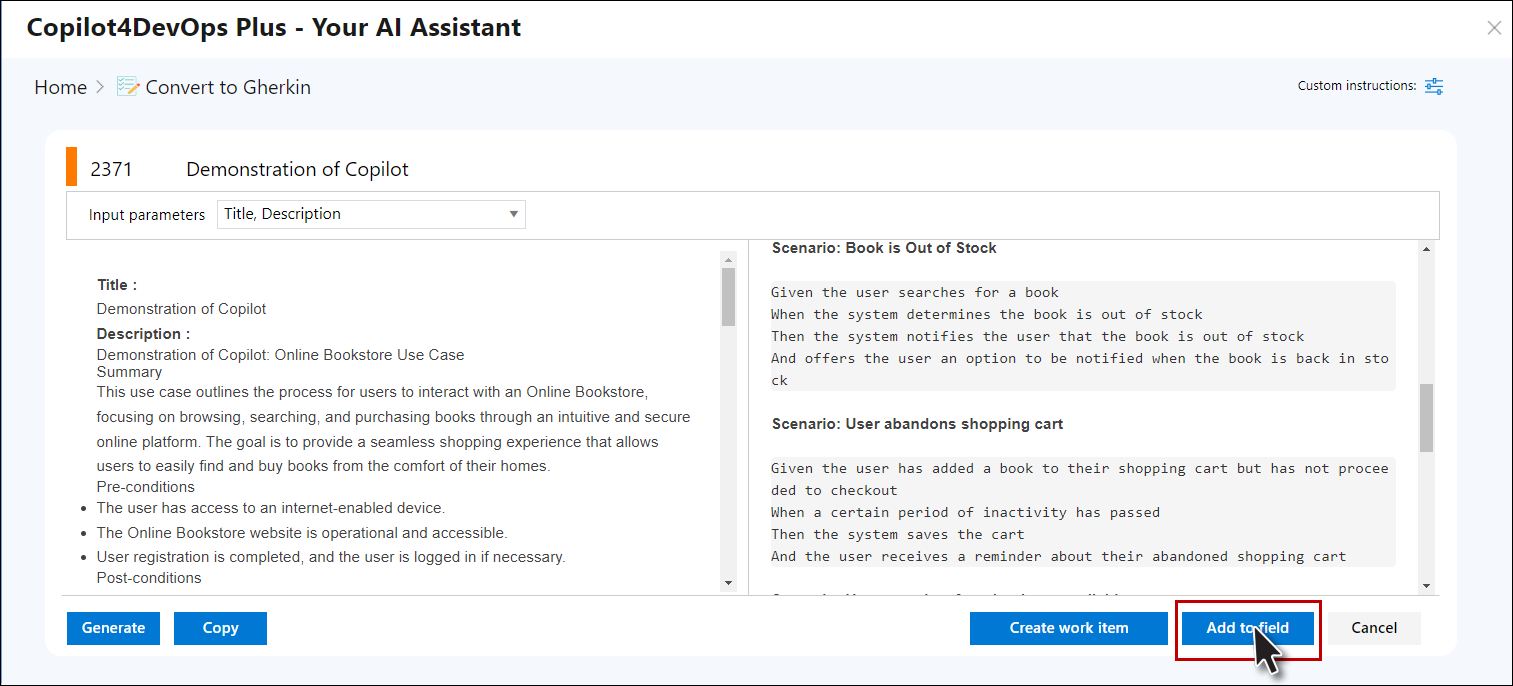
4. Convert to gherkin popup opens. On the top of the popup, the Work item name is mentioned for which the conversion is performed.
5. Click on the ">" option; it will turn into a dropdown under this all the other options that are available on the Copilot4DevOps pop-up shown. Other options can be accessed that are a part of the Copilot4DevOps pop-up from this dropdown.

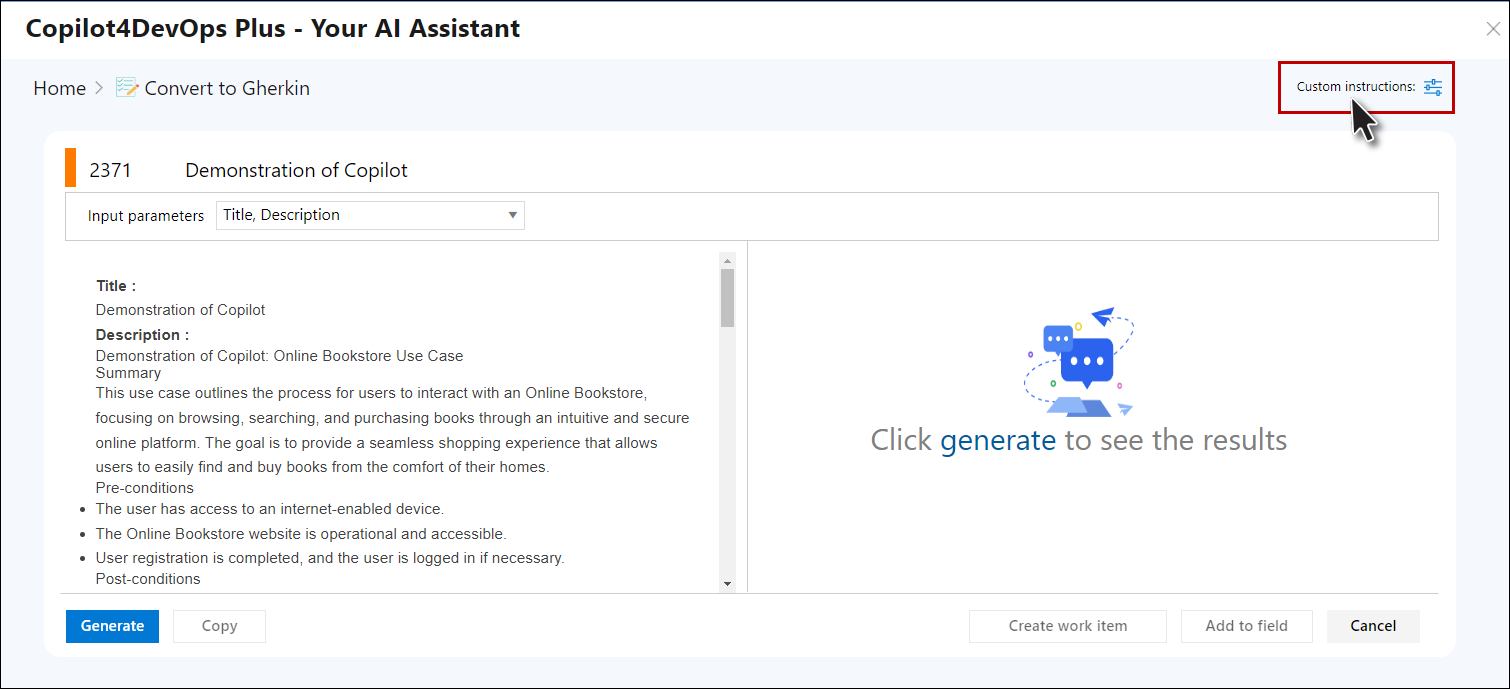
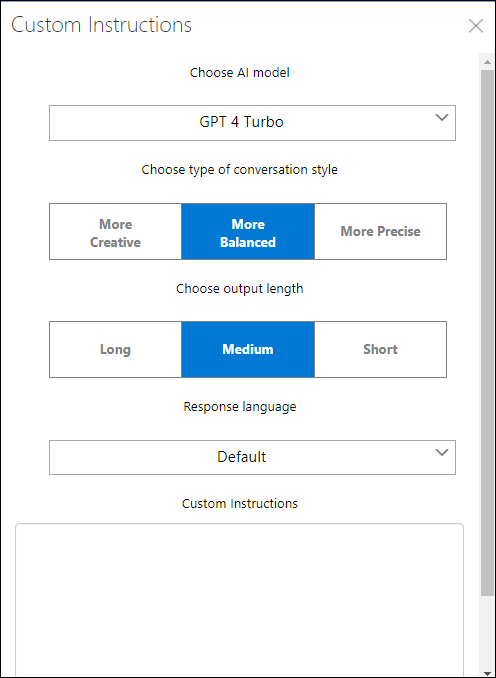
6. Click on Custom instructions option at top right of the breadcrumb, a right panel opens.
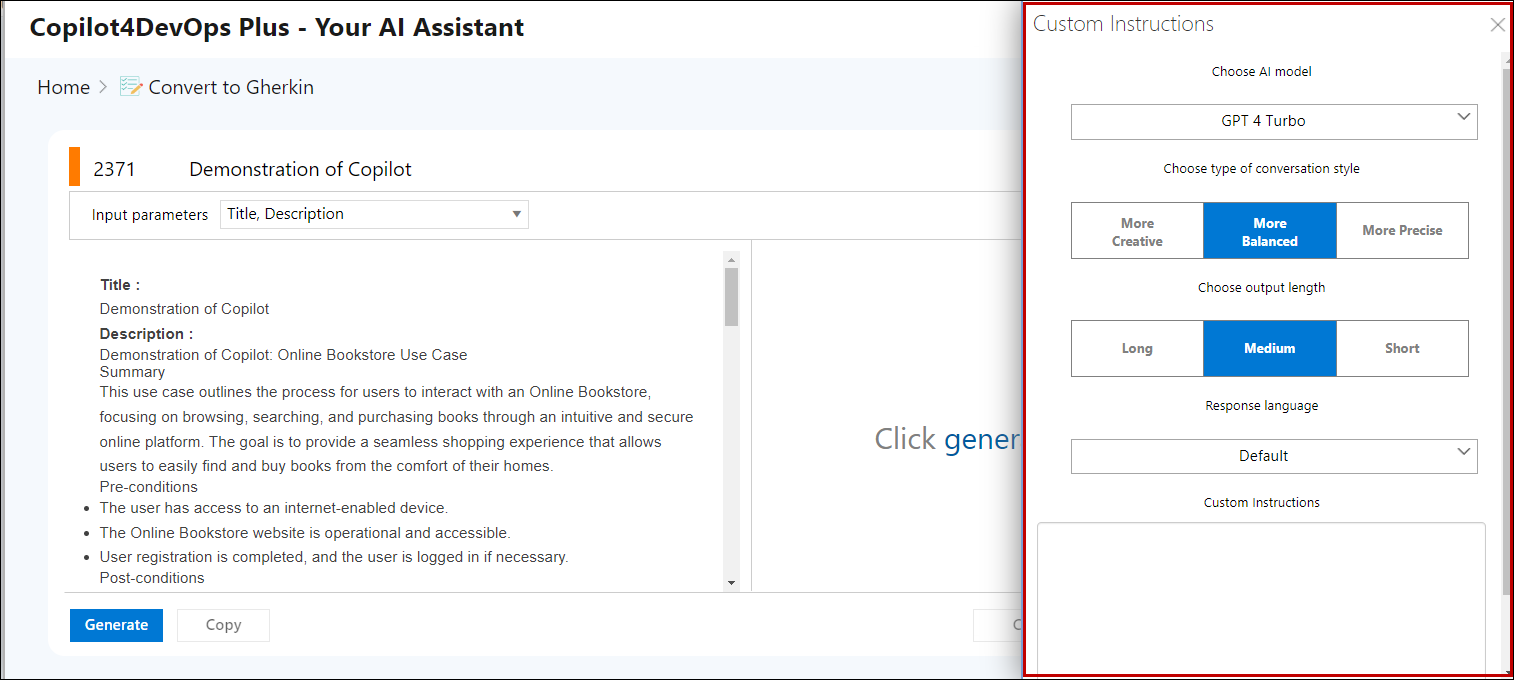
7. From the right panel user will be able to Choose AI model based on configuration from the admin panel. They can Choose type of conversation style such as “More Creative”, “More Balanced” or “More Precise”. Furthermore, user can Choose output length such as “Long”, “Medium” or “Short”. Users also have the option to specify the Response language and even include any Custom instructions which will be added with the default prompt.
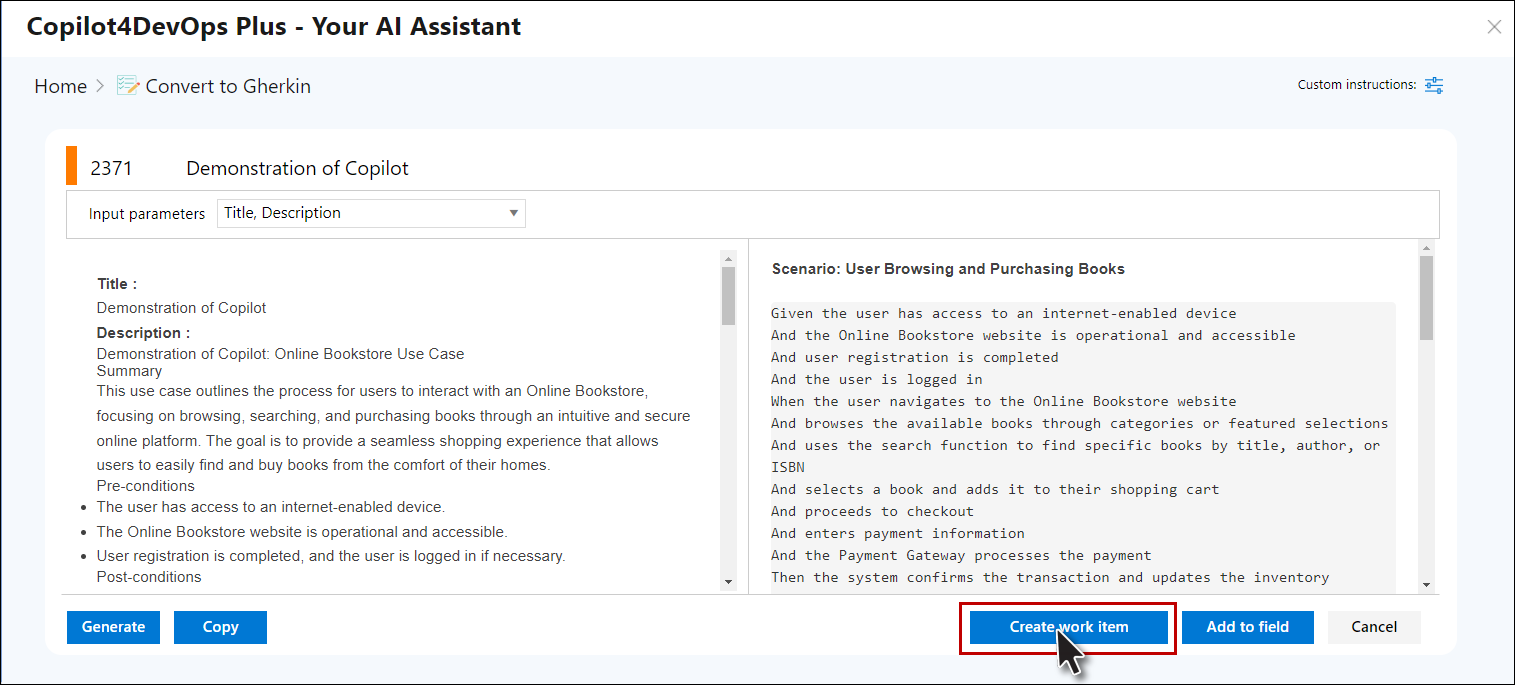
8. There is a "Generate" split button available under the work item fields option. On clicking the "Generate" button, conversion is done for the work item field of the selected work item.
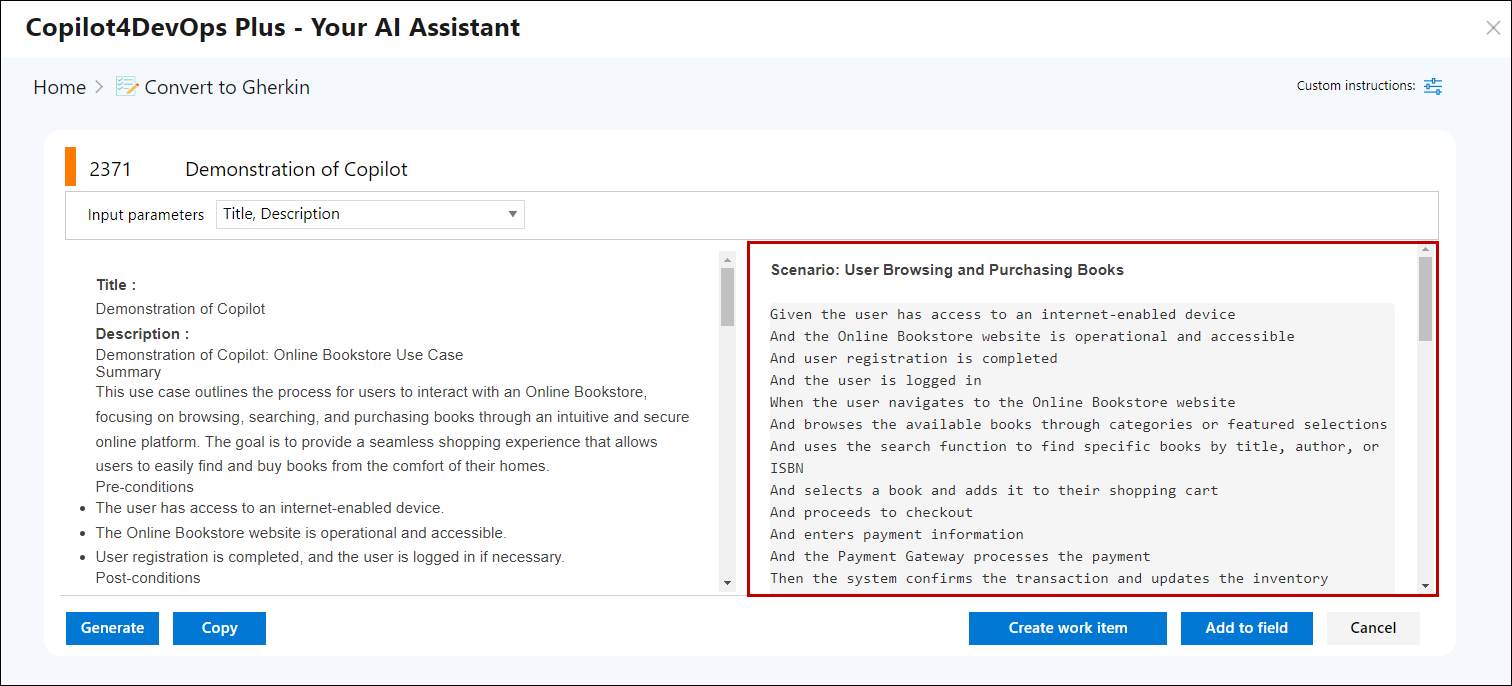
9. Click on the "Copy" button to copy the generated result.
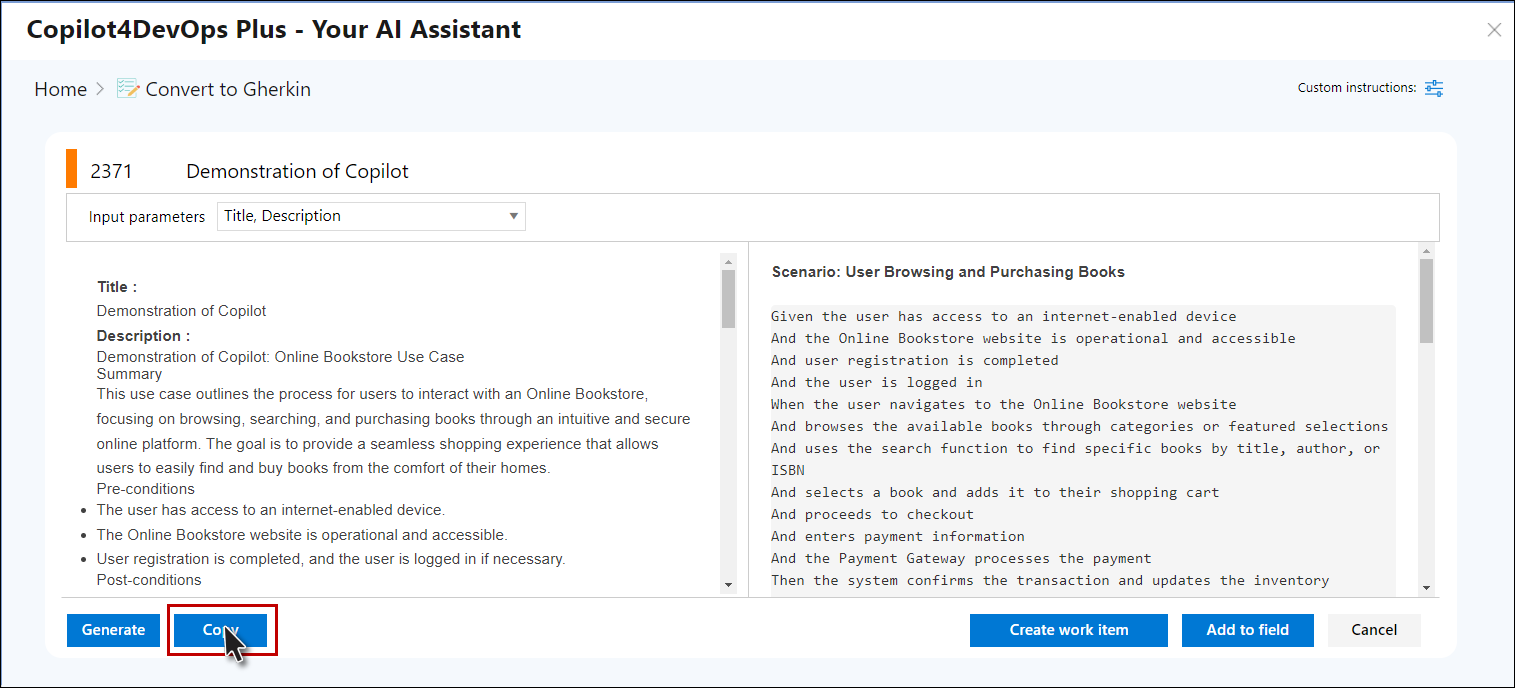
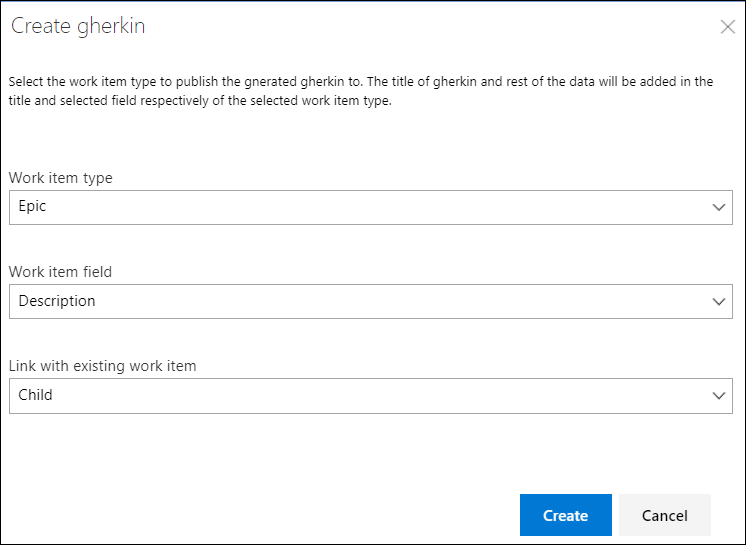
10. Click on the "Create work item" button, a pop-up is opened, containing the work item type, work item field, and link type dropdown.
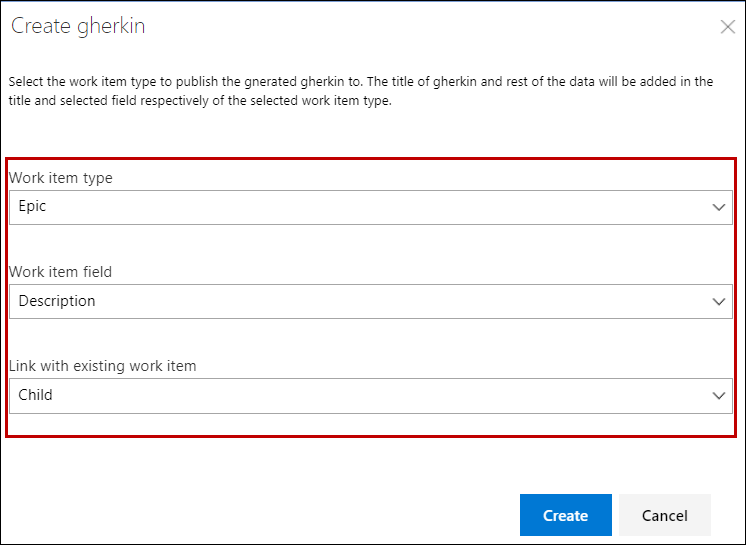
a. Select the Work item type, Work item field, and Link type from the dropdown to create the new work item with the selected work item type and to add the generated use case in the selected work item field and to link with the selected work item (from Smart Docs/VPM grid, Queries, Backlog) with the selected link type.
b. Click on the Create button. The work item is now created in the ADO project/team and in Smart Docs/Version Package grid (if allowed) and the generated data is added in the selected field as it is.
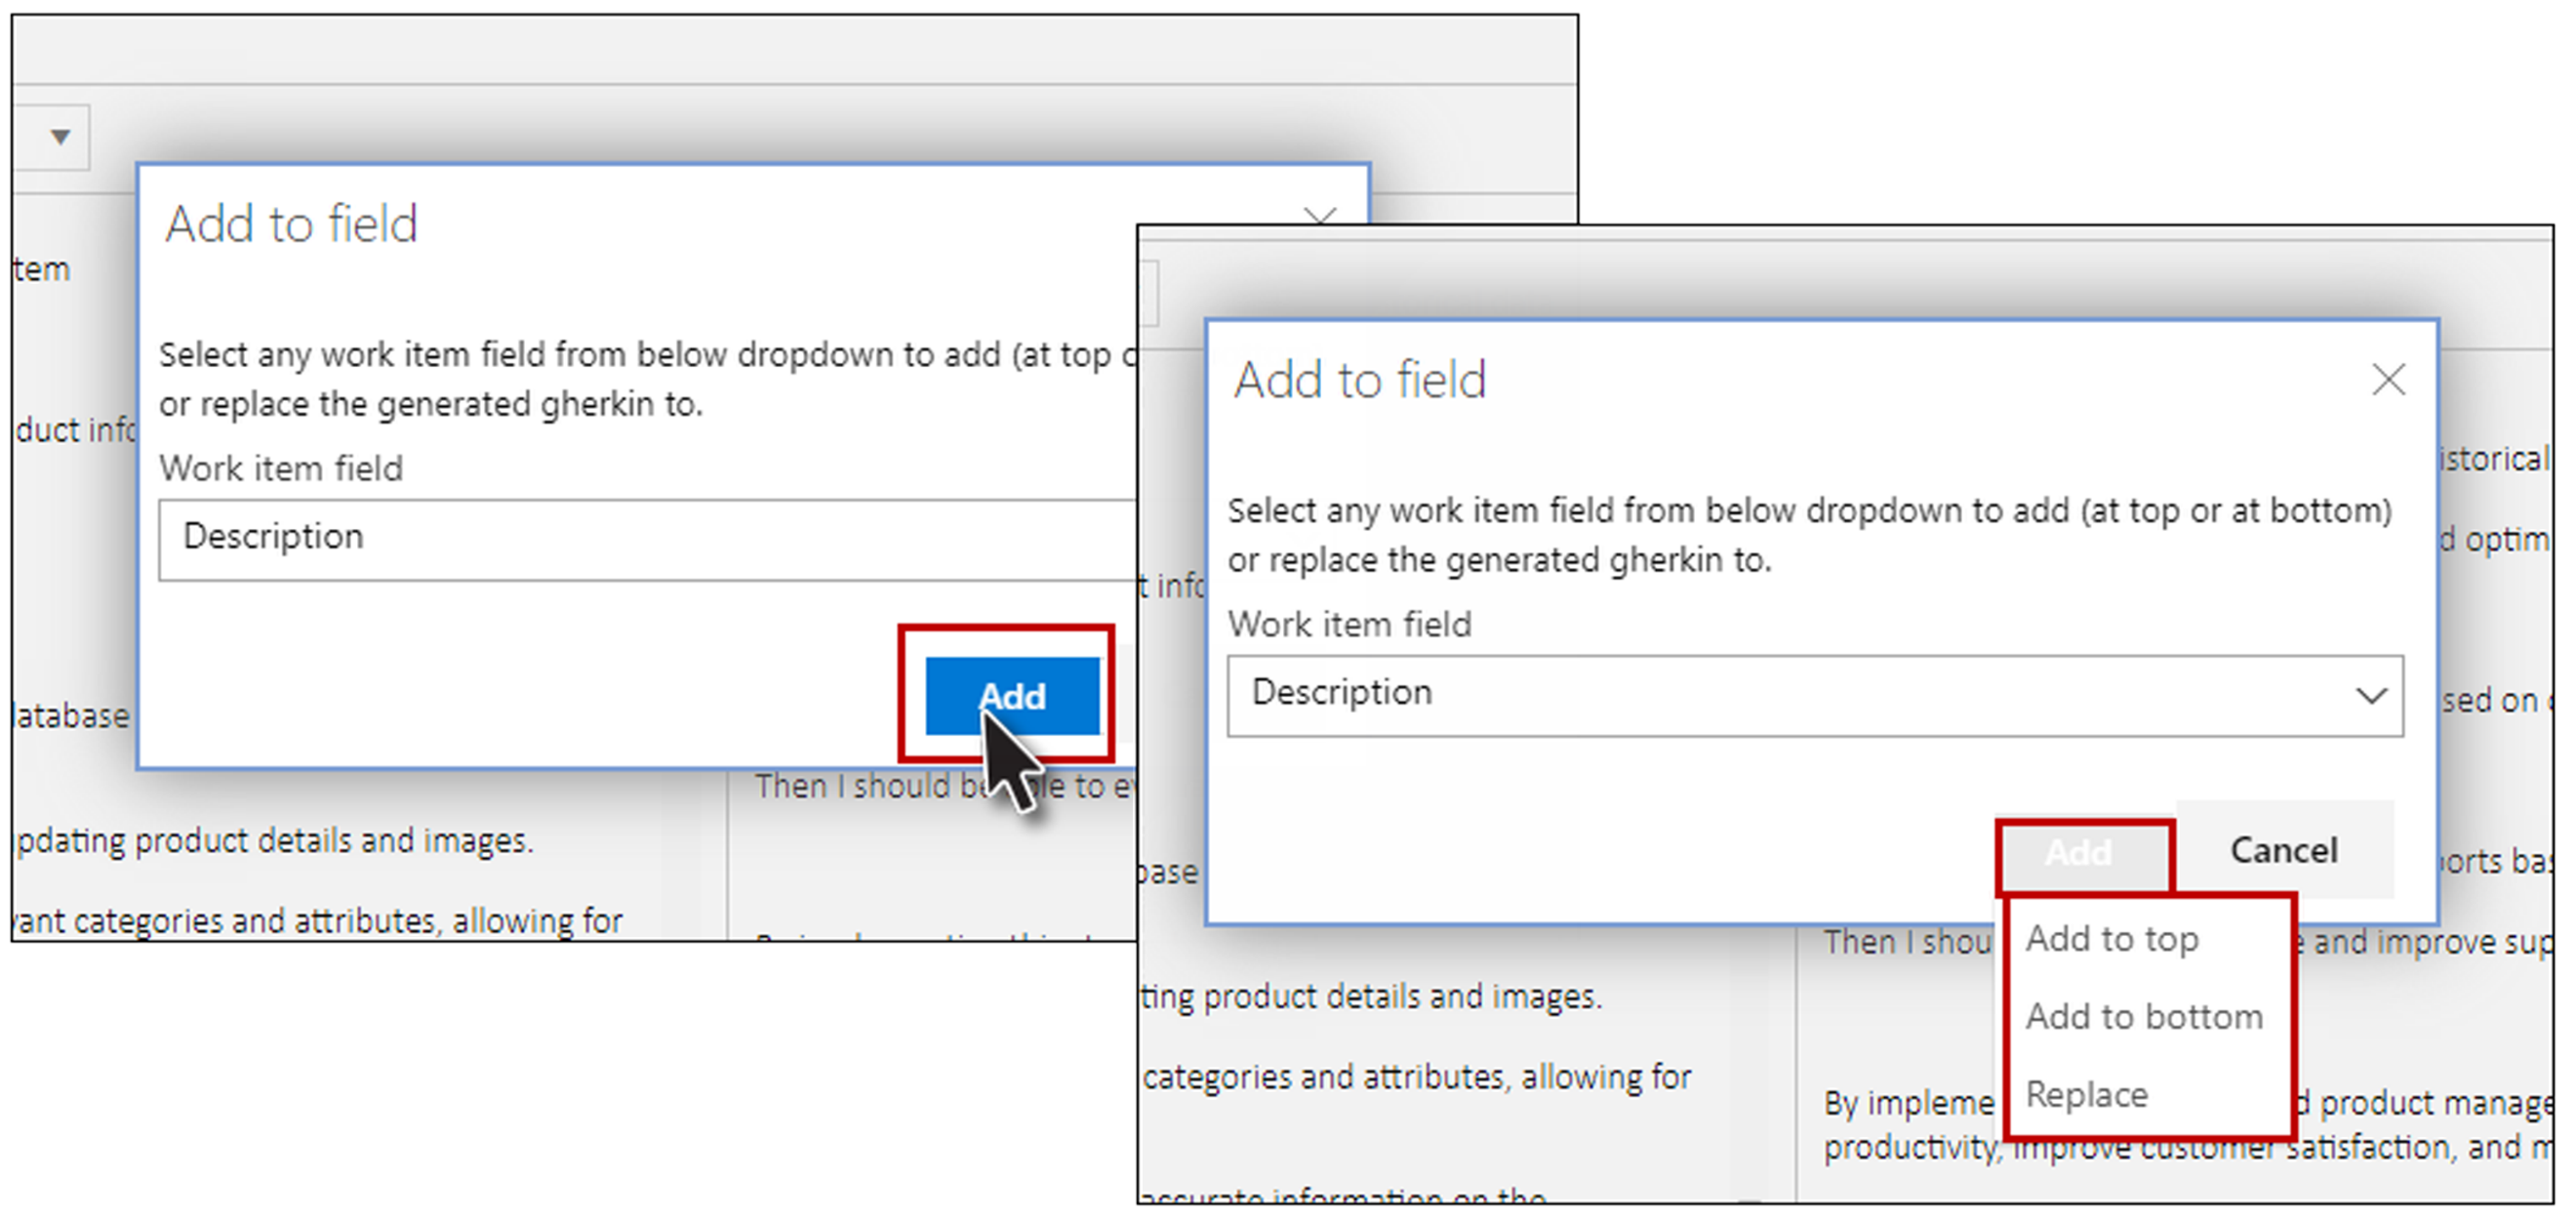
11. Click on the "Add to field" button, a popup is opened, containing a work item field dropdown to select the work item field from the dropdown to add the generated result.
a. Select the Work item field from the dropdown to add the generated result in the selected field.
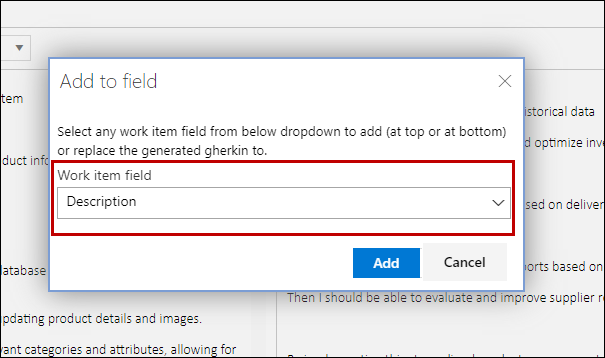
b. Click on the "Add" button to add the generated data under the selected work item field in the Editor window.
