Designing a model using shapes
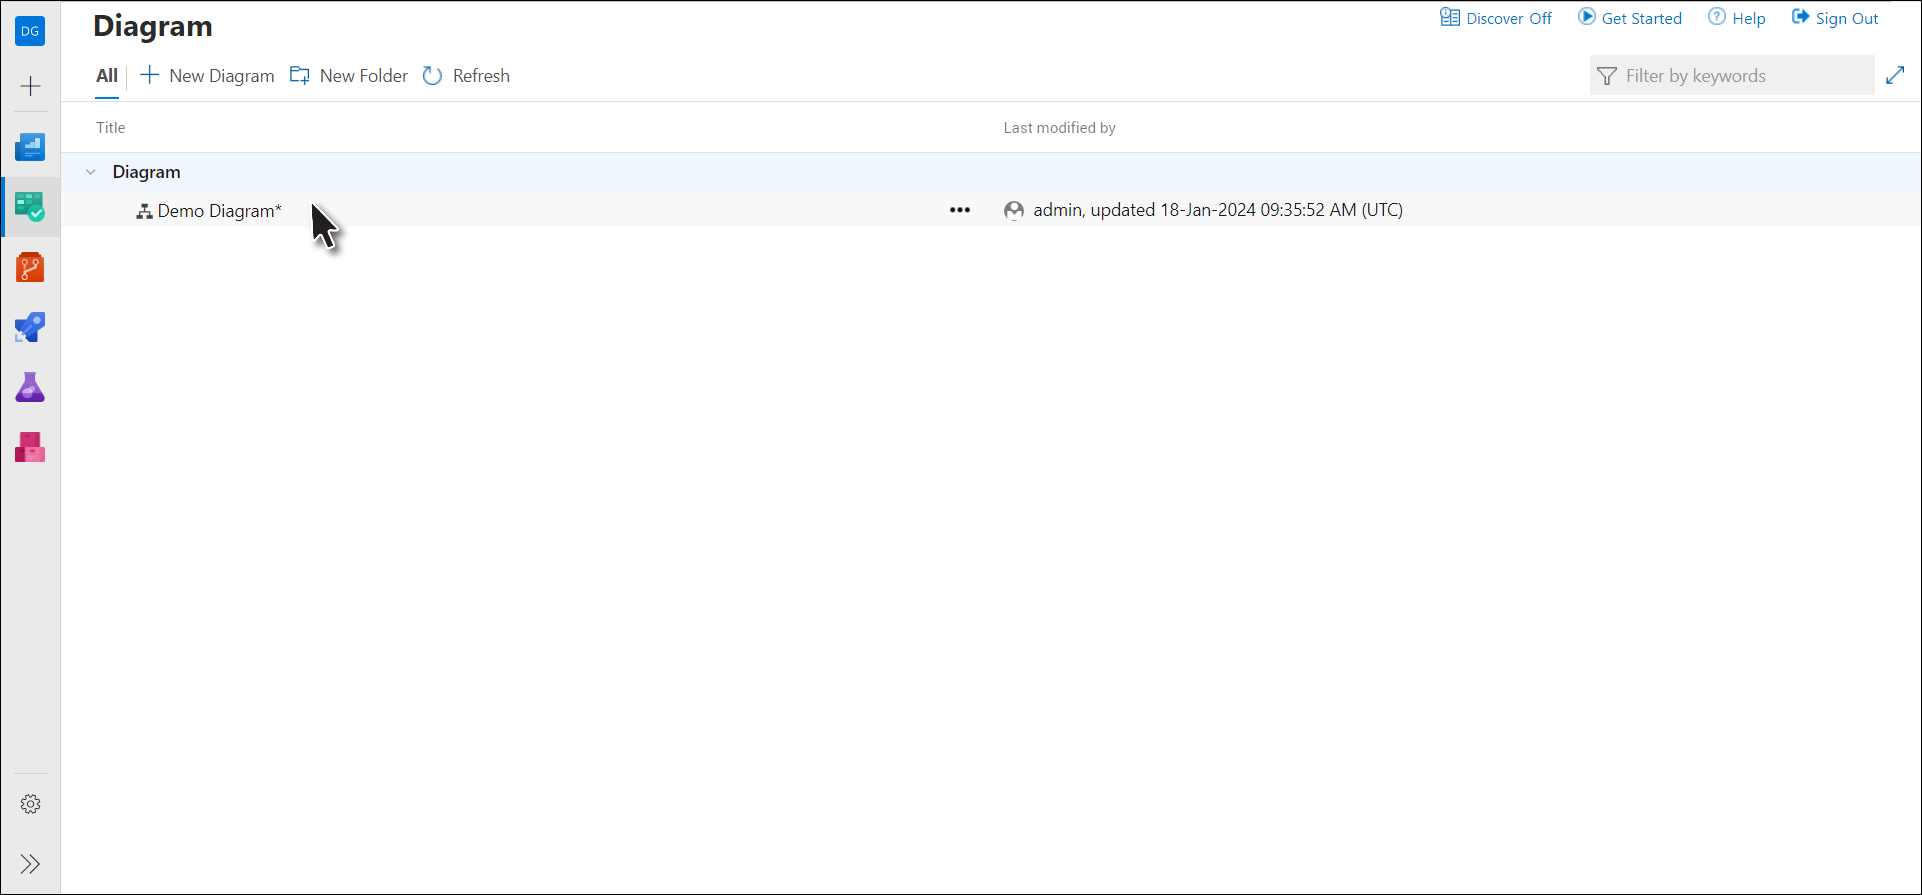
1. Open or create a model by clicking the + New Diagram option on the browse page toolbar.
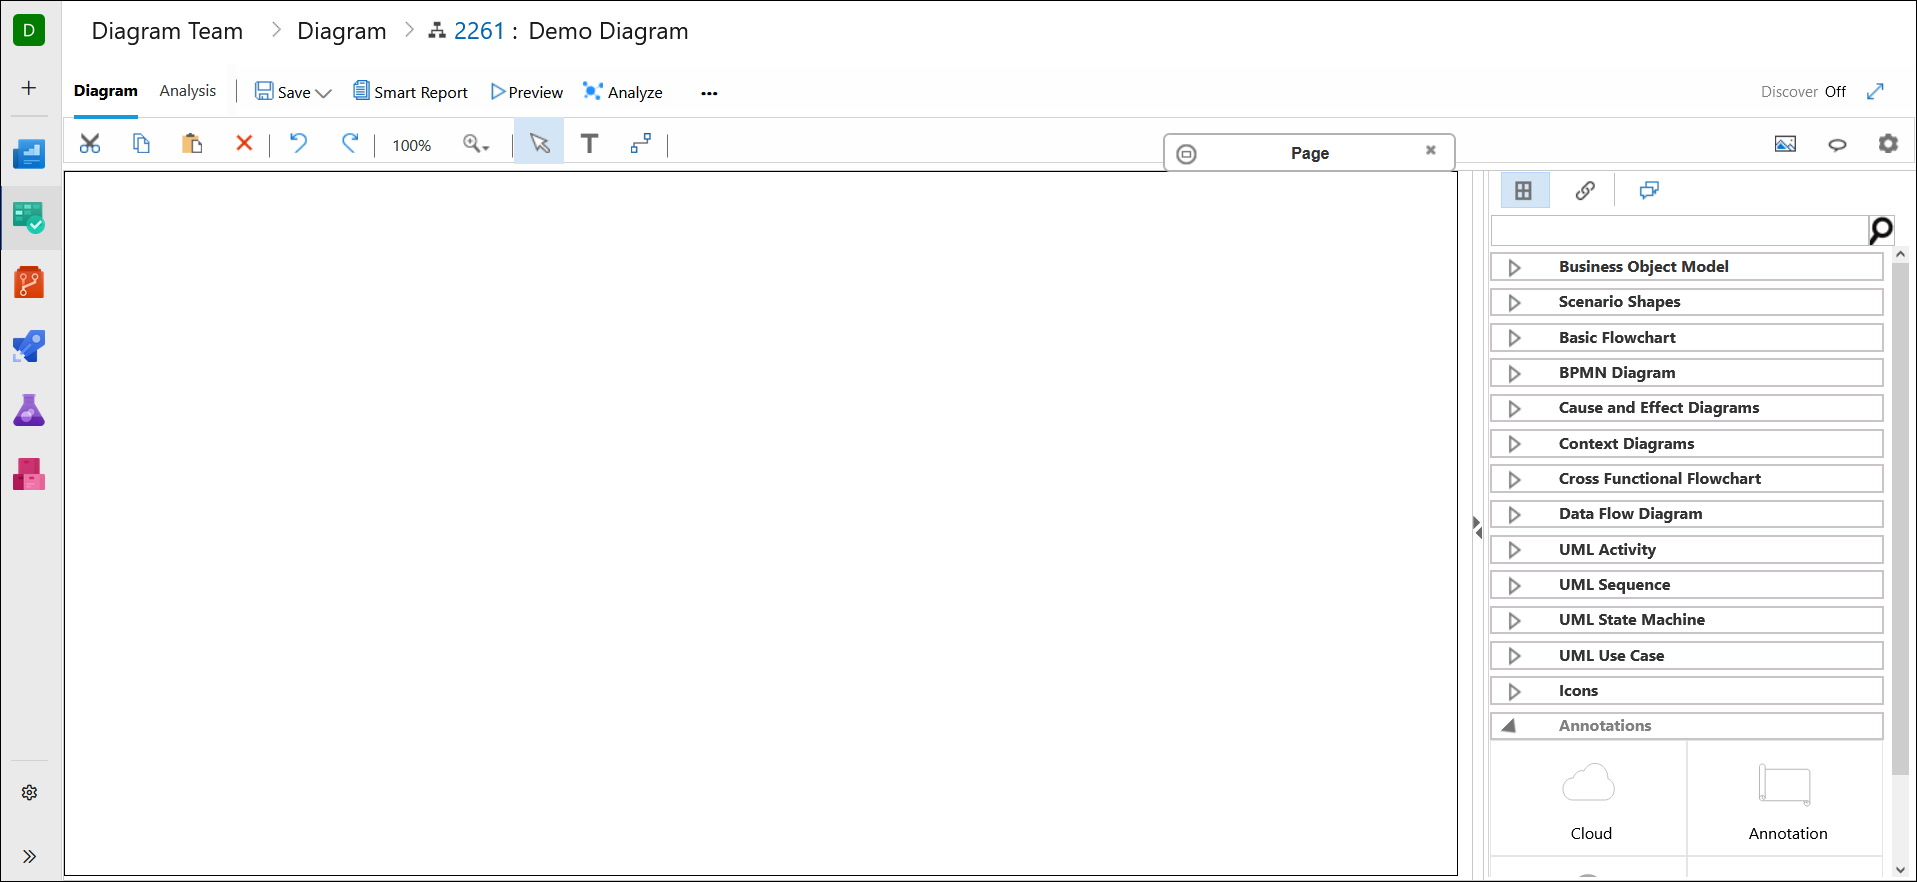
2. Drag and drop the desired control from the Smart Panel onto the Modeling Area.
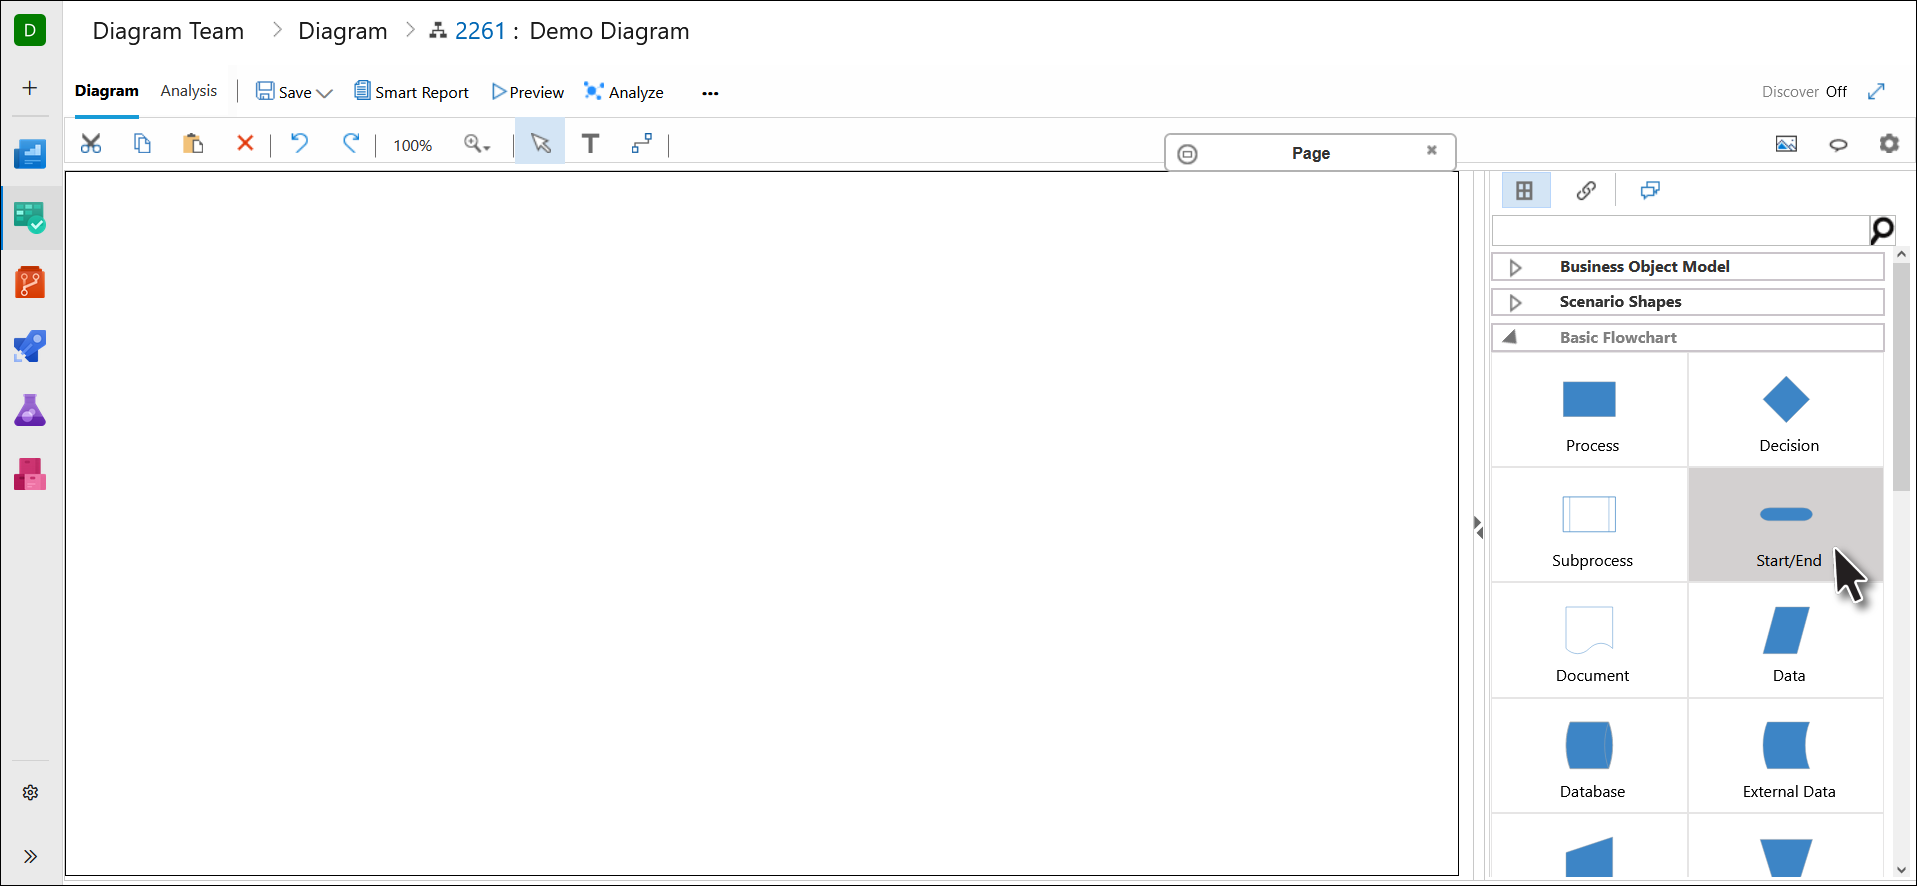
3. Give a suitable name to the shape.
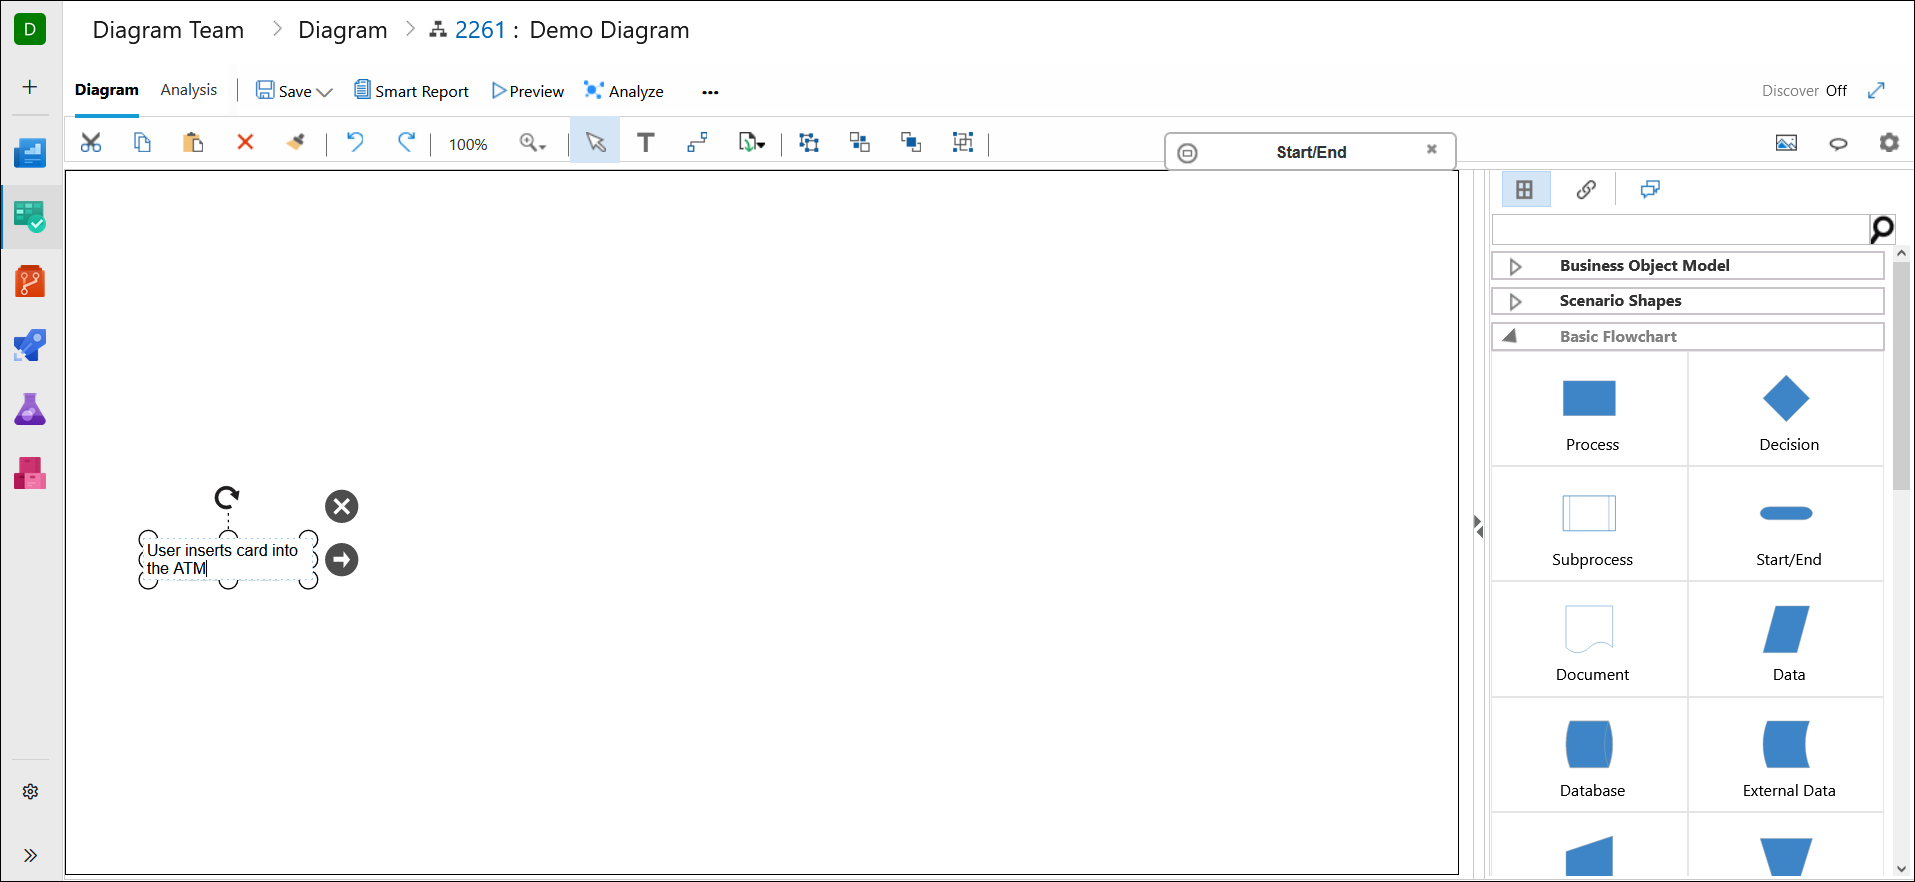
4. Repeat the process to add other shapes.
5. To link two shapes click the Link Button in the toolbar.
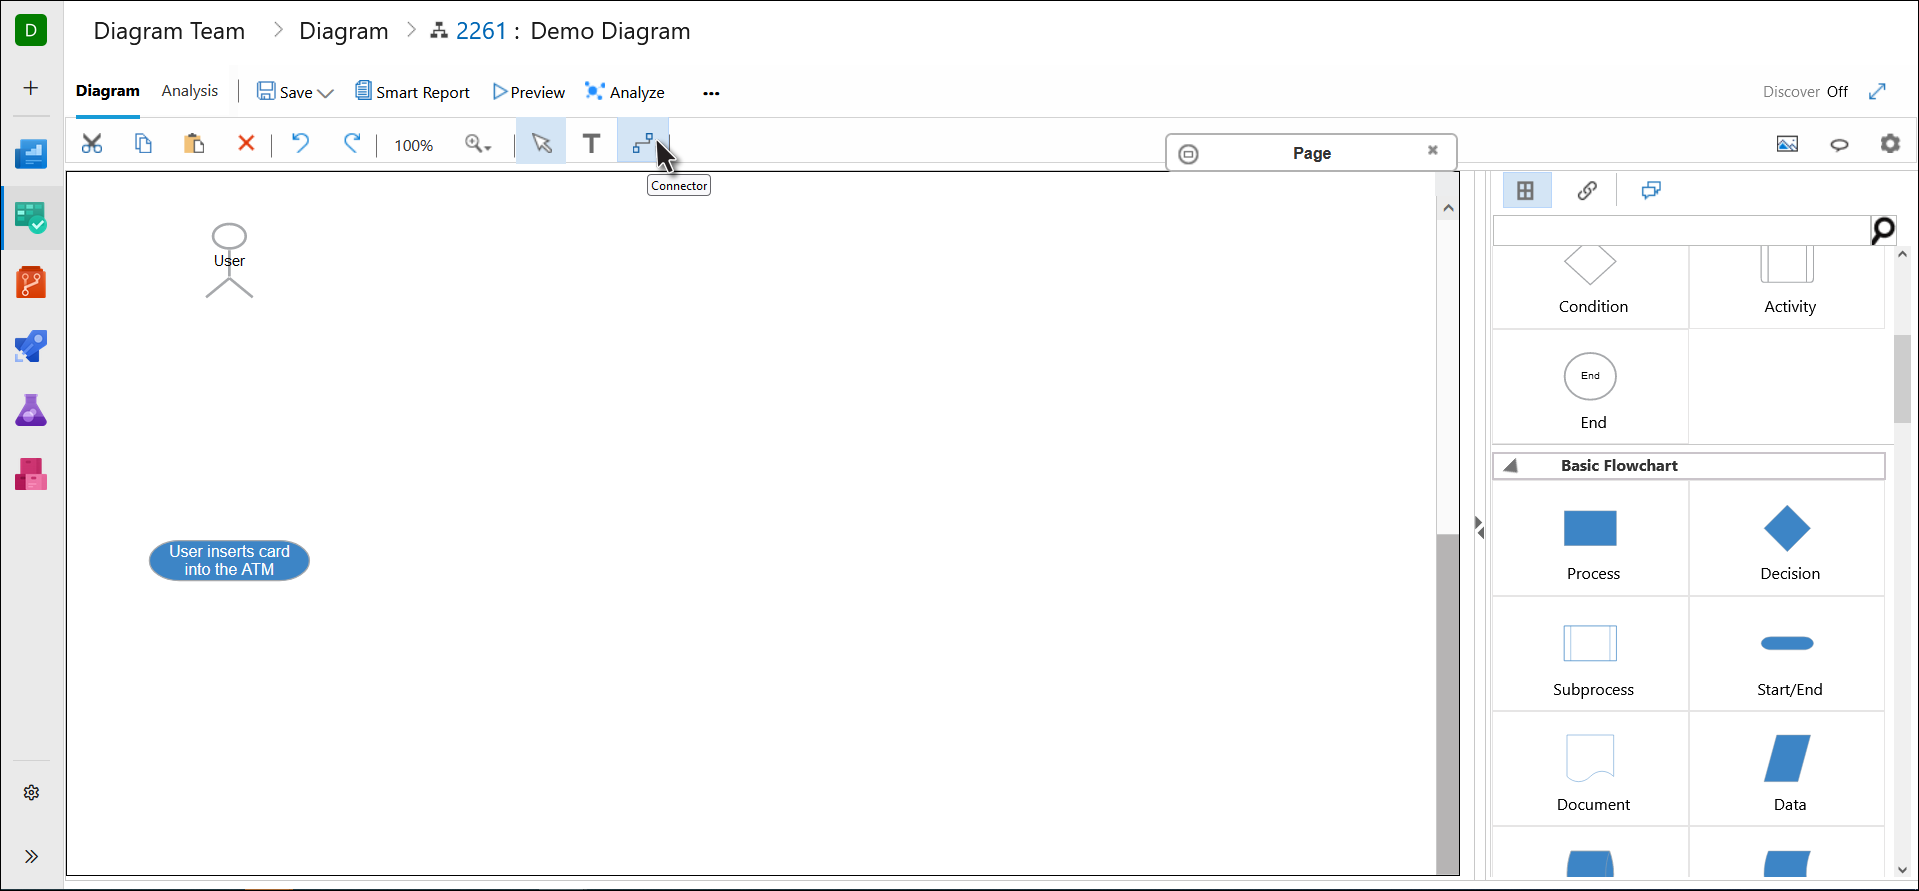
6. Click and drag to link the connection points of the two shapes, as described below.
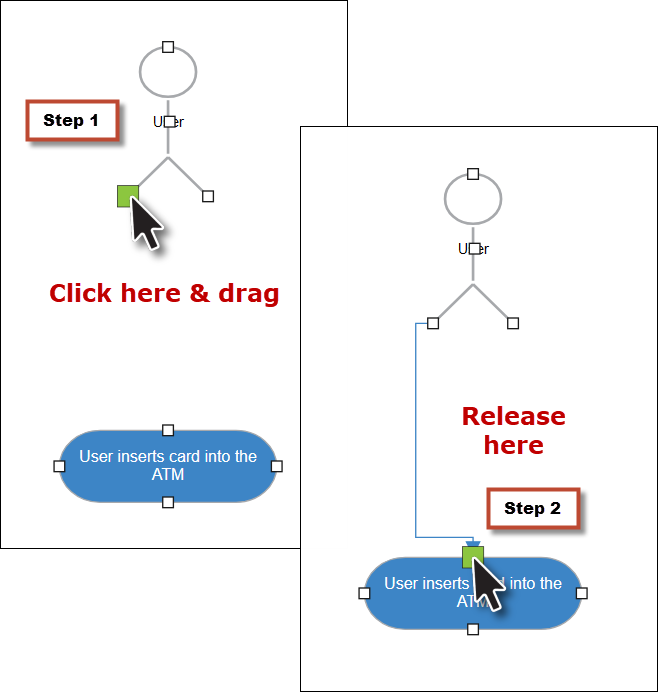
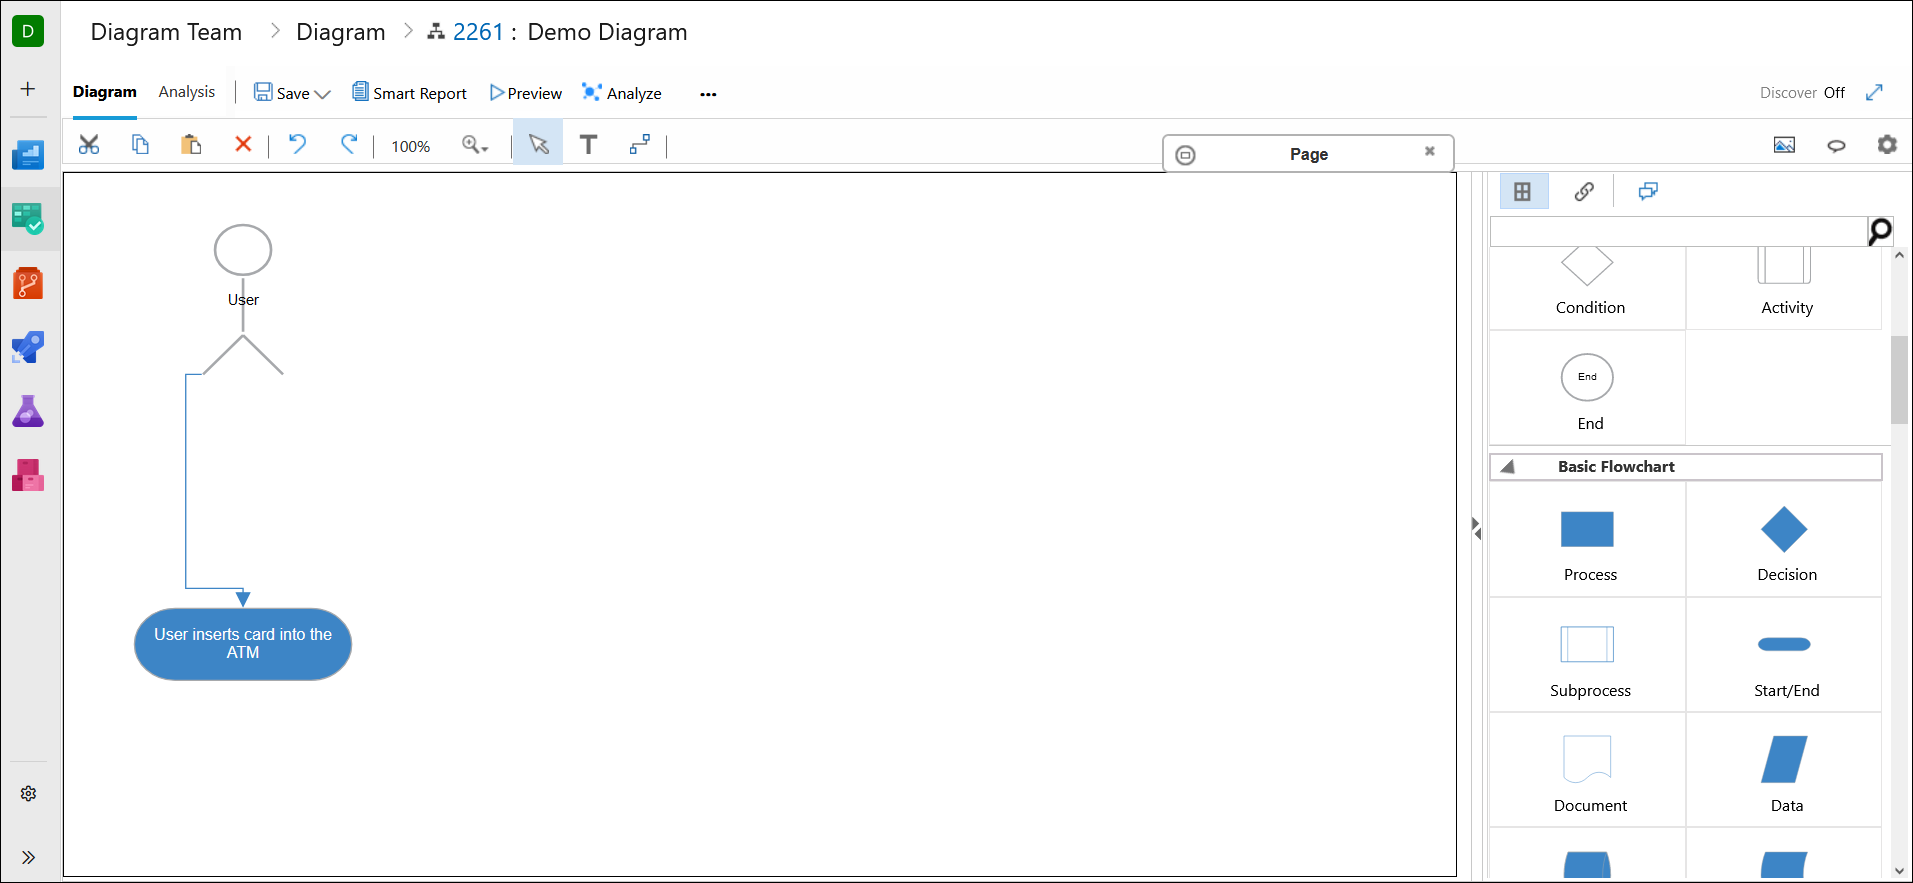
The shapes have been linked.
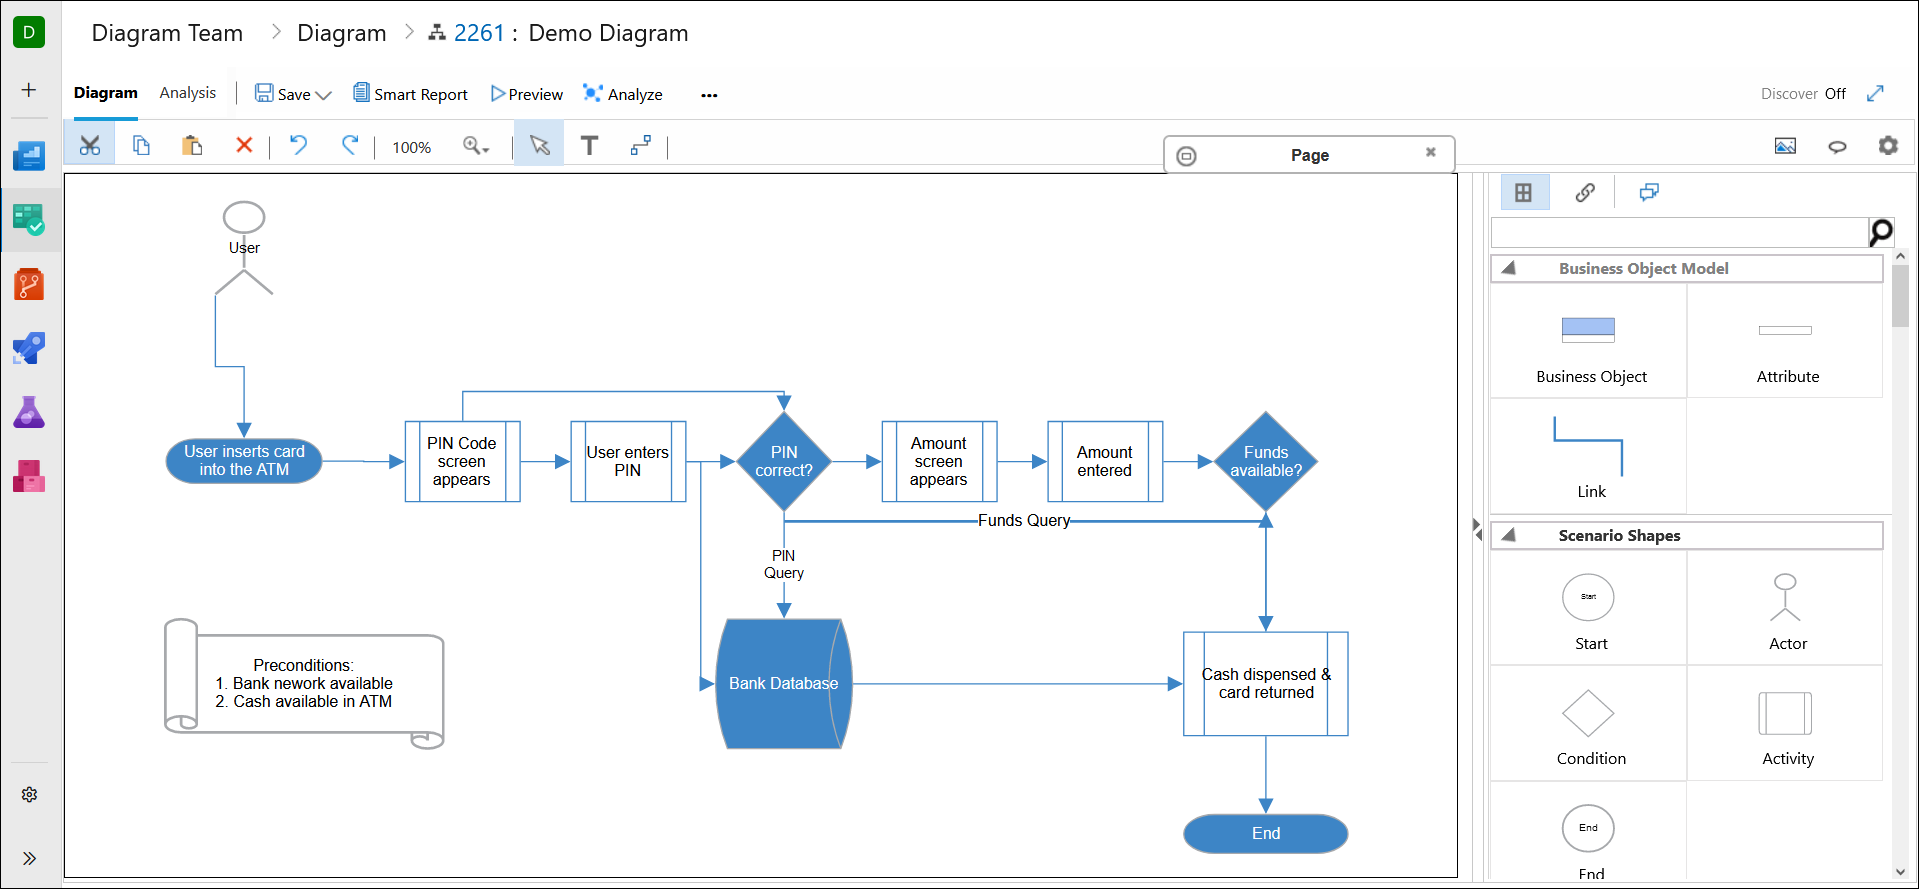
7. Similarly complete the model by adding and linking shapes.
8. Click Save (Button) → Check In Changes * to save the model.
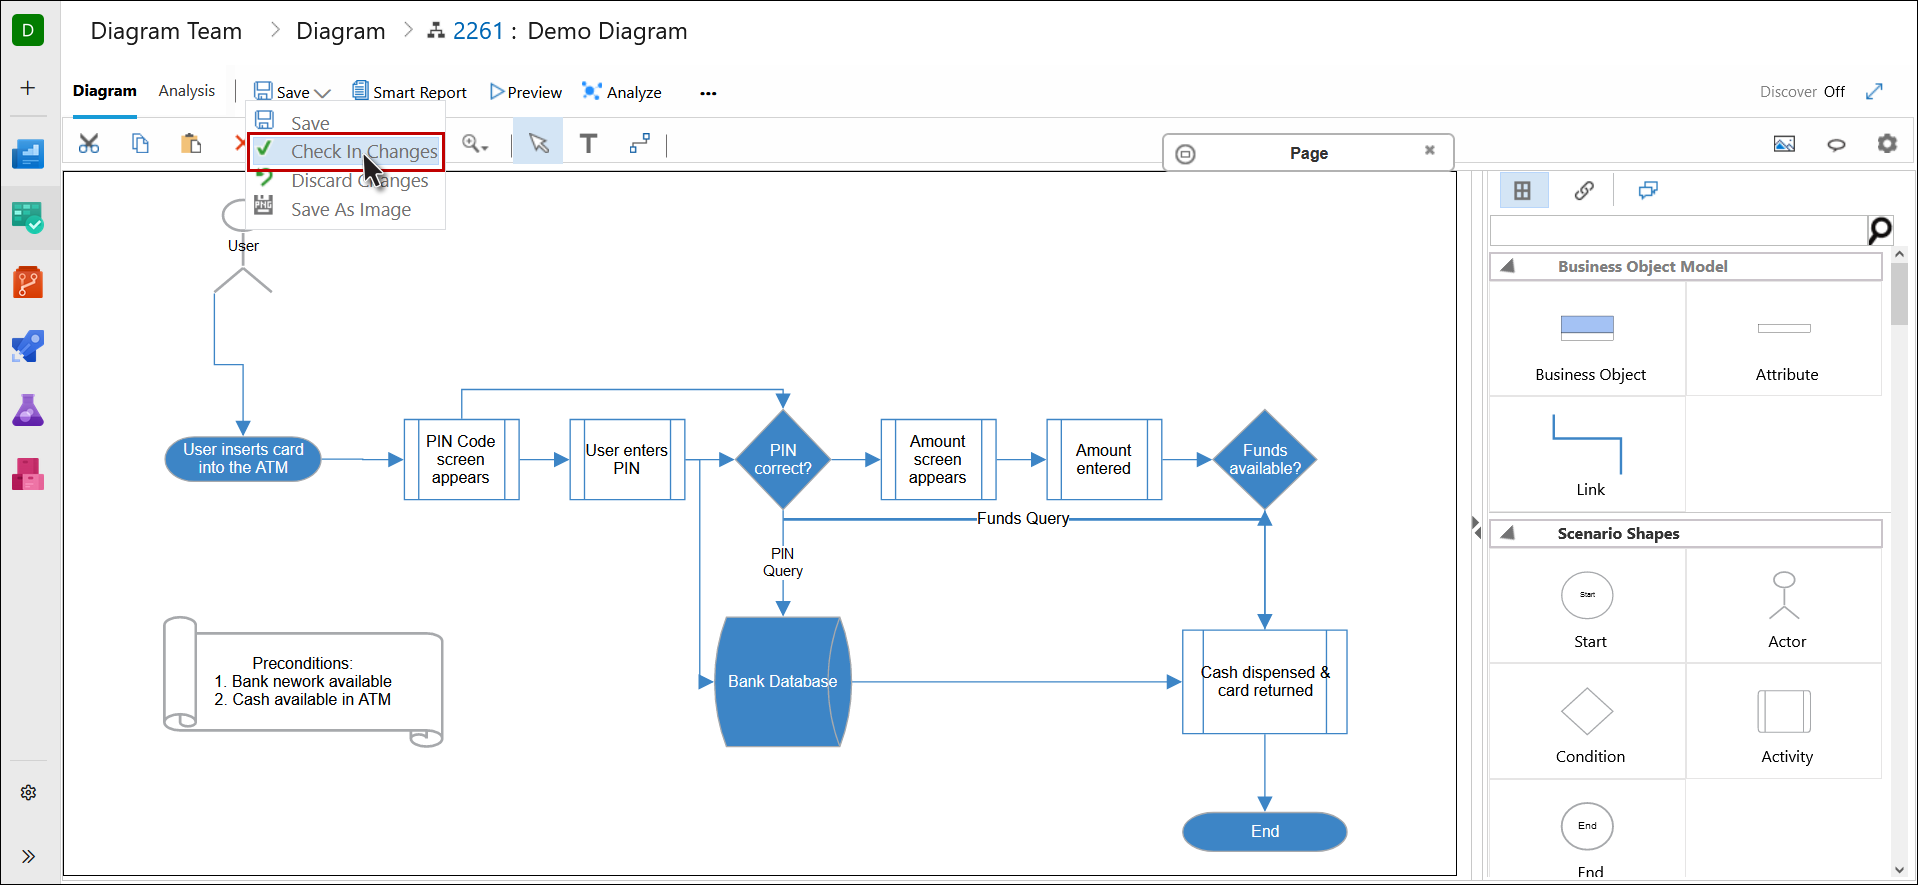
* The Save option saves the diagram but keeps it checked out for the current user, while the Check In Changes option saves the diagram along with checking it in. Users also have the option to save the model as an image.