Designing the report
• The process to design and generate the Advanced Report is elaborated in the following steps:
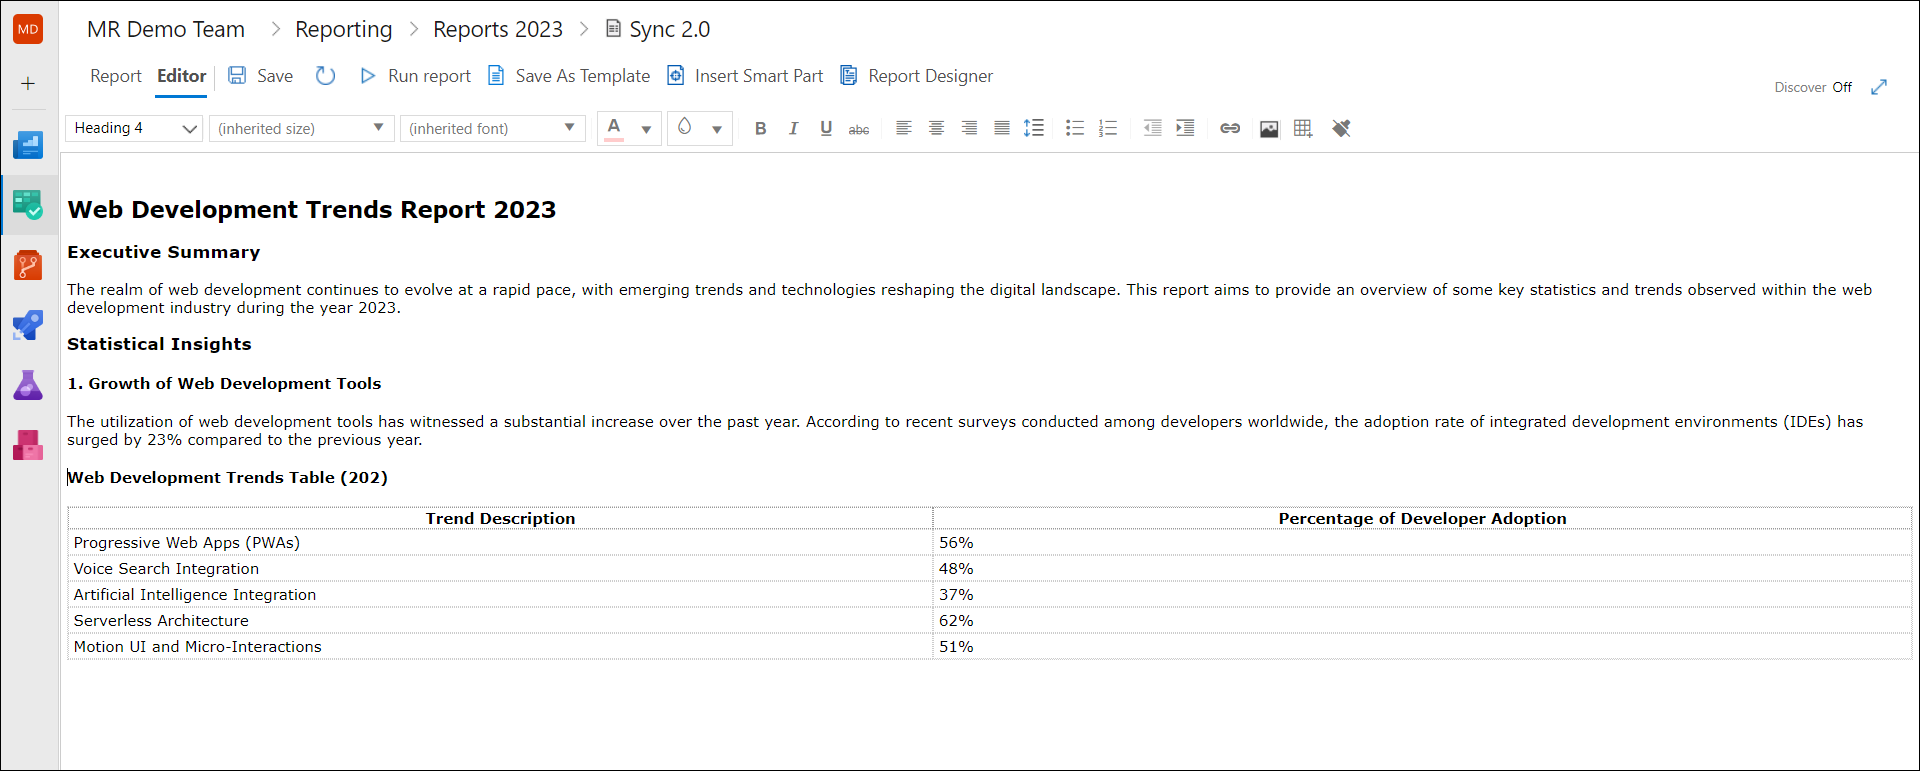
1. Create or open the desired report.
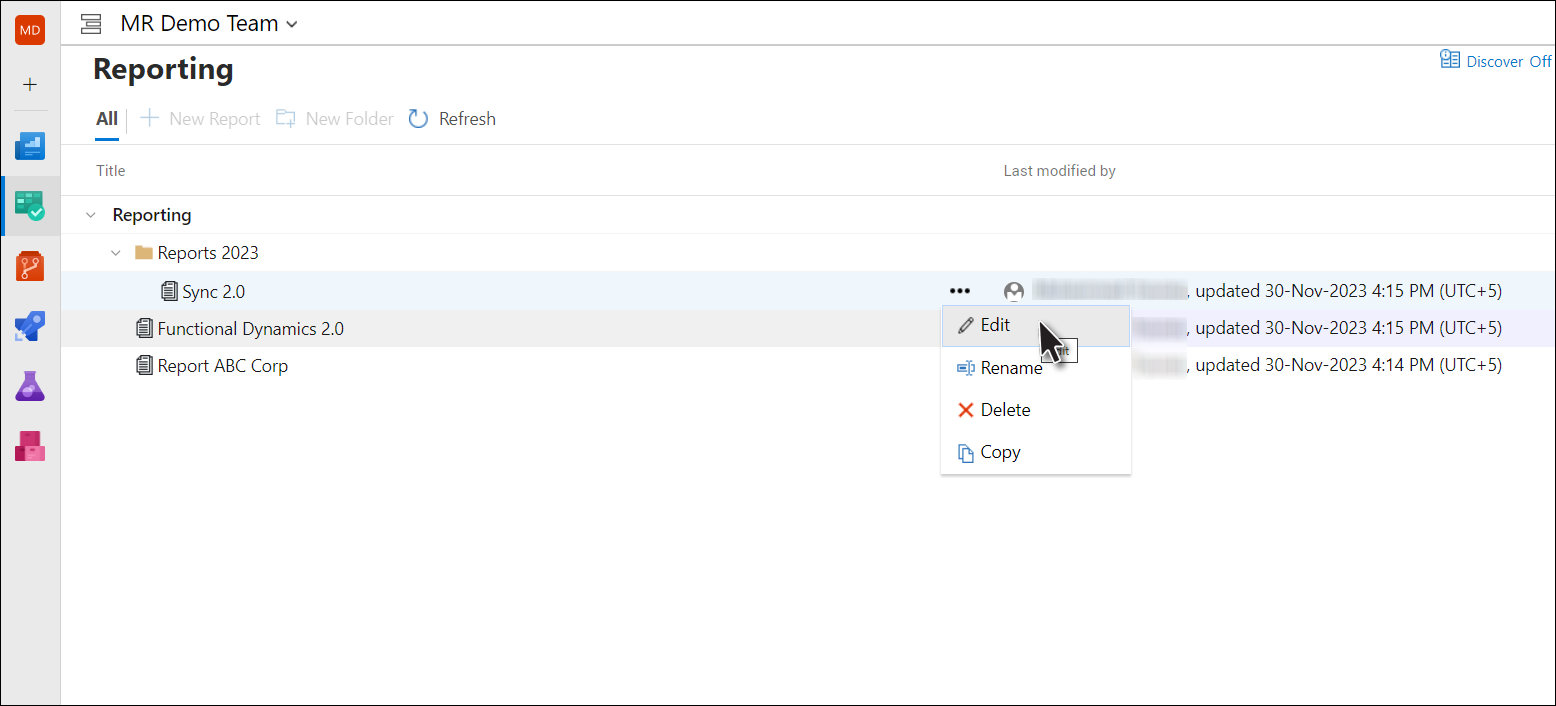
Users also have the option to edit any report without opening it directly. To do this, right click on the desired report or click on ‘…’ on the right of the desired report name and select "Edit" option to open the file directly in the Editor Tab. This is because some files contain large amount of data which may consume time while loading.
2. Enter the desired text and format it to desired configuration (using the Rich Text Controls in the toolbar)
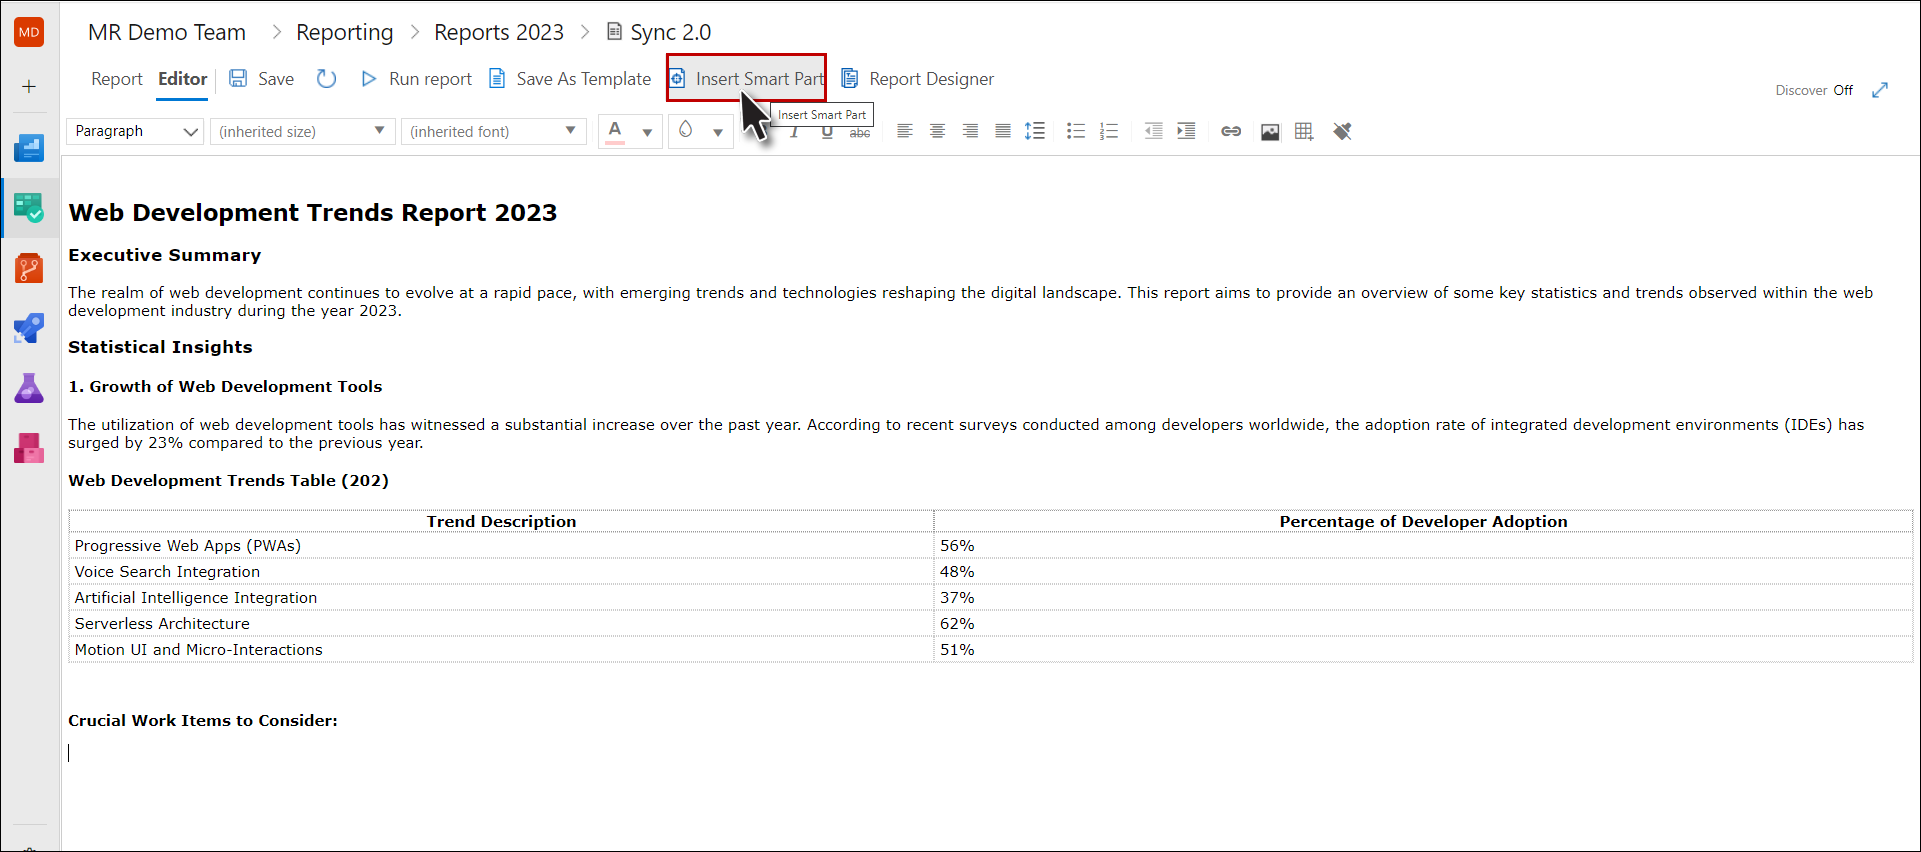
3. Place the cursor at the desired location and then click the Insert Smart Part option.
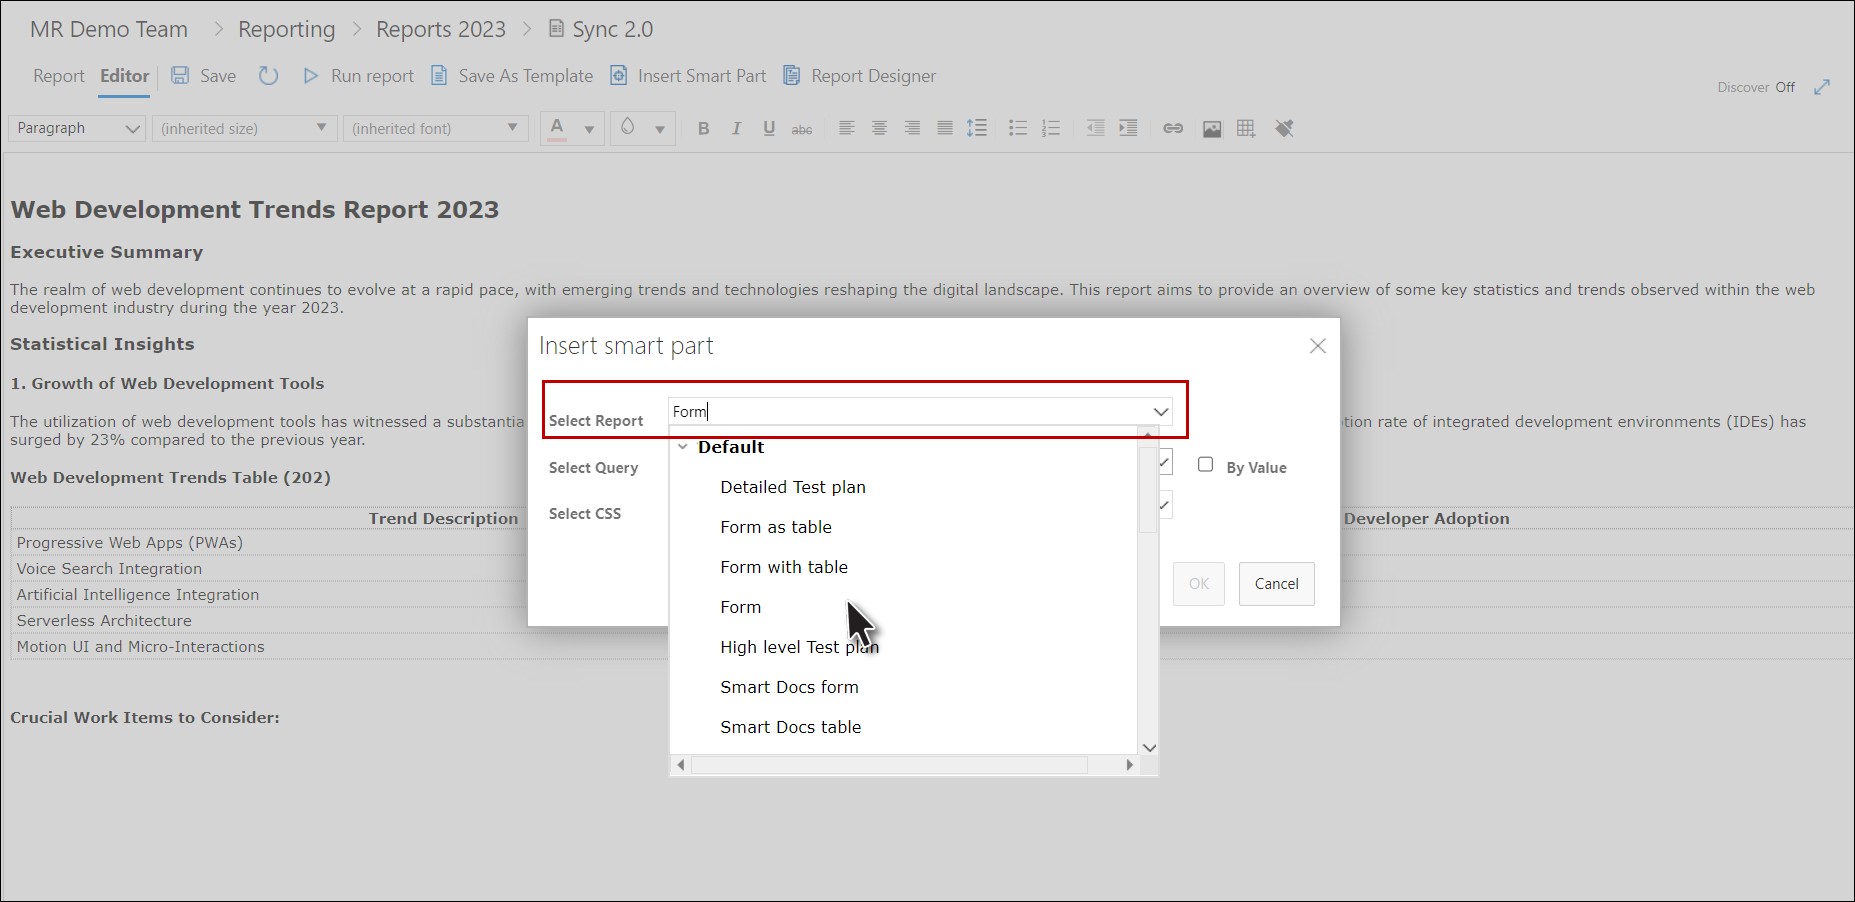
4. Select the desired report.
Note that the SmartReport-Test Case option only works with queries that would have Test Case Work items in their data set.
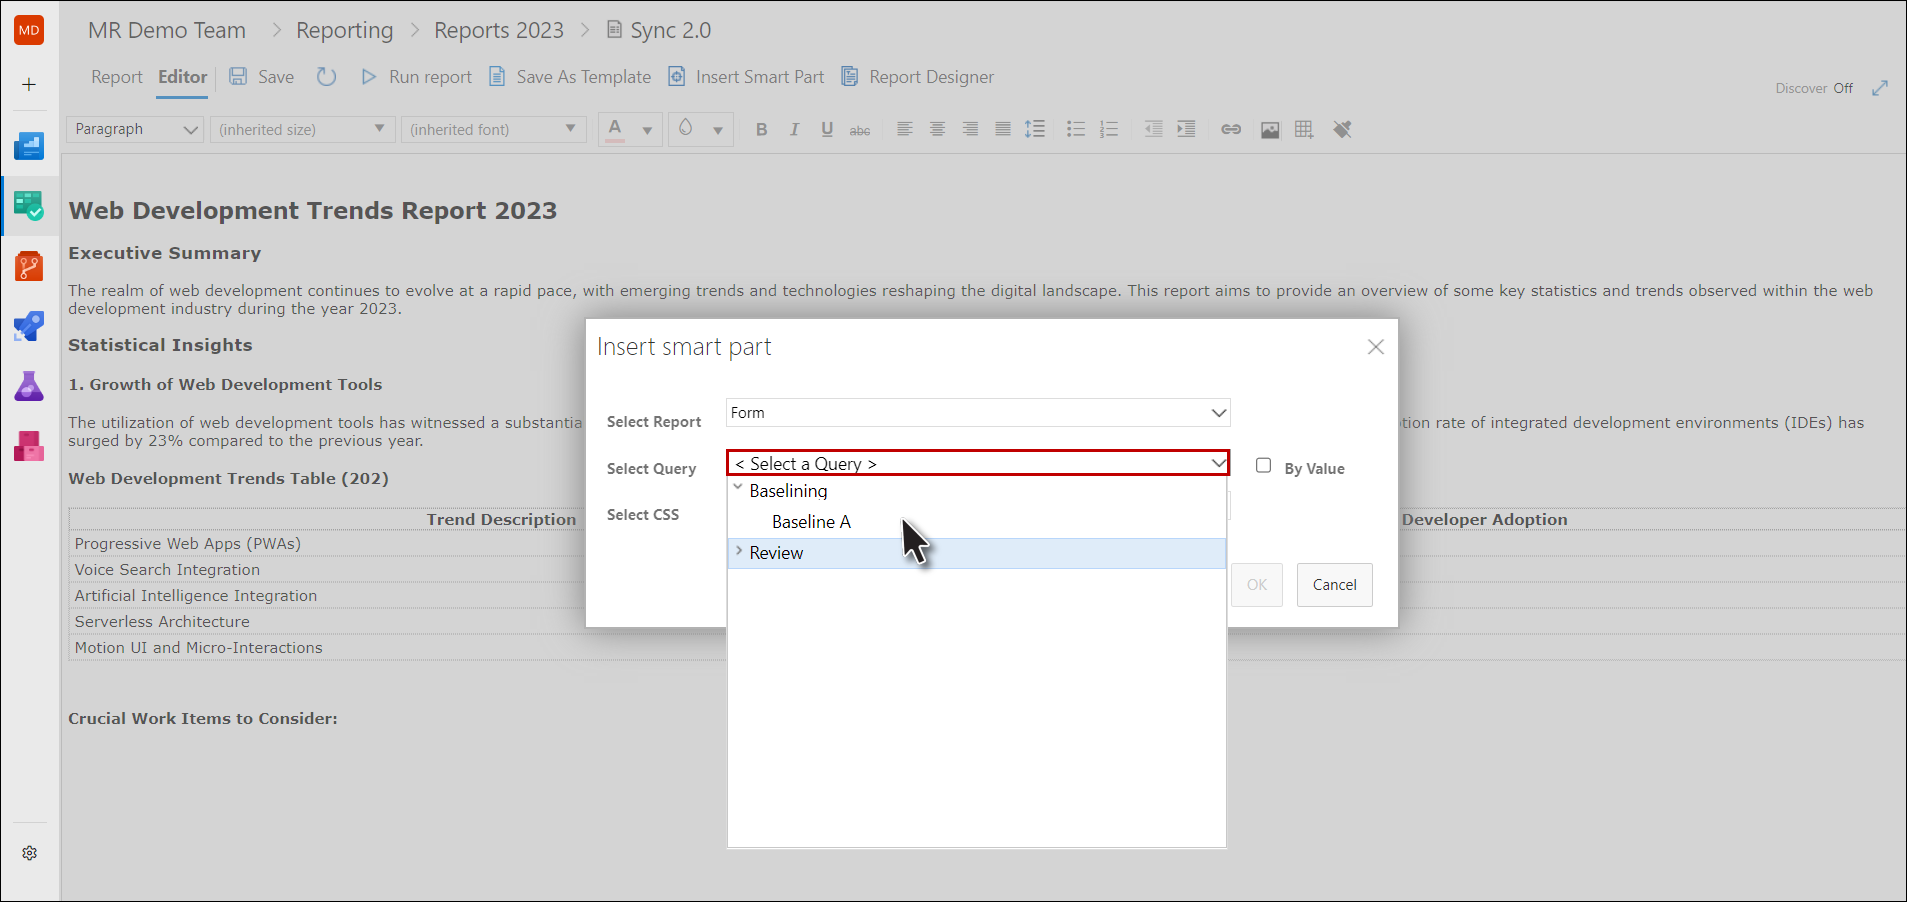
5. Select the desired query.
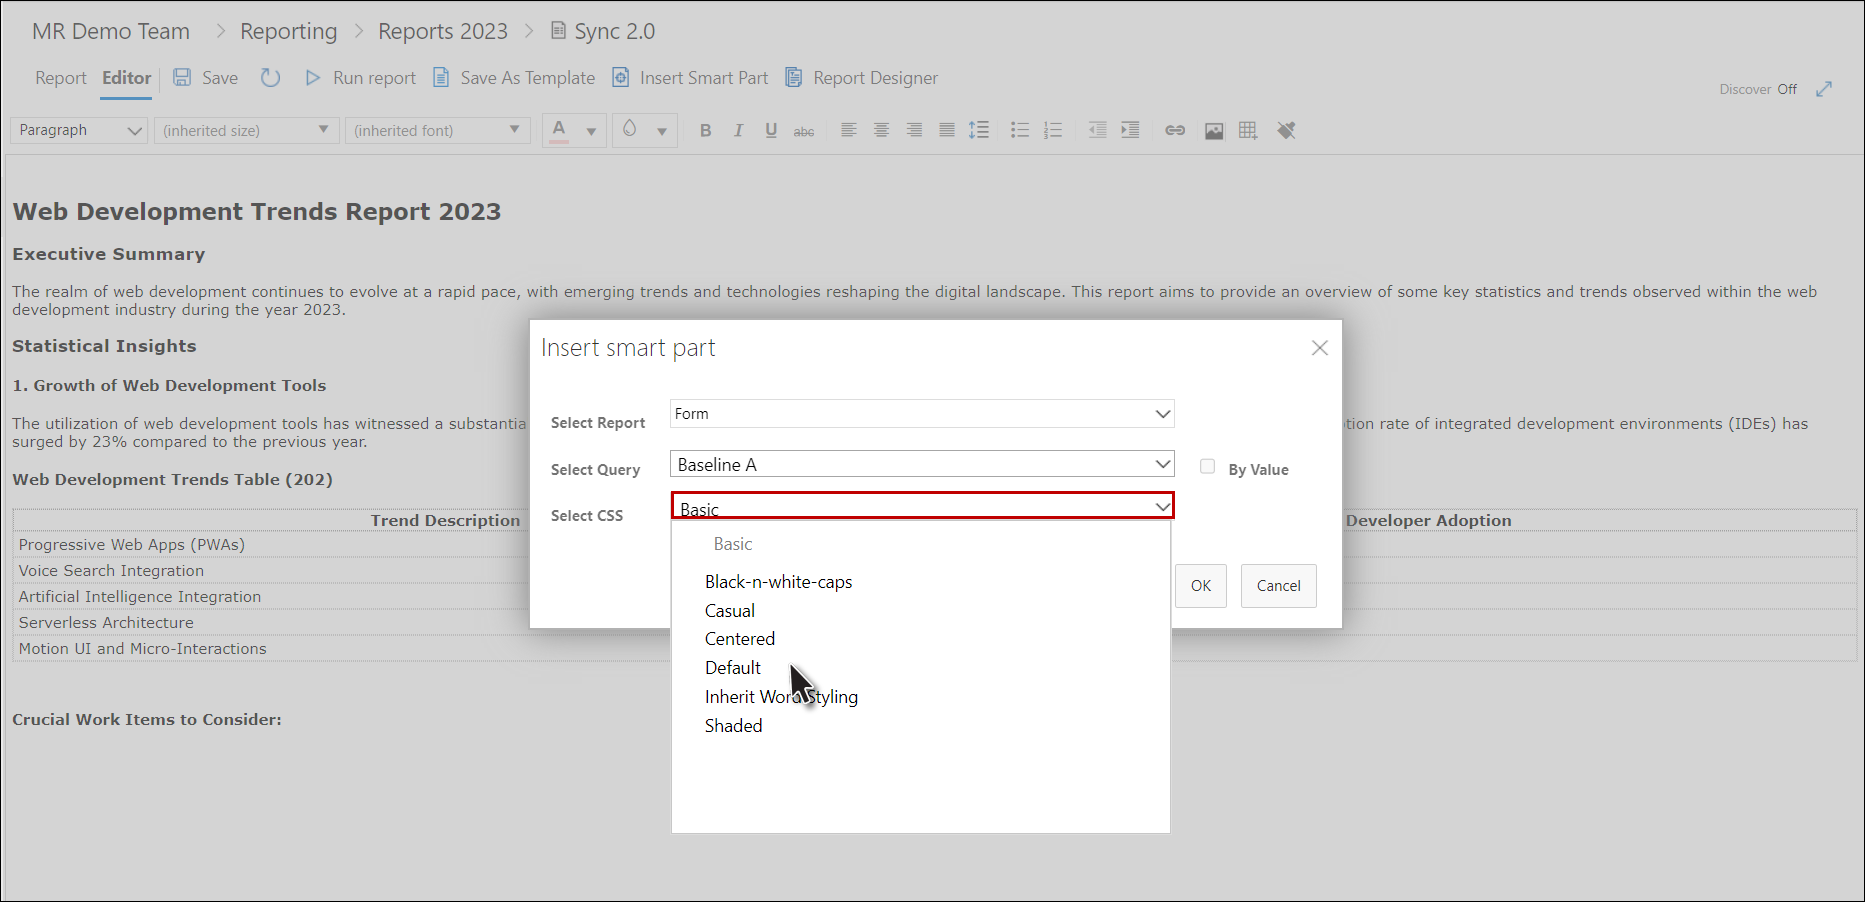
6. Select the desired CSS.
7. Click the OK Button.
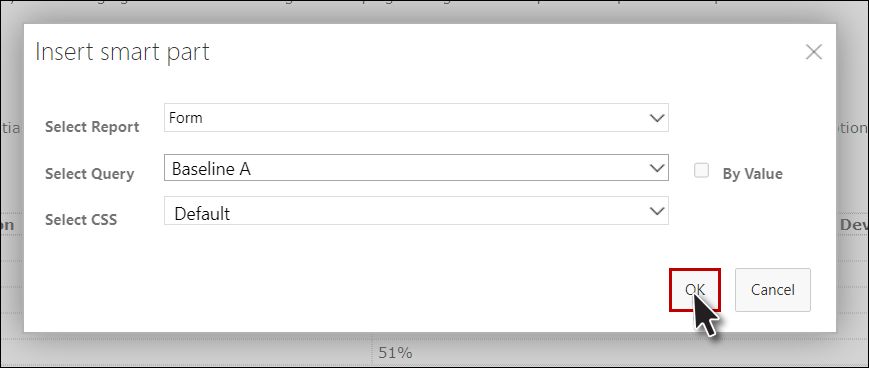
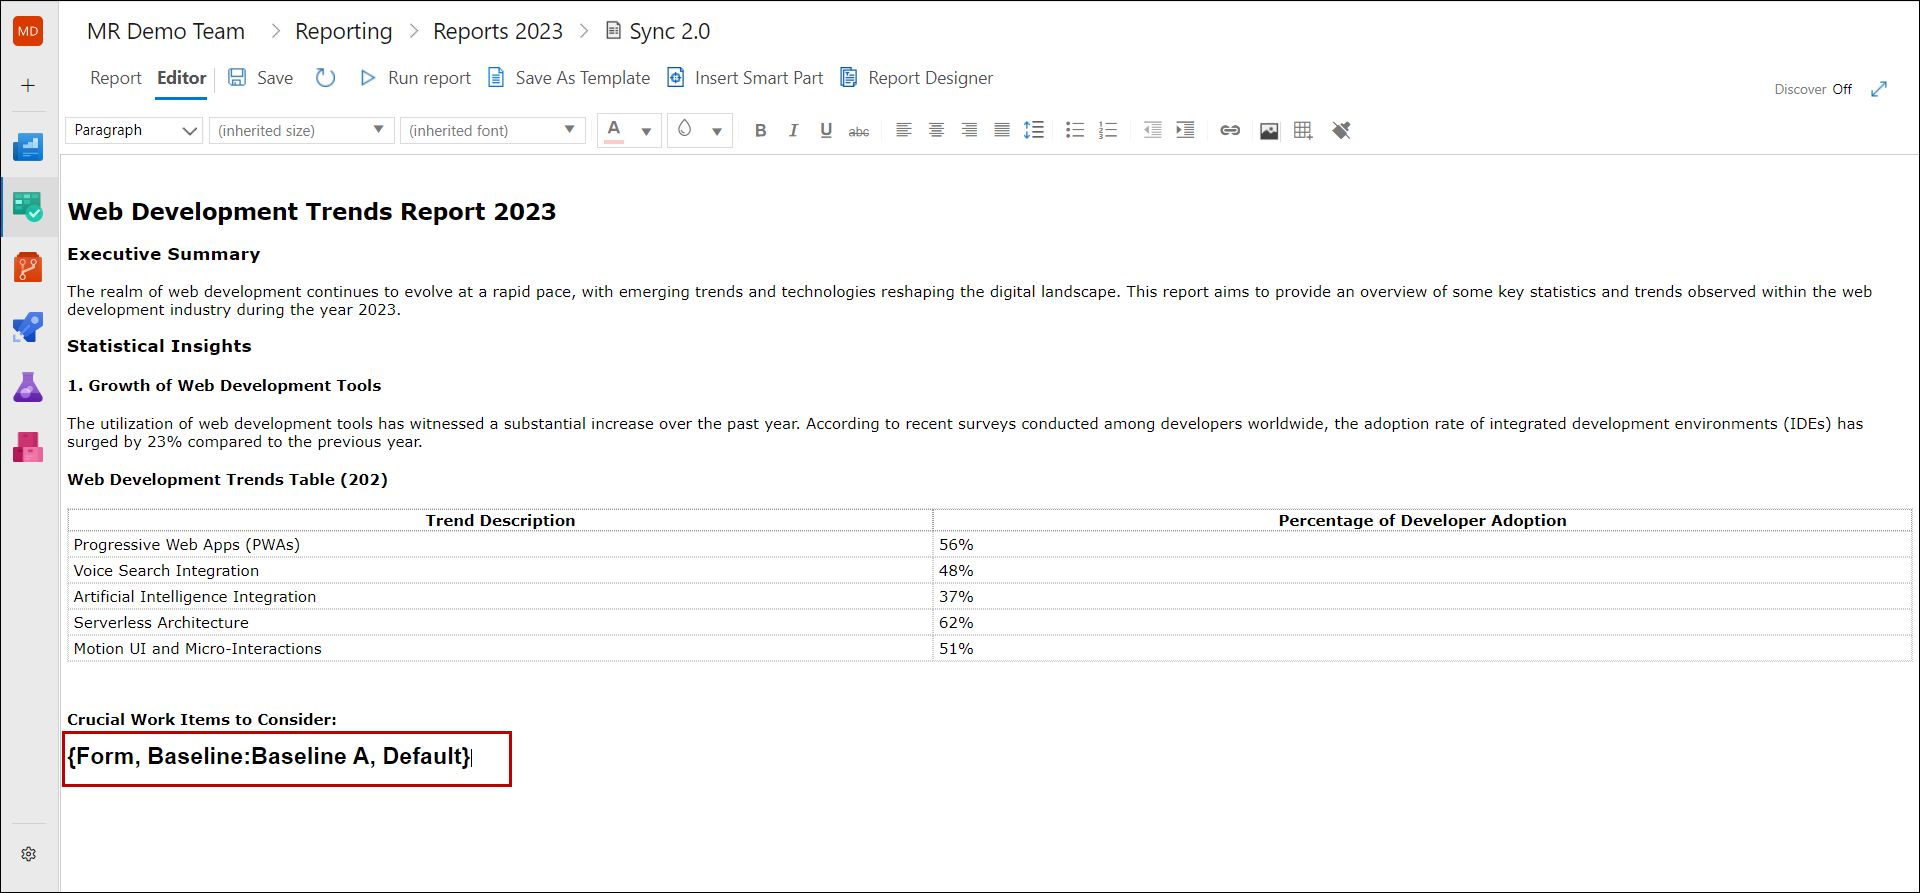
The smart part is added in the Report Editor.
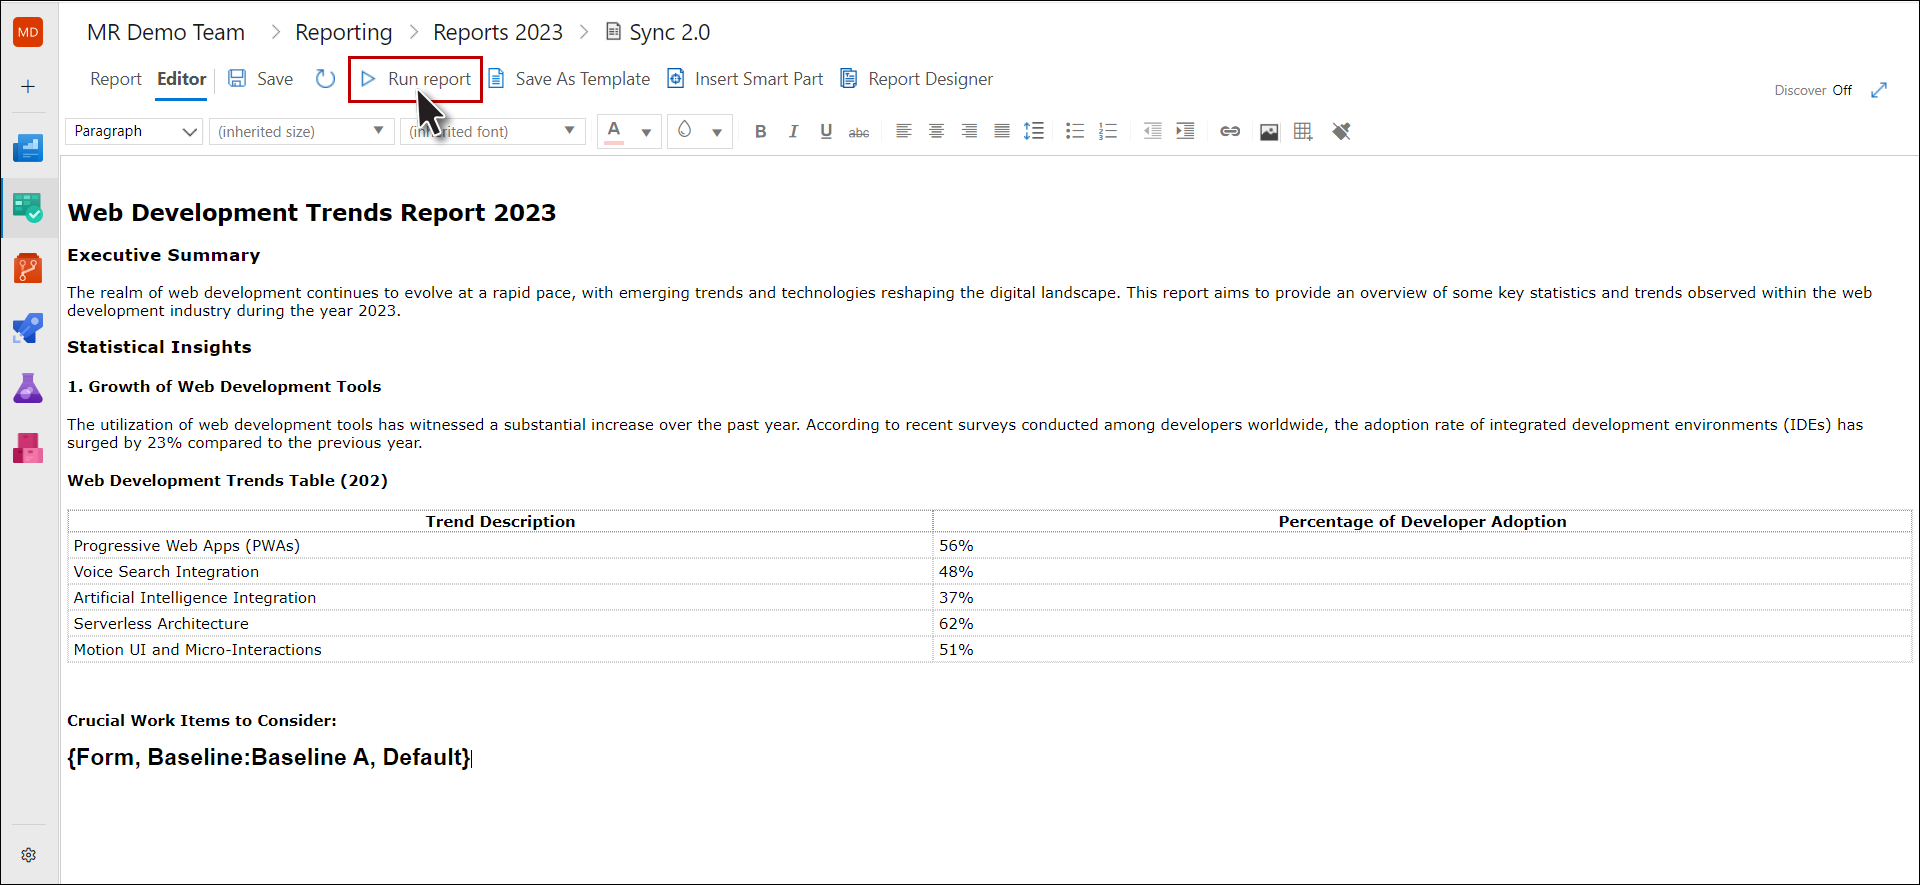
8. Click the " Run Report" option to execute the query that we just added in the report.
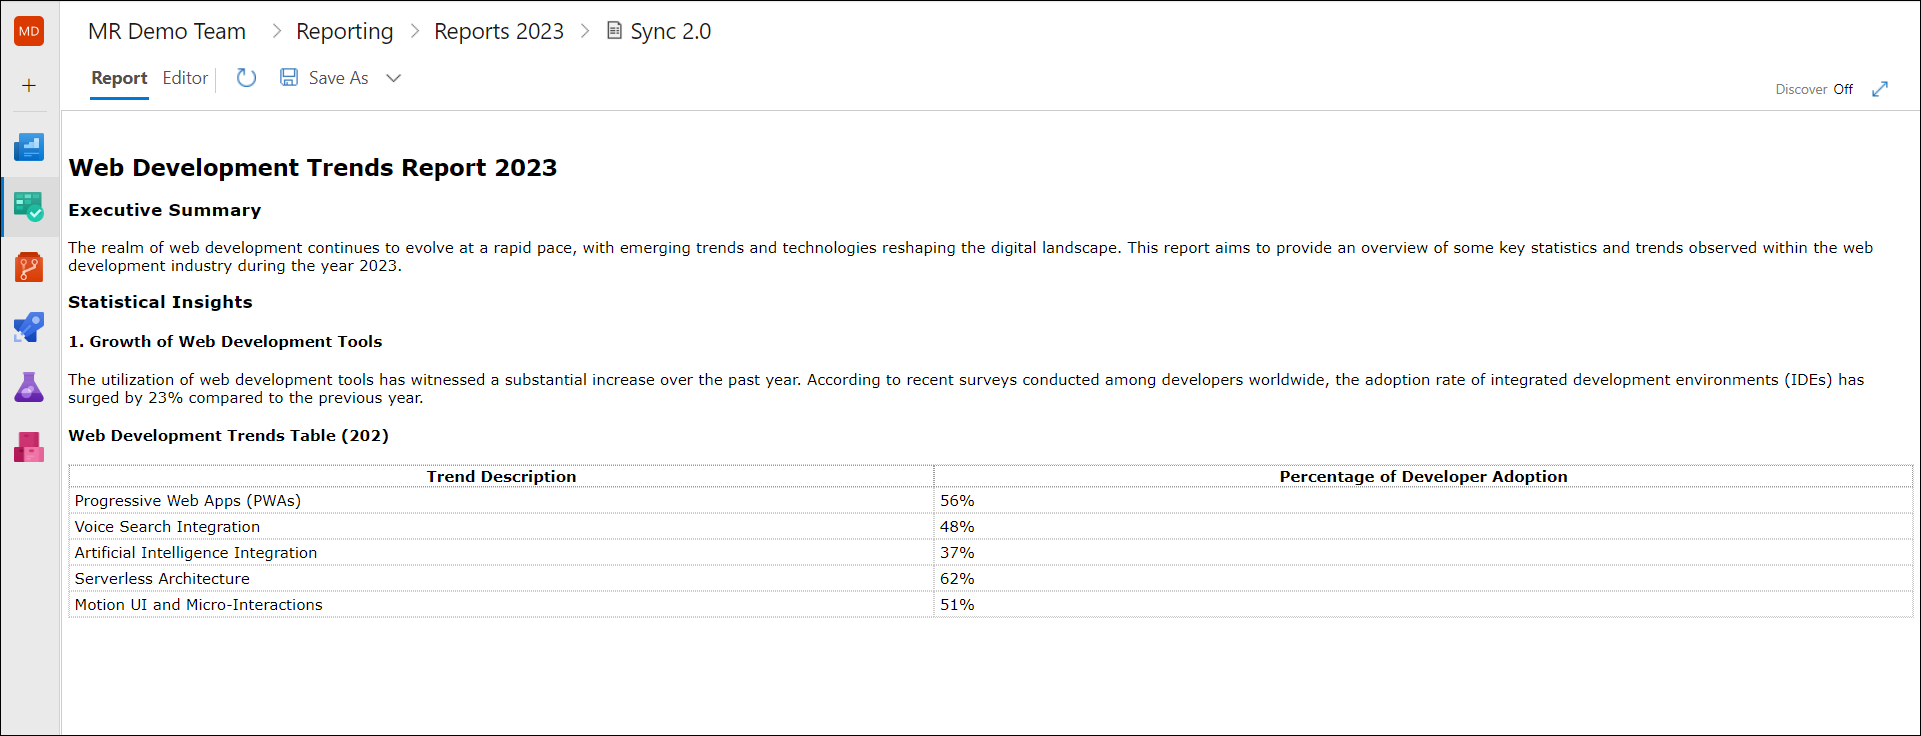
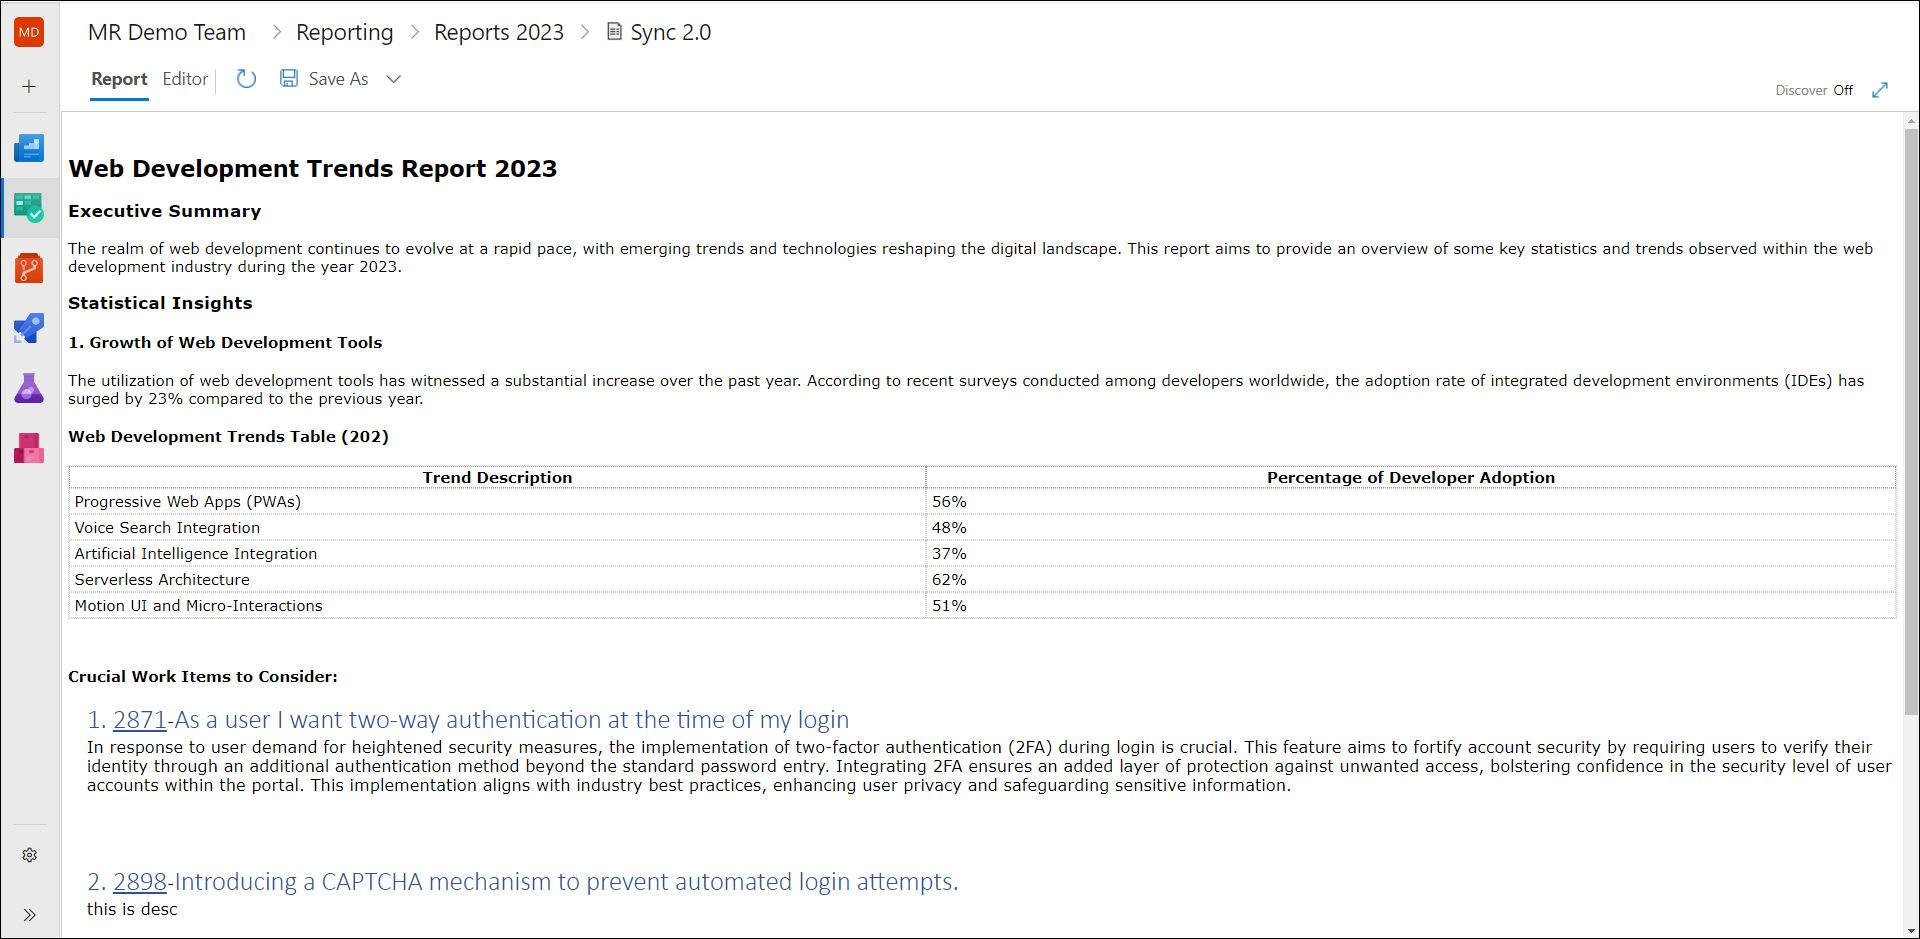
The report (in its finished form) is displayed under the Report Tab.
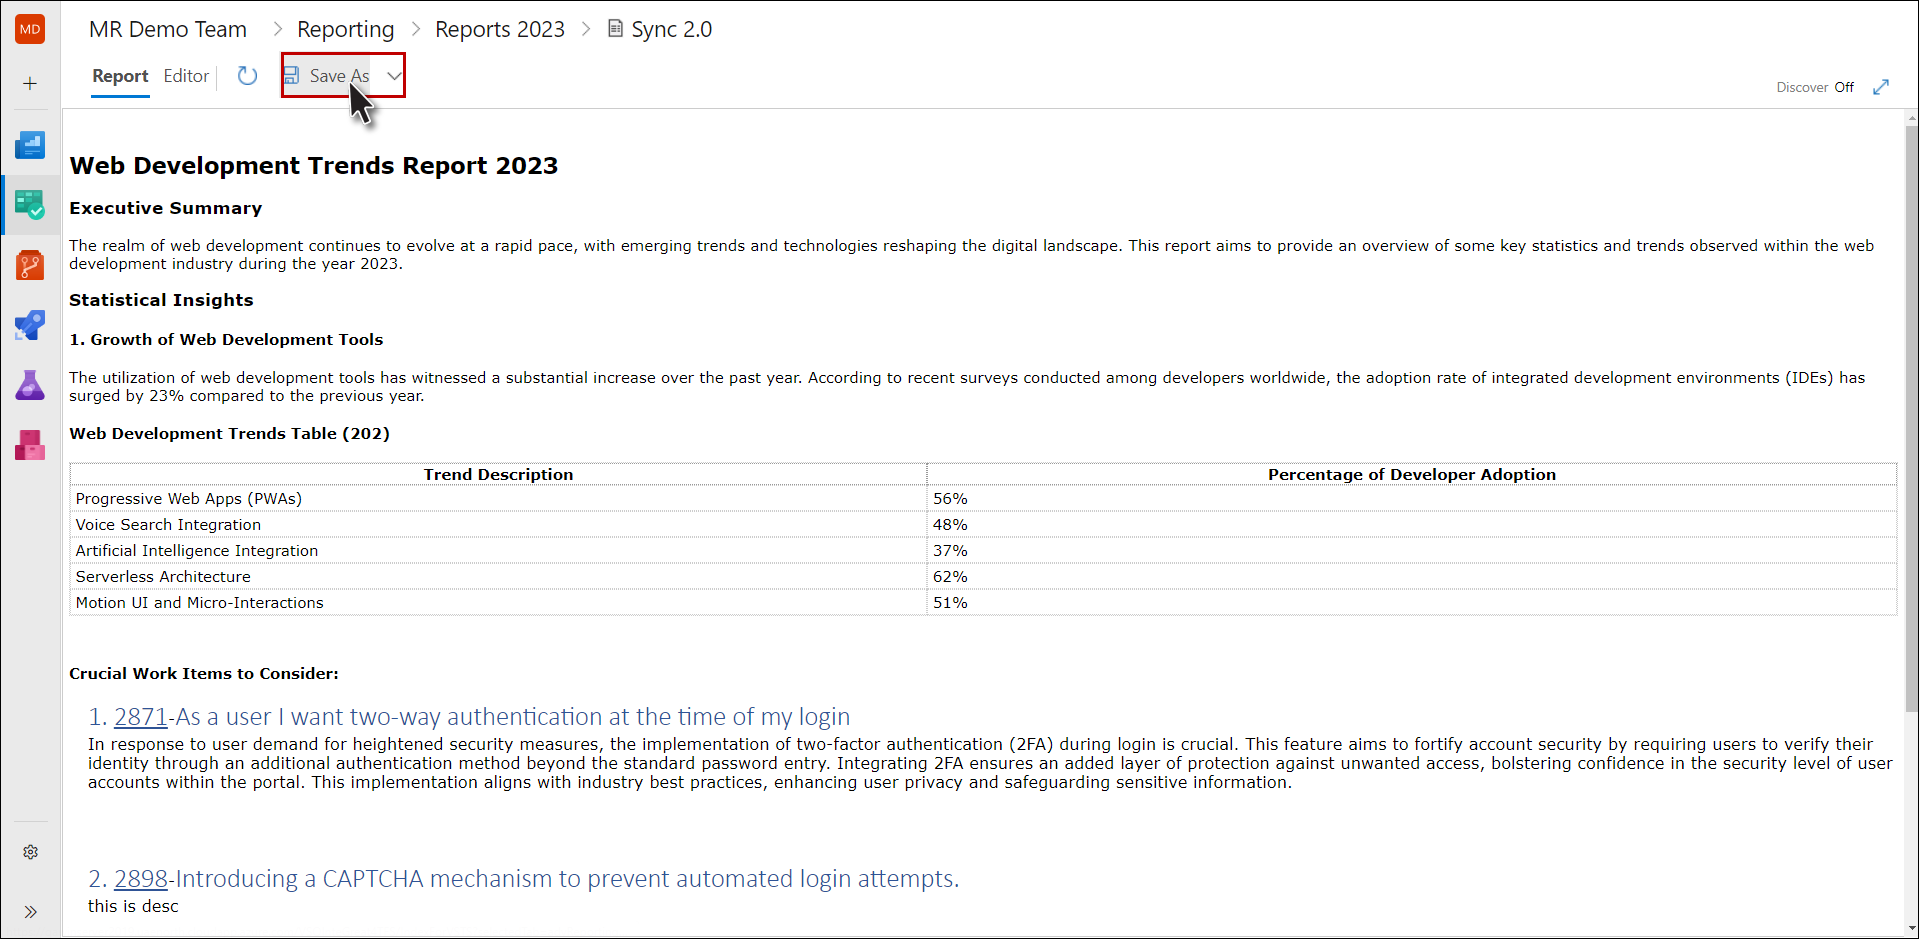
9. Click on the Save As option.
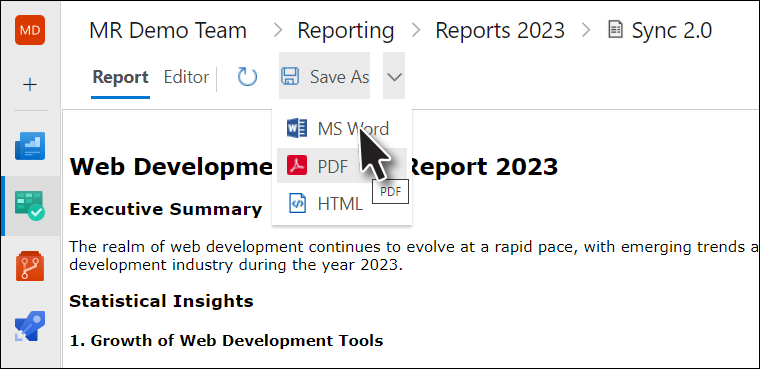
10. Select the desired format
The template selection dialogue box is shown.
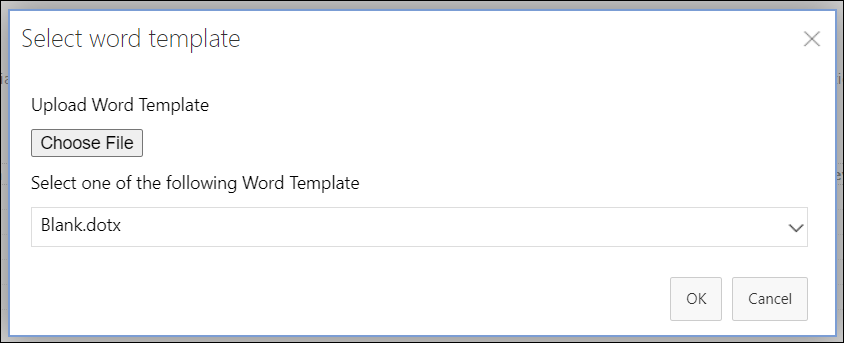
Users can upload their templates to generate the report using customized header/footer and table of contents.
11. Provide the customized template (with .dotx extension) using Choose File option, OR use one of the templates from the dropdown list.
12. Click the OK button.
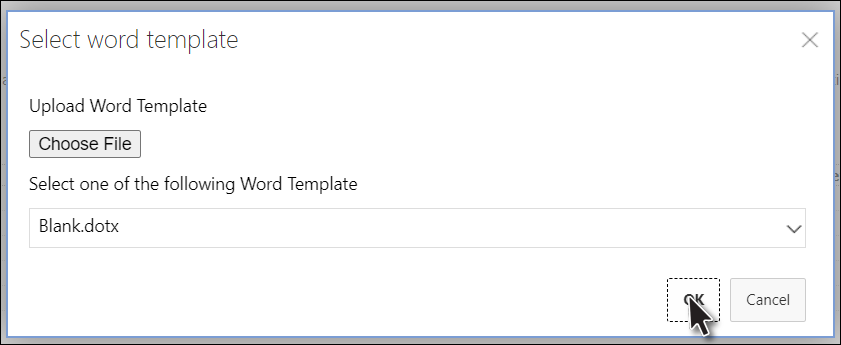
The report is saved in the selected format.
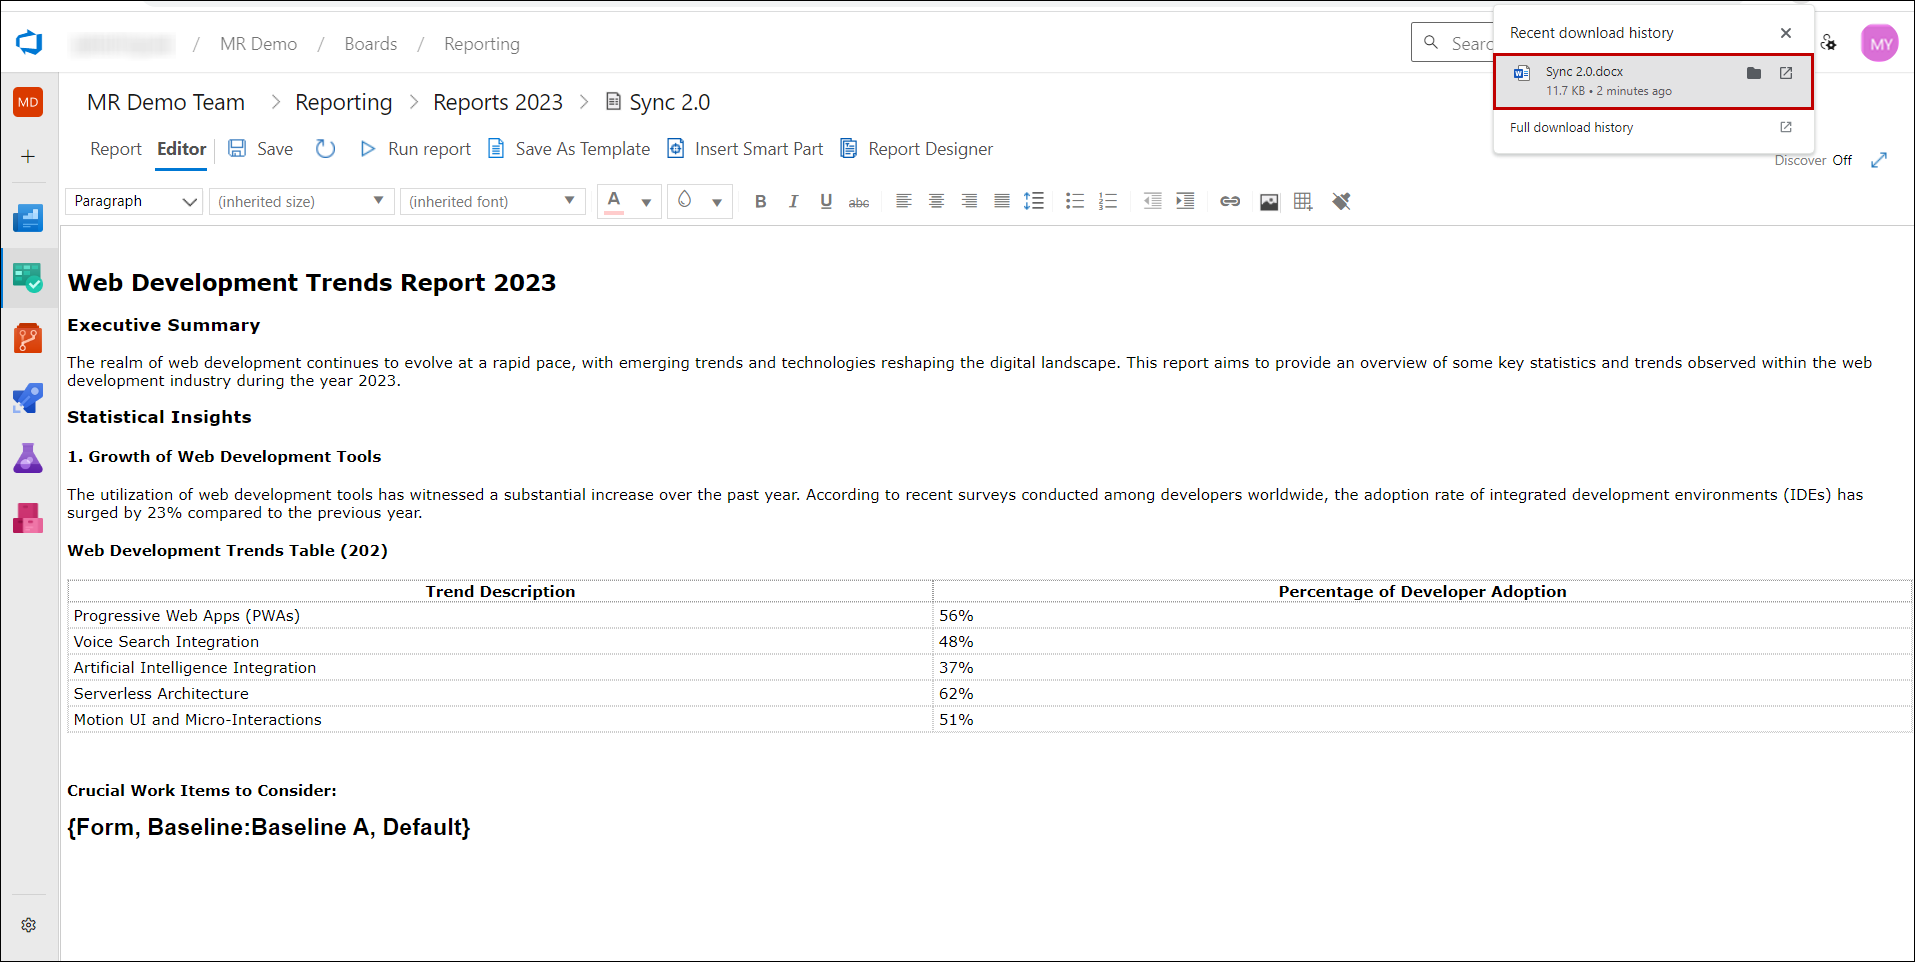
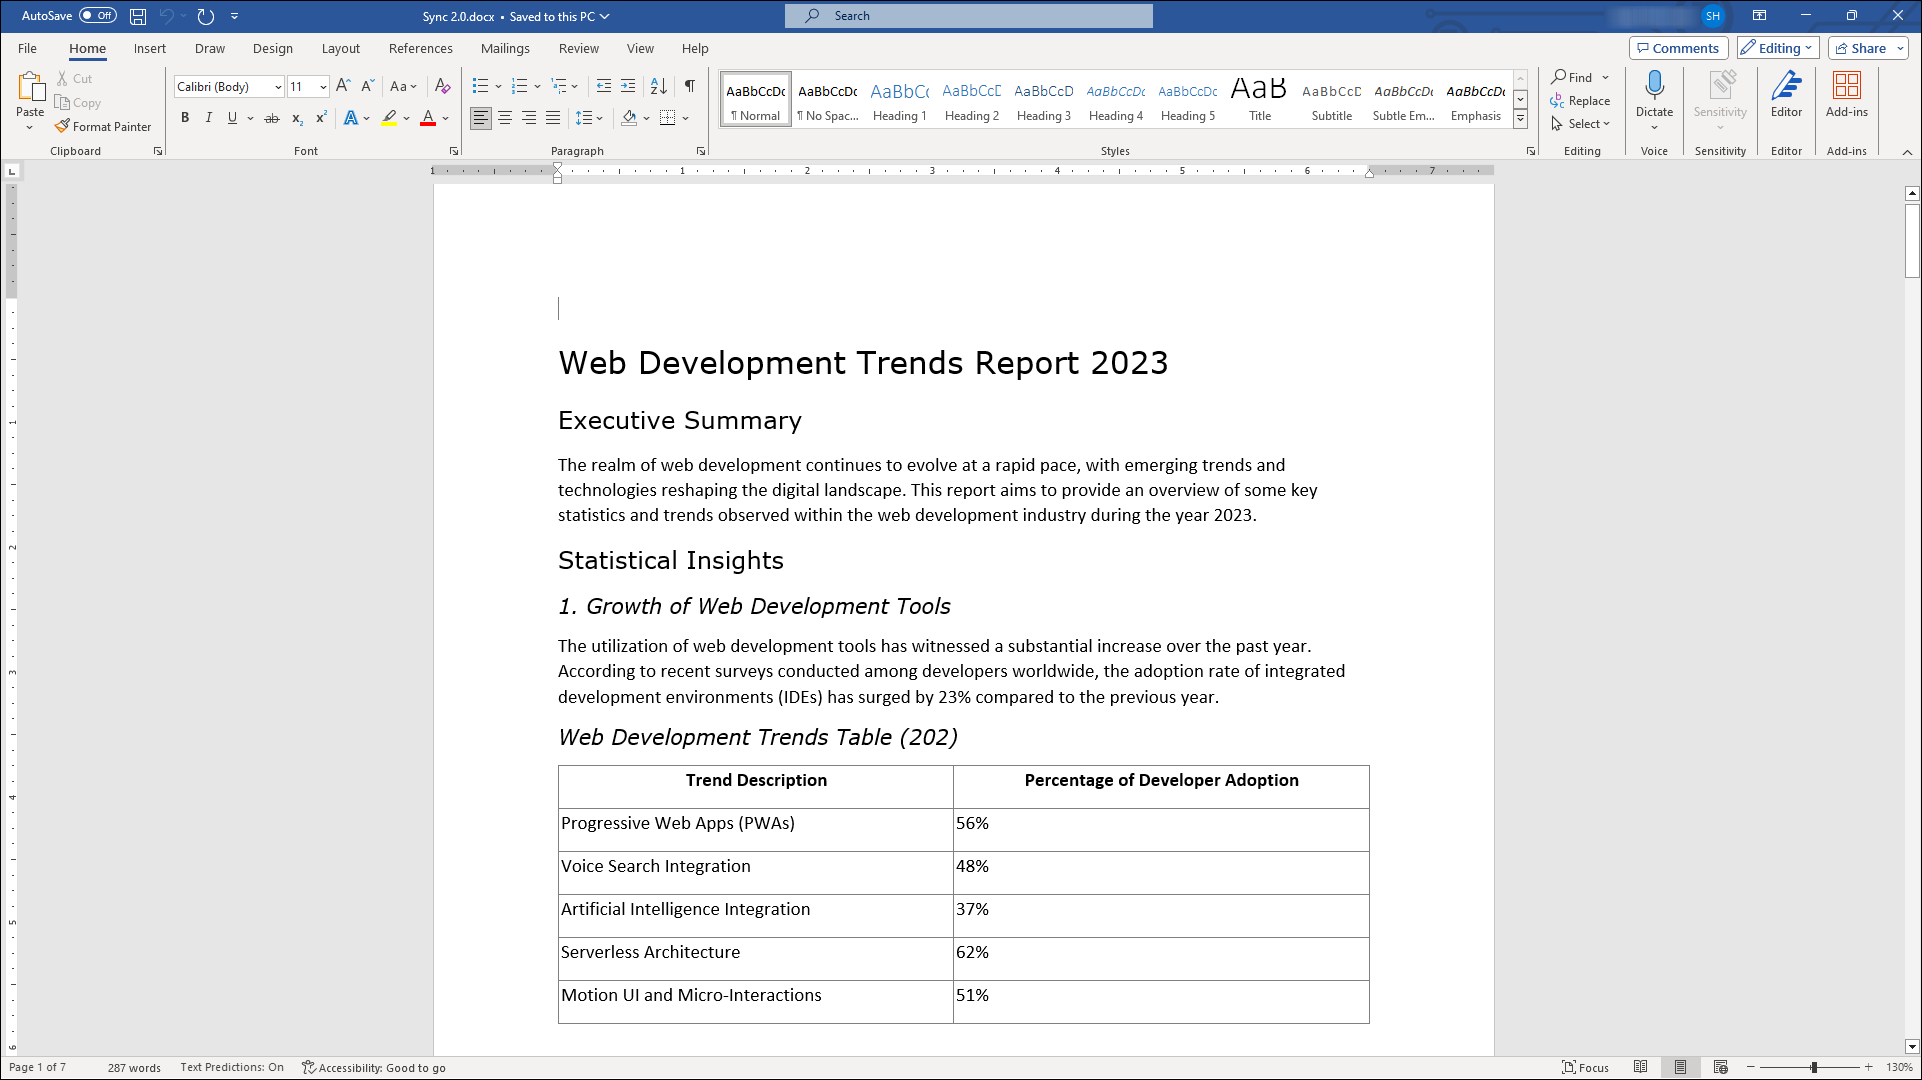
User can now open the saved report.
