Report Designer in Reporting
• The first significant step while designing a report is to select the desired report in the popup window.
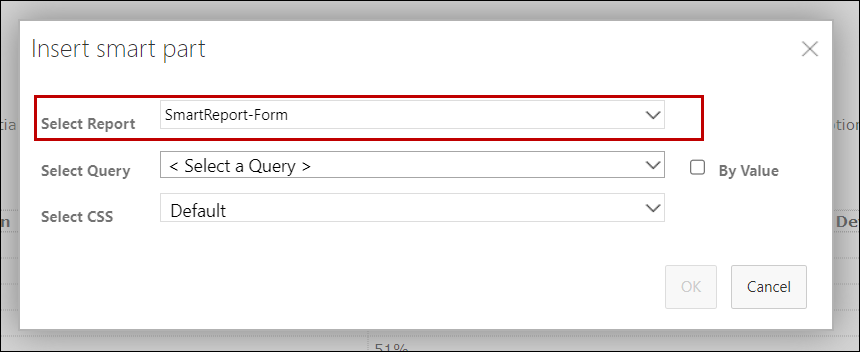
• The list of reports available in this option, mainly contains templates that are shipped with Modern Requirements4DevOps.
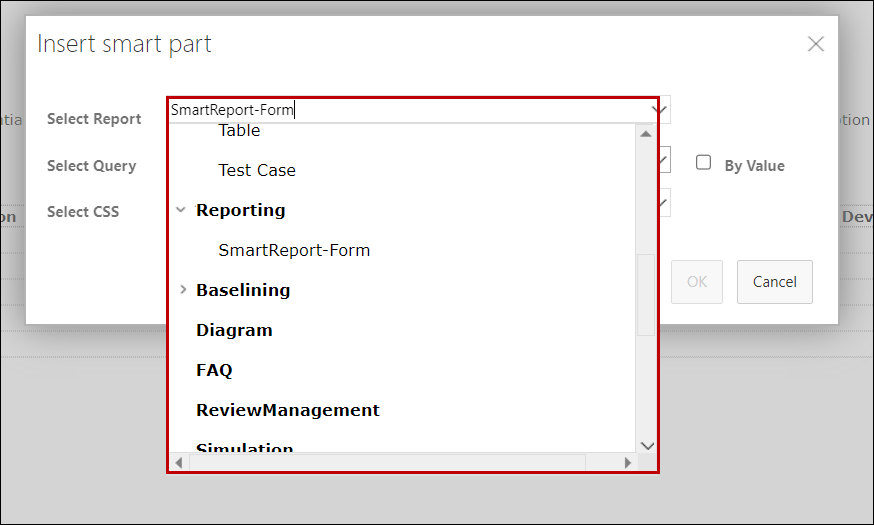
• The purpose of Report Designer in Reporting is to create custom built reports, that can be reused whenever and wherever required.
• The feature is also used to filter out data from existing reports from Baseline and Trace Analysis.
• The process to create a report using Report Designer is elaborated in the following steps:
1. Design the report as described in Designing the report.
2. Instead of Insert Smart Part, Click on Report Designer option in the toolbar.
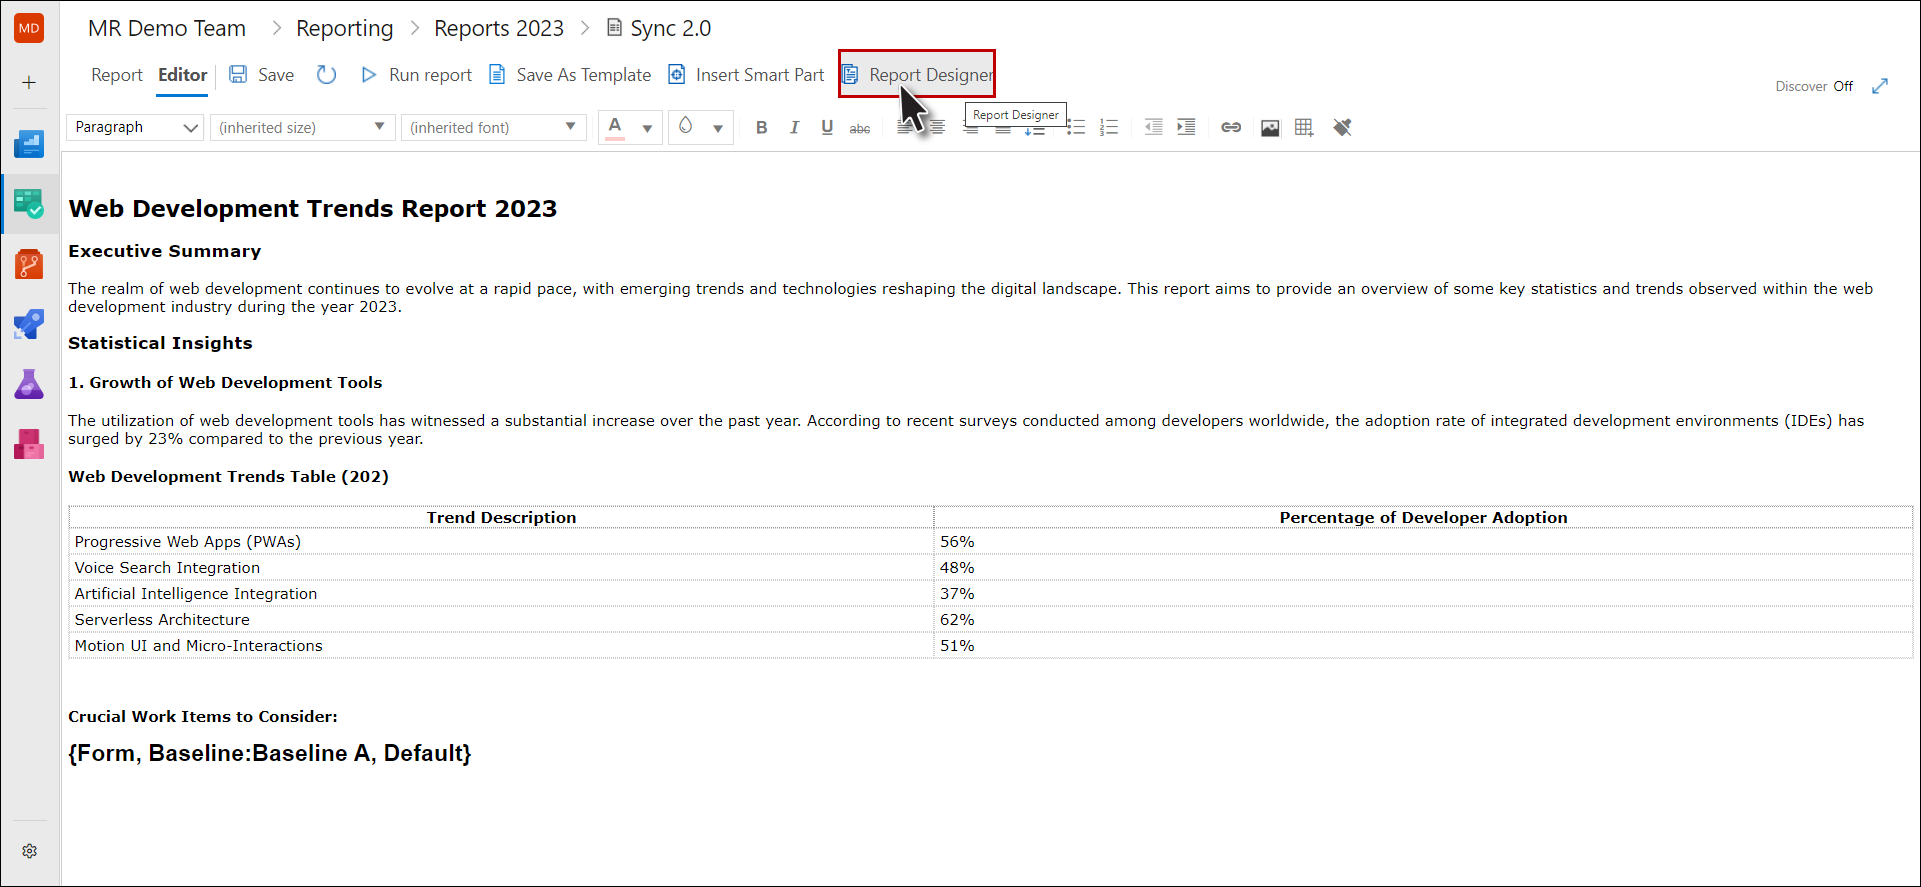
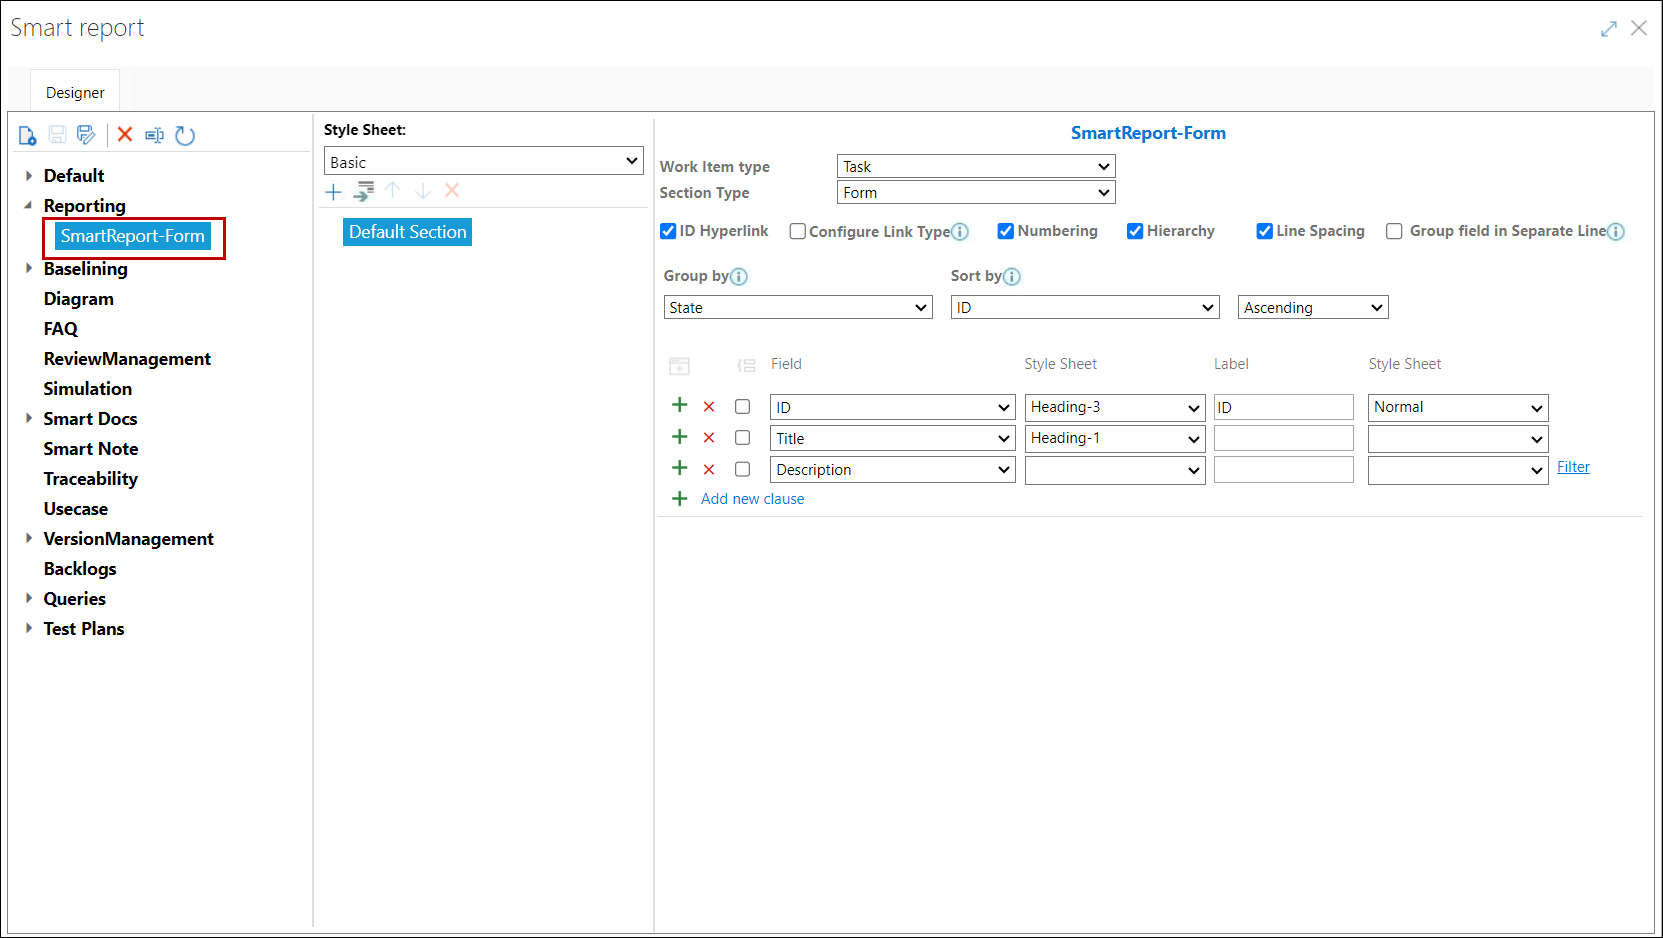
The Smart Report dialogue box appears.
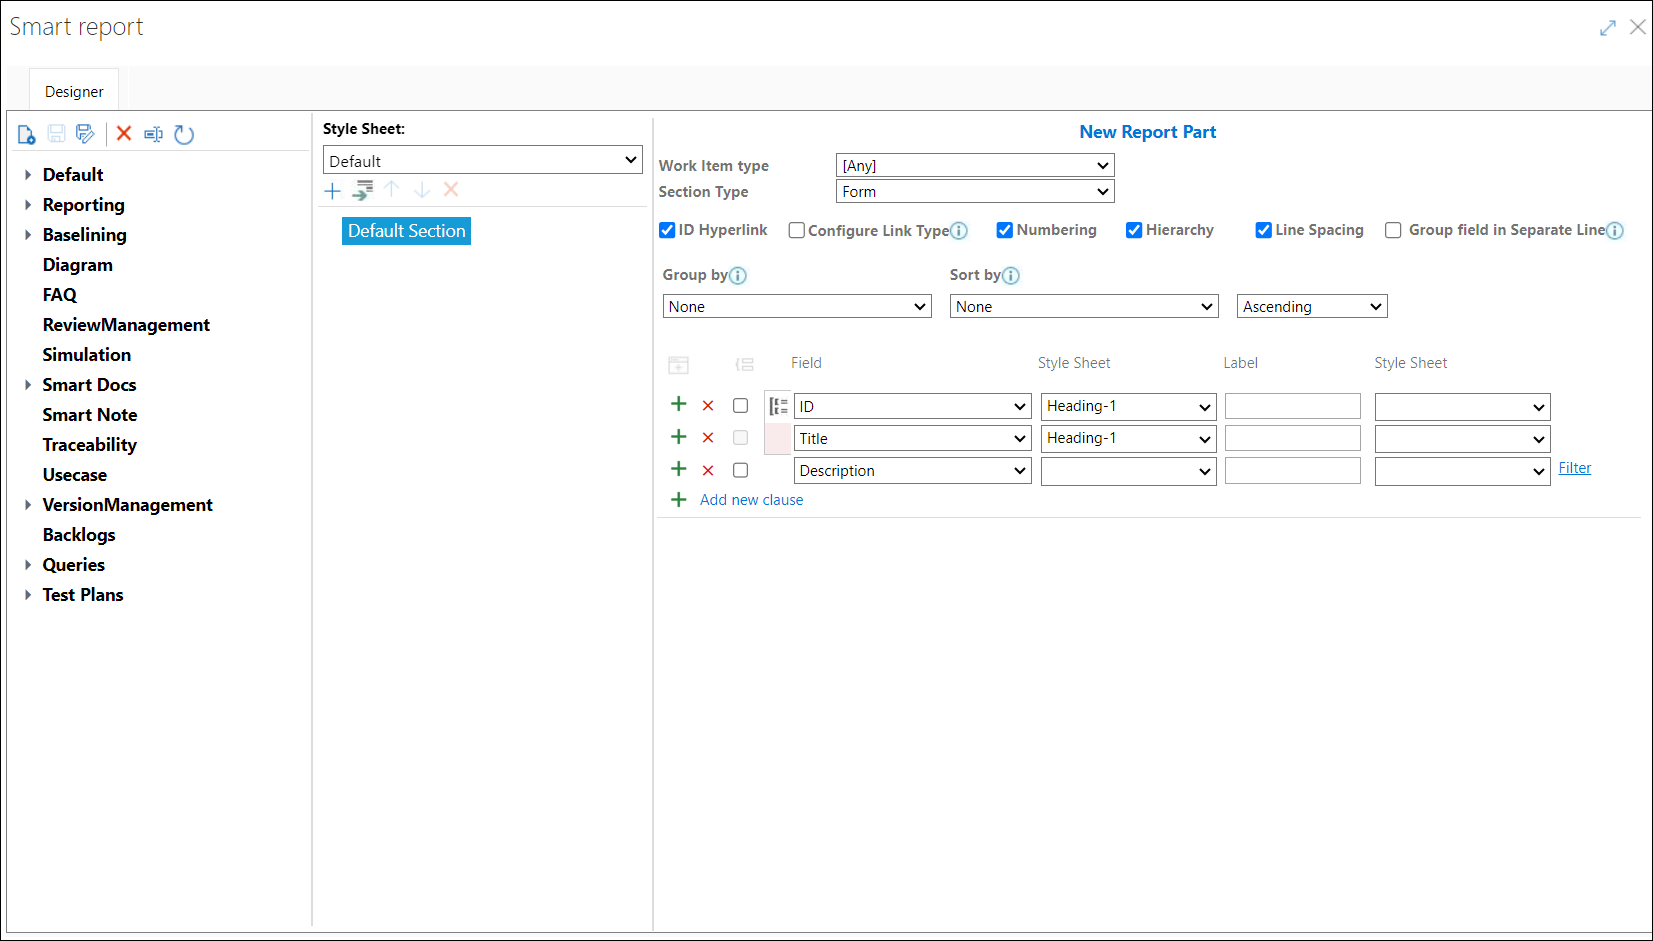
3. Select the overall style sheet for the report.
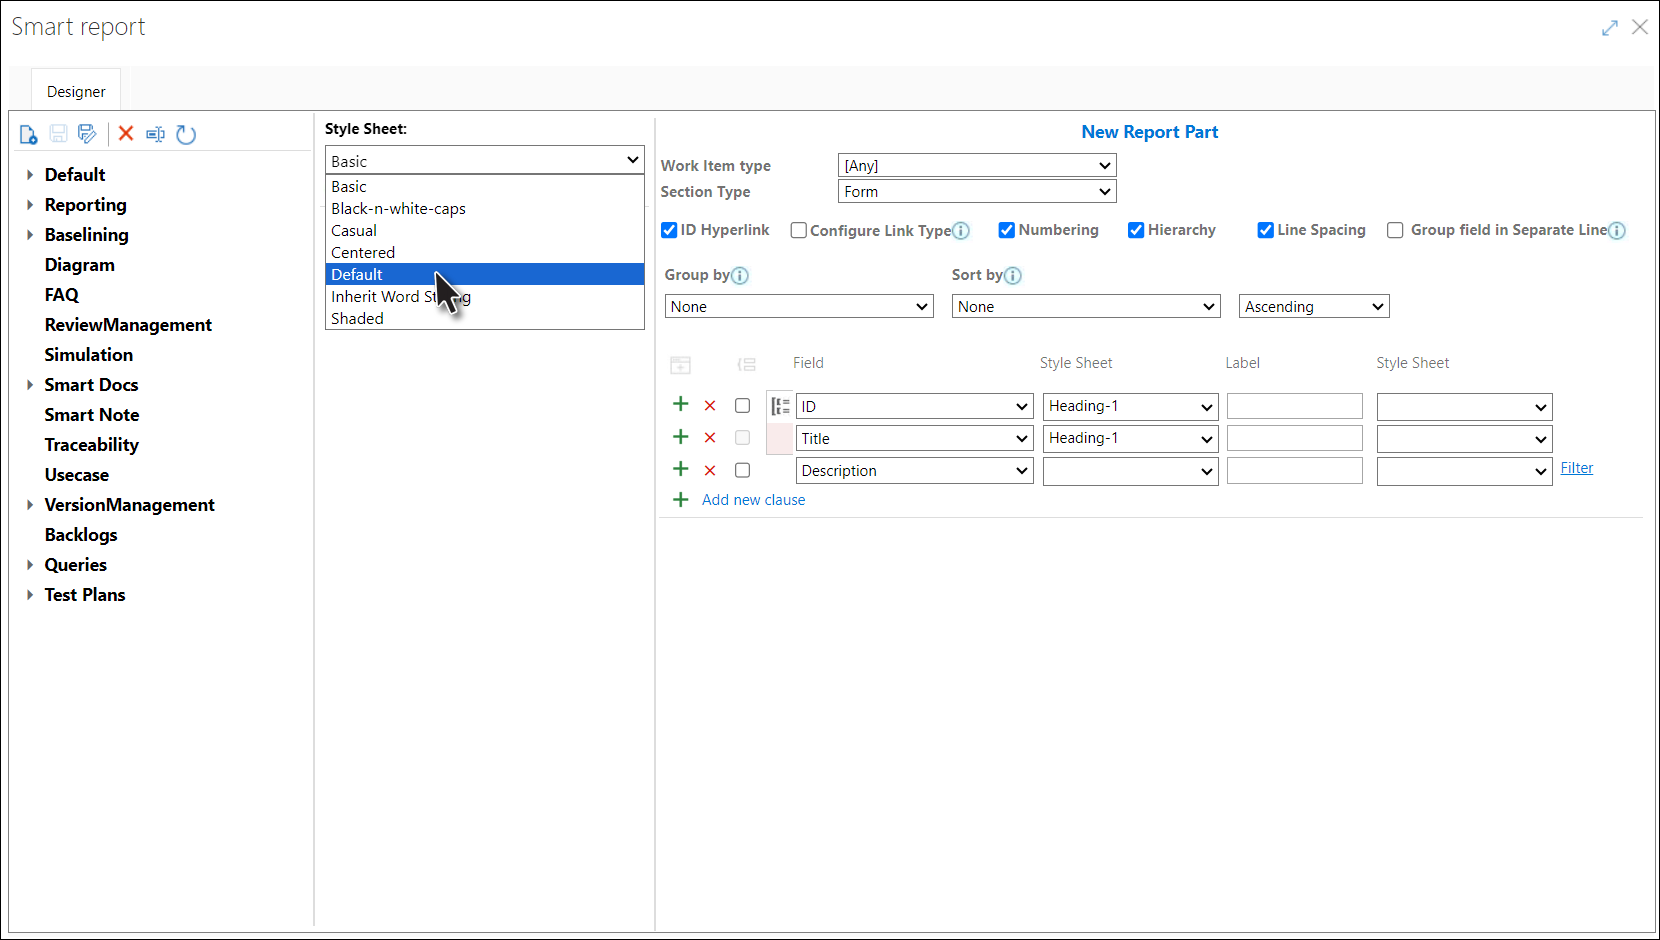
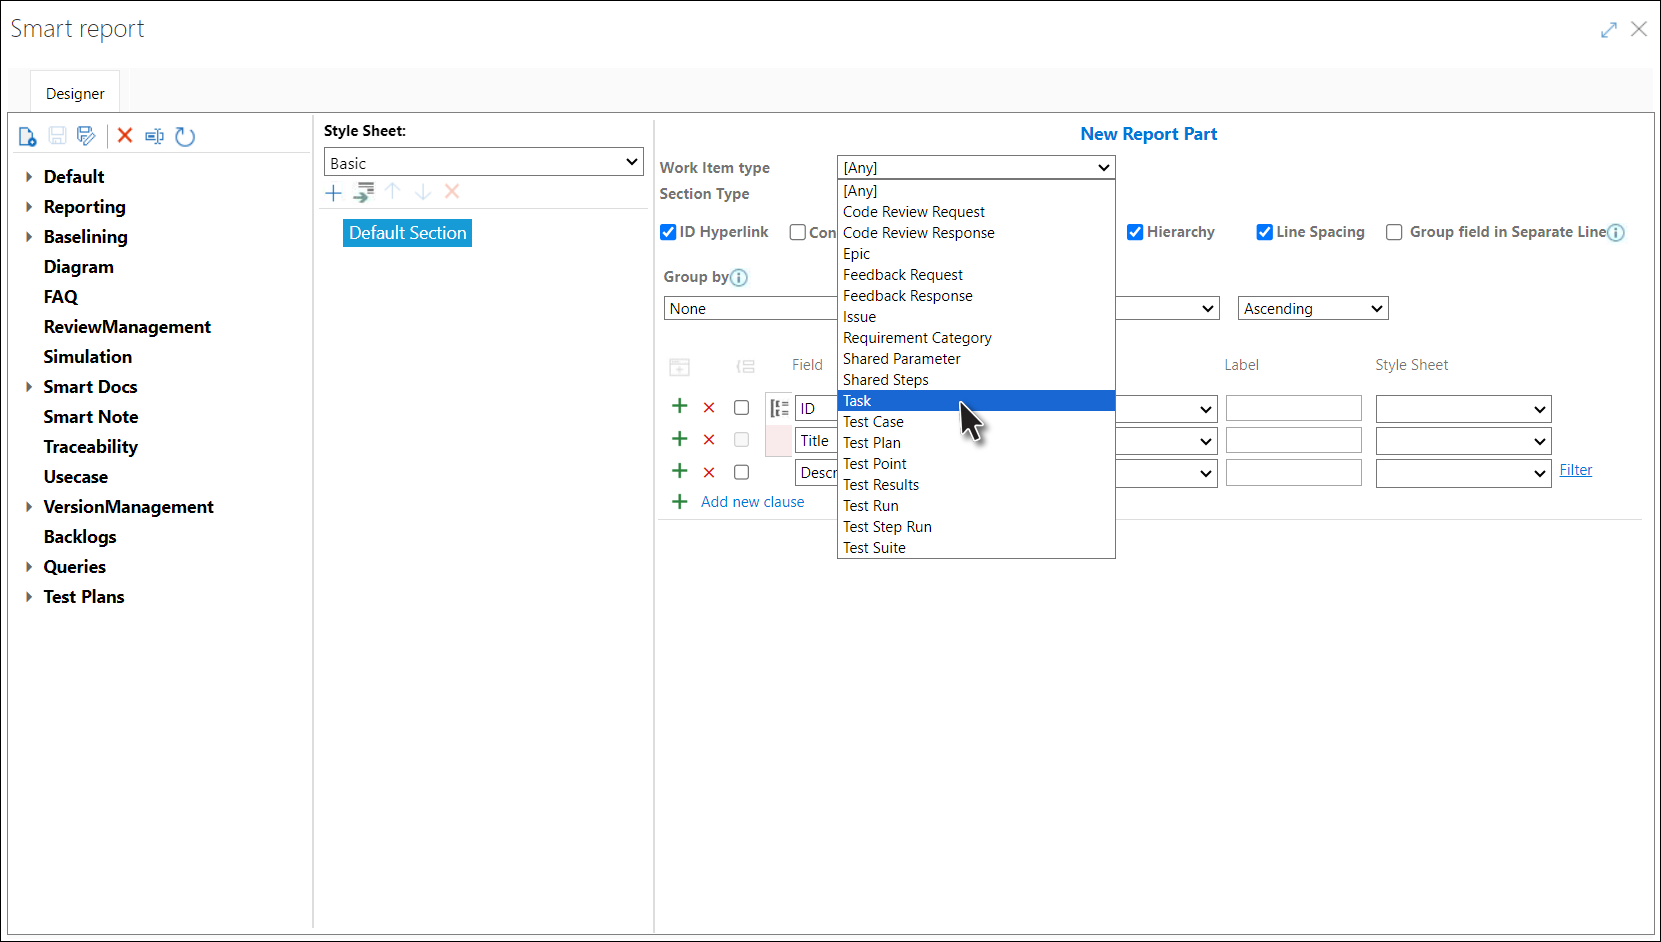
4. Select the Work Item that are to be included in the report.
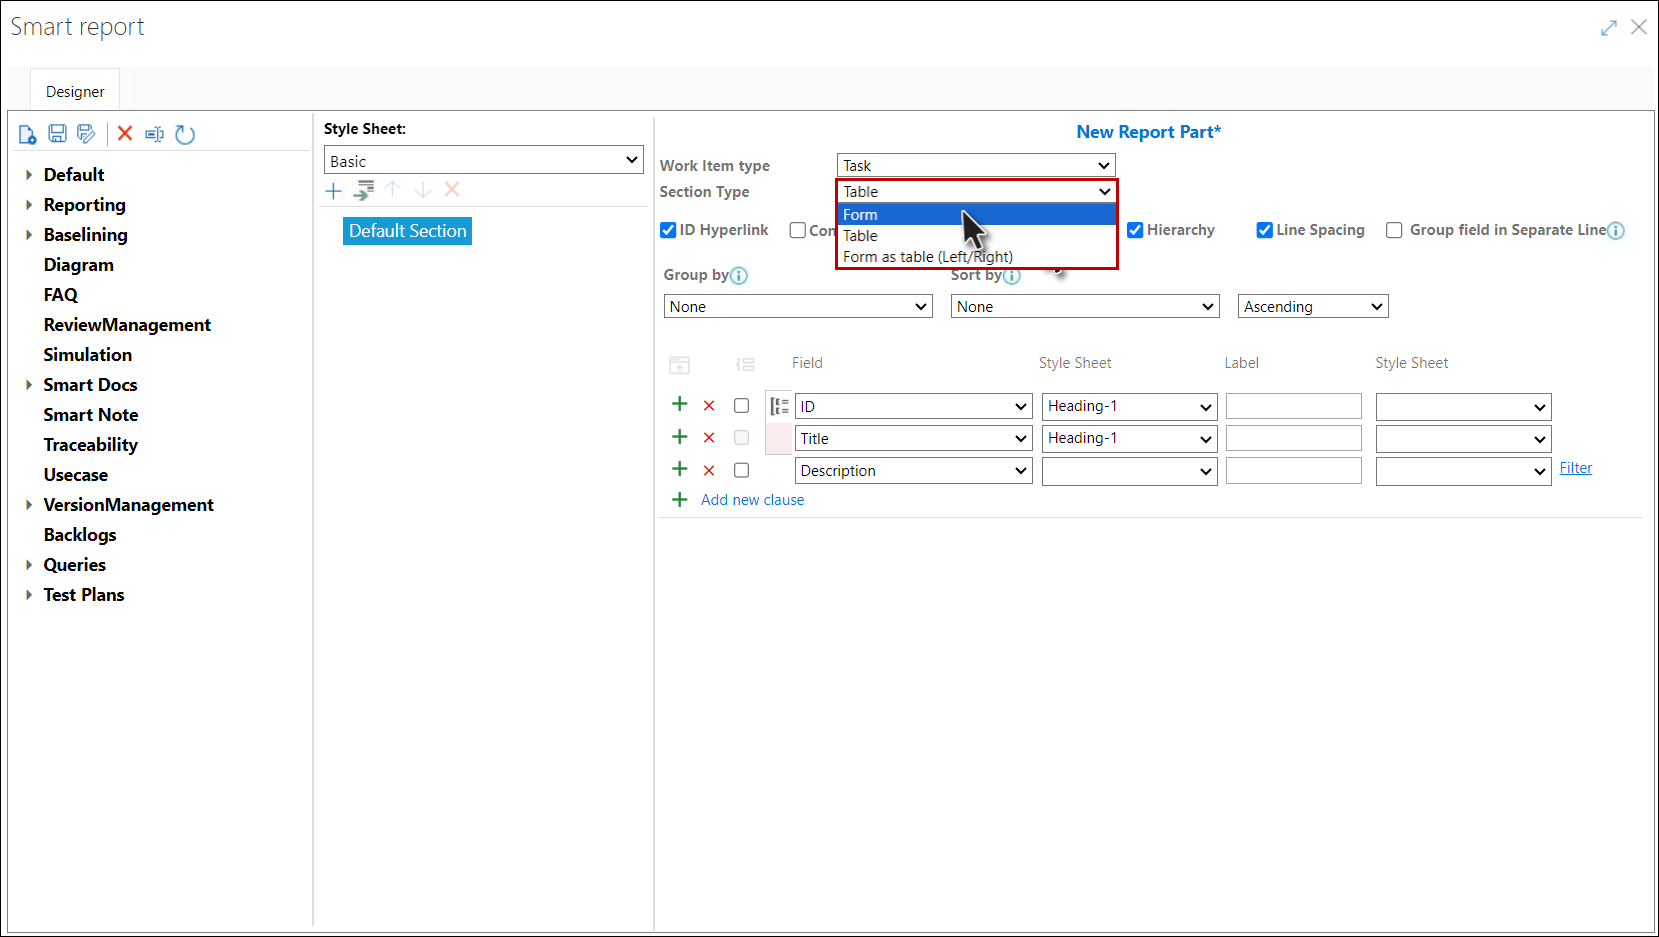
5. Select (the format) how the selected Work Items are to be displayed.
6. Select the desired Group by option.
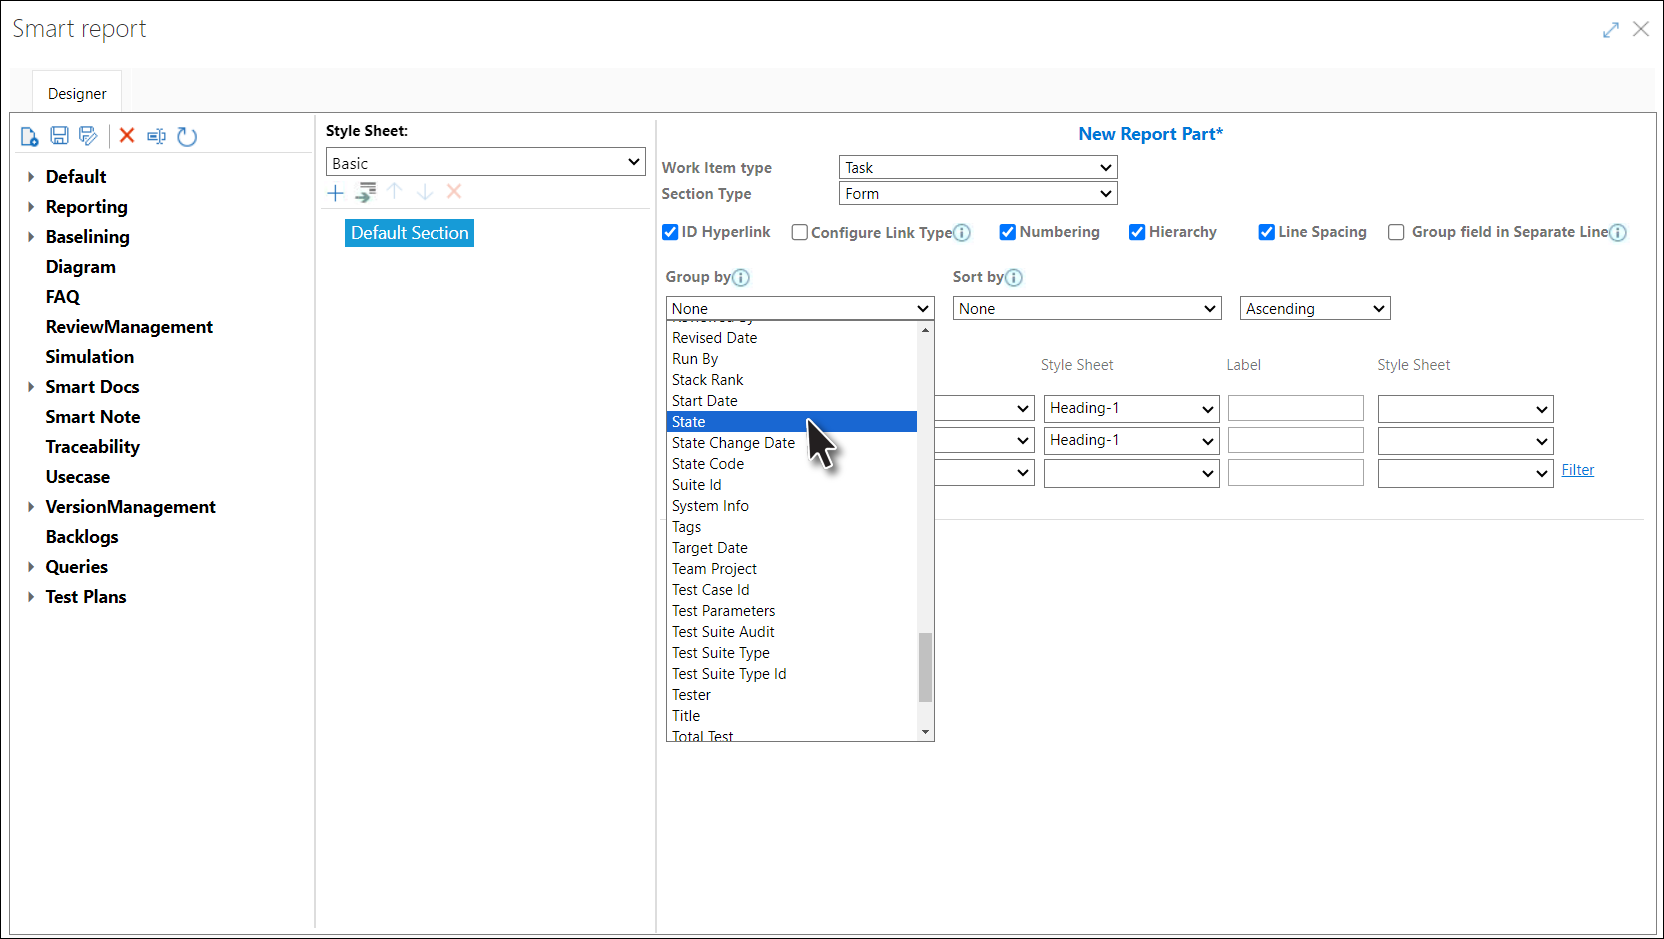
7. Select the desired Sort by option.
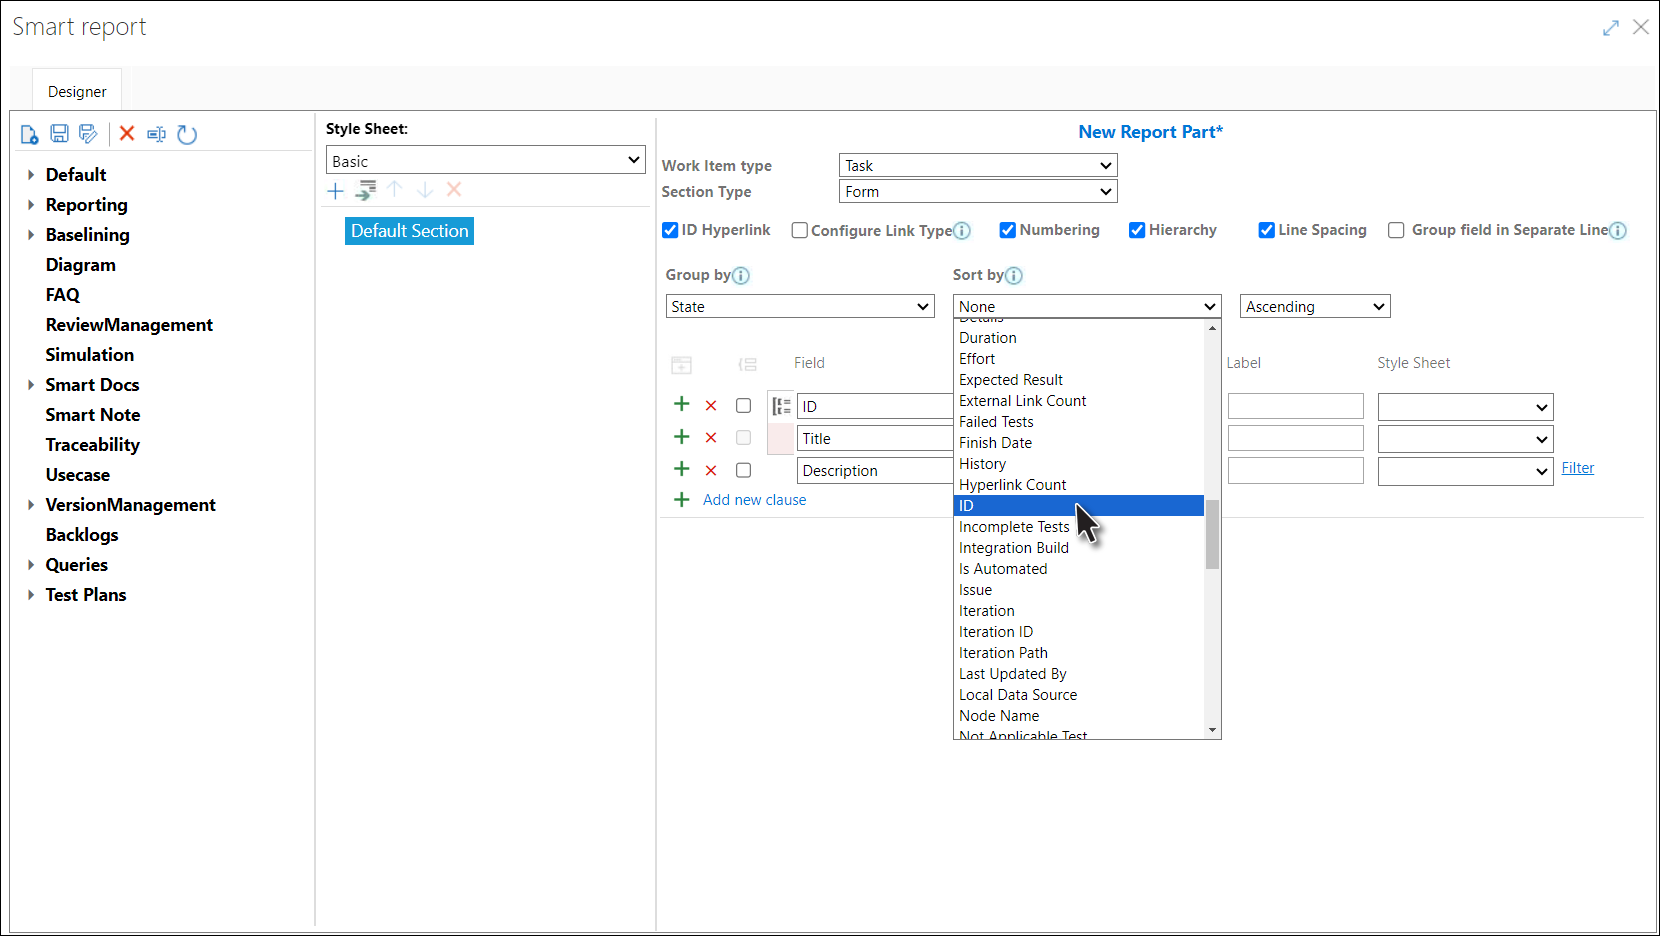
8. Select the desired ascending or descending order.

9. Select the Work Item's field to show in the report.
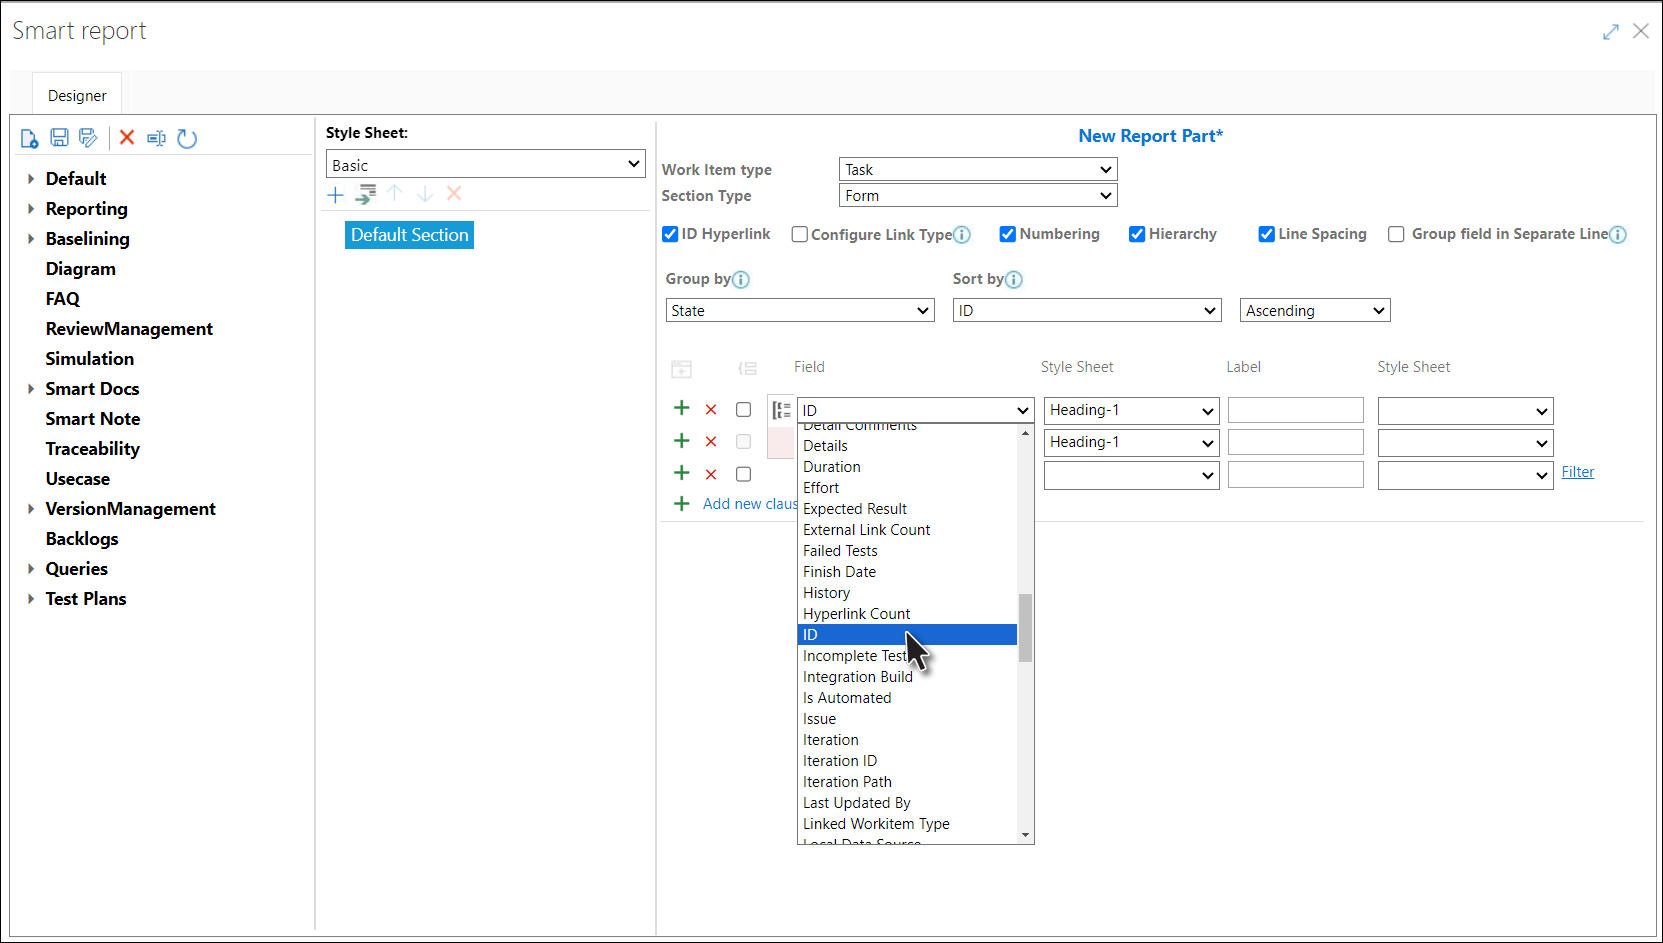
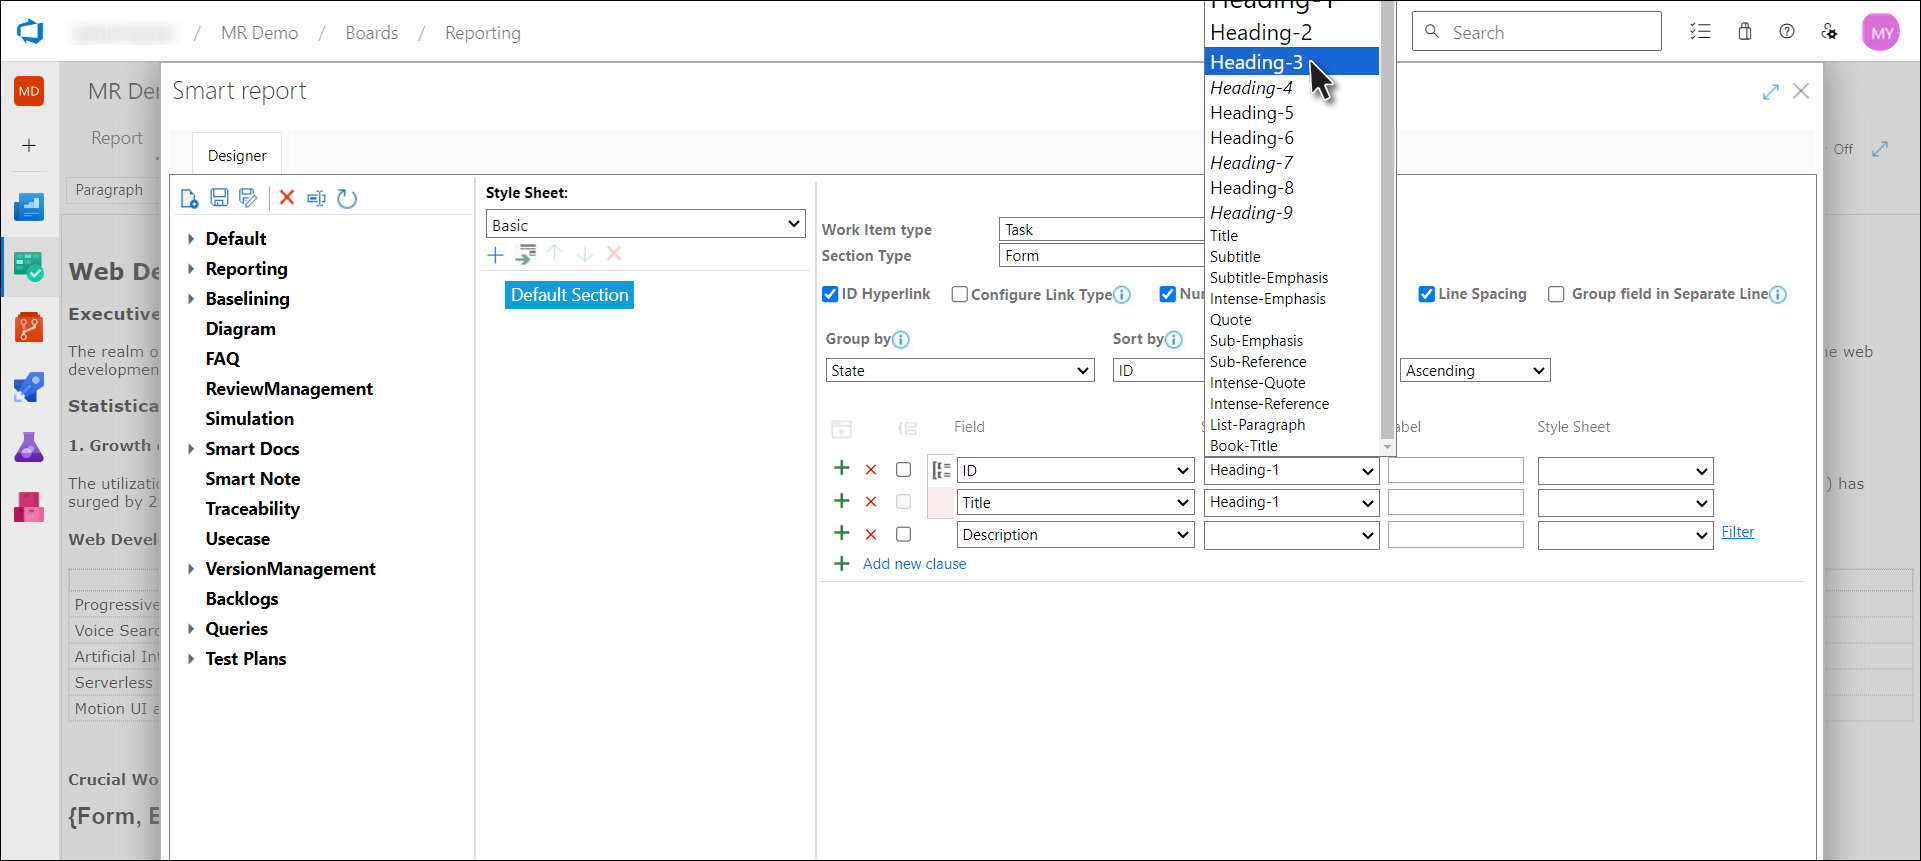
10. Select Style Sheet for the field.
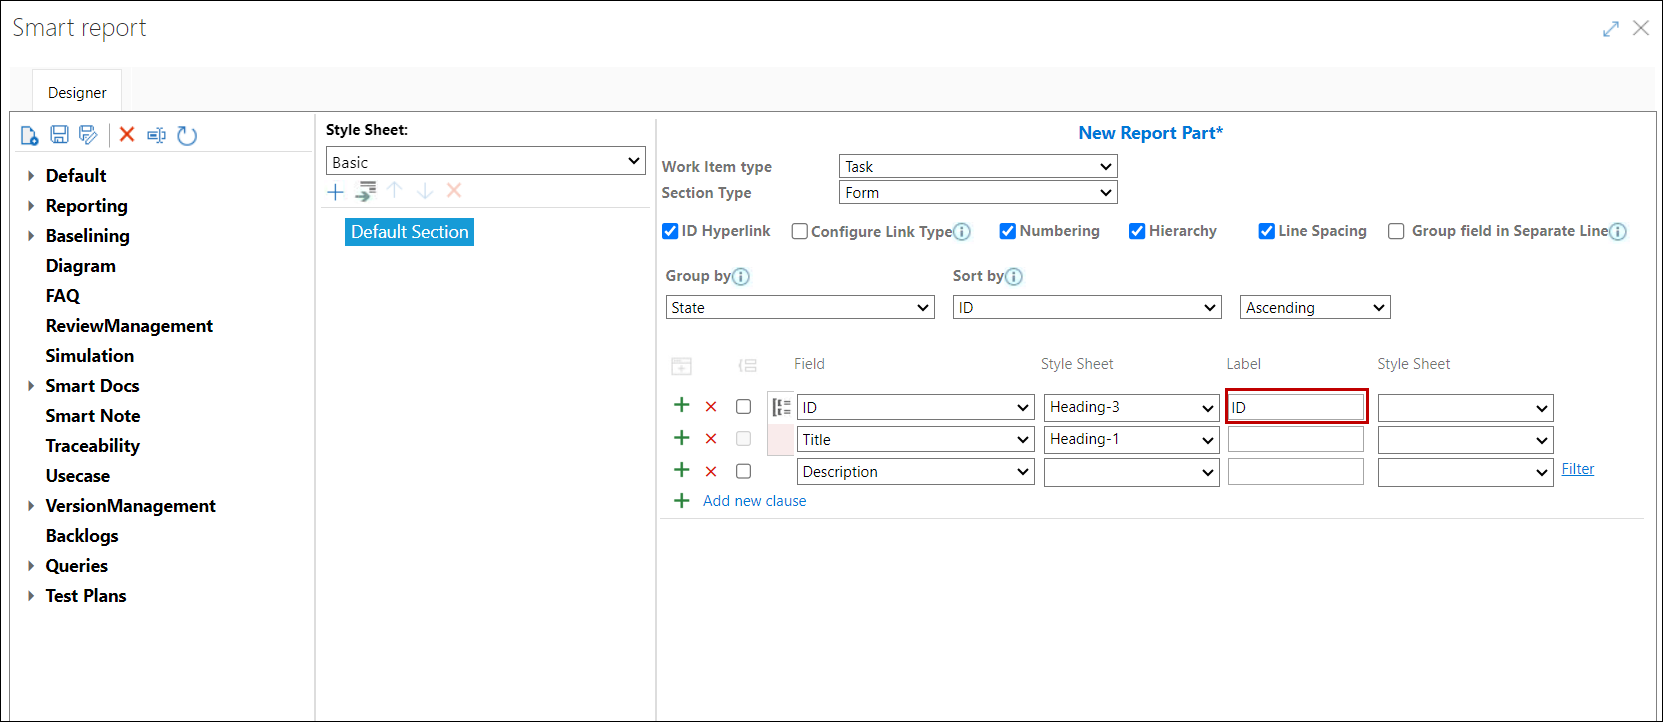
11. Enter label for the select field, as it should appear in the report.
12. Select the desired style sheet to determine how to show the selected field's label.
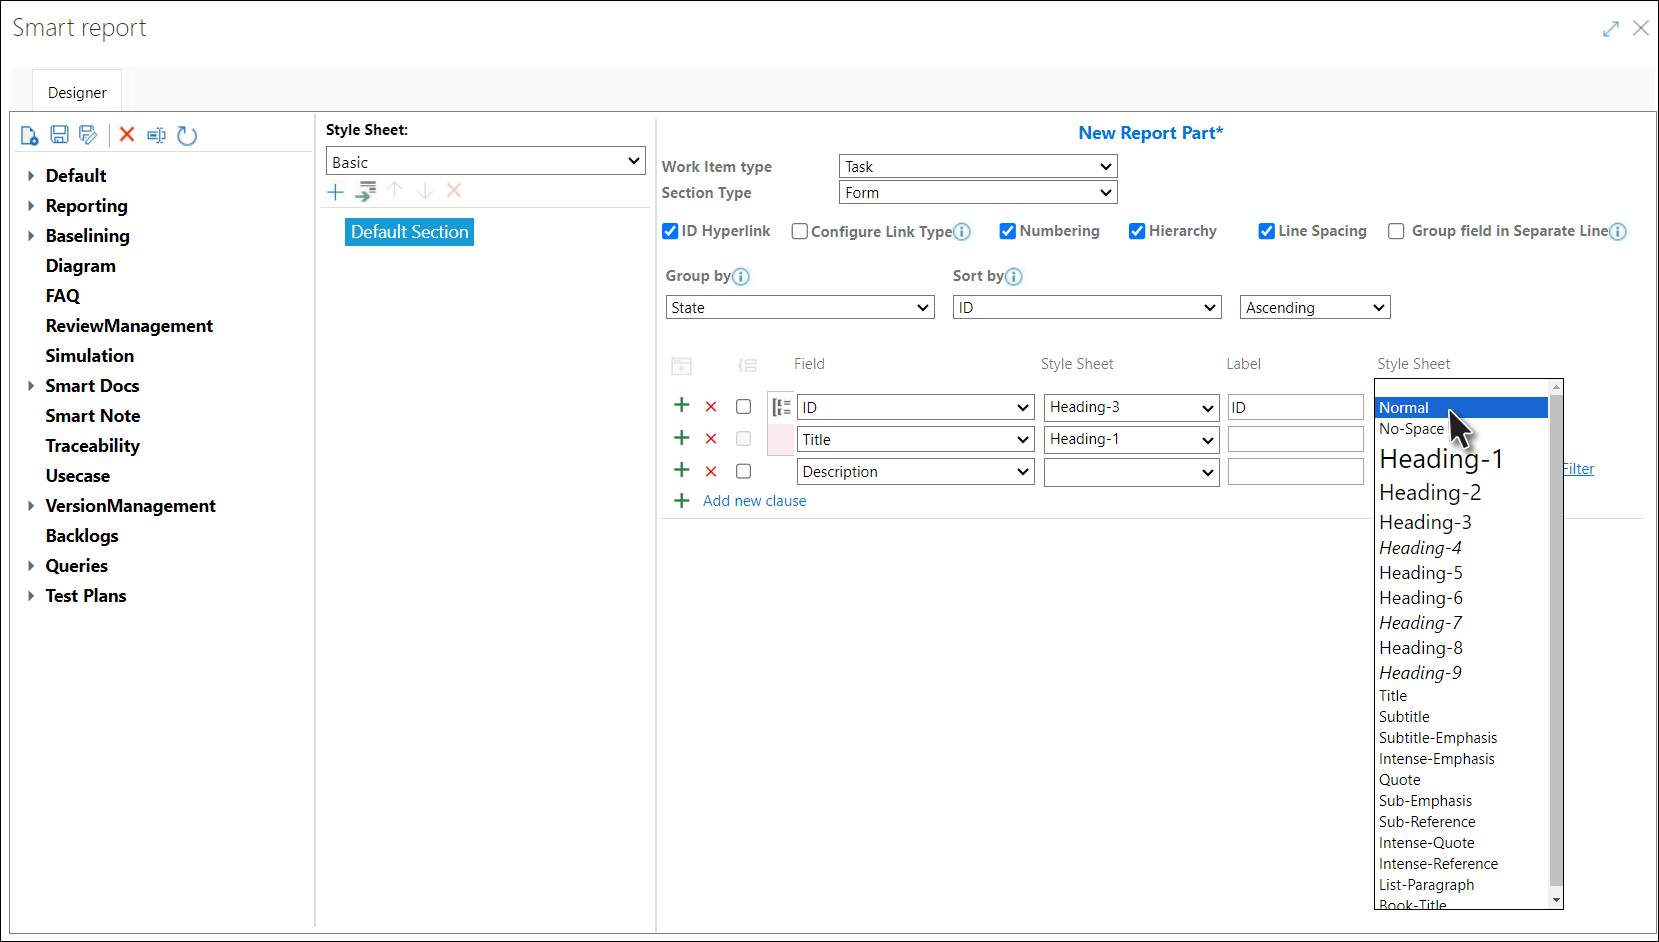
13. Repeat the process for all fields that are to be shown in the report.
14. Click the Save * option.
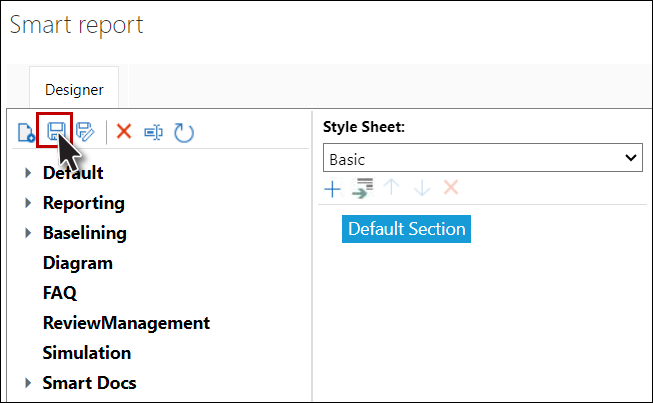
* Save As option is discussed at the bottom.
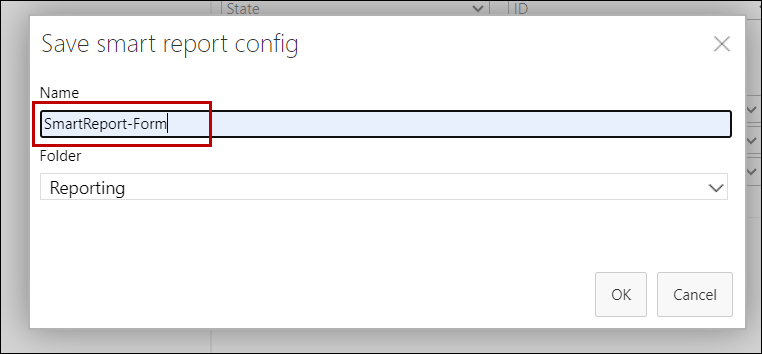
15. Enter a suitable name for the report.
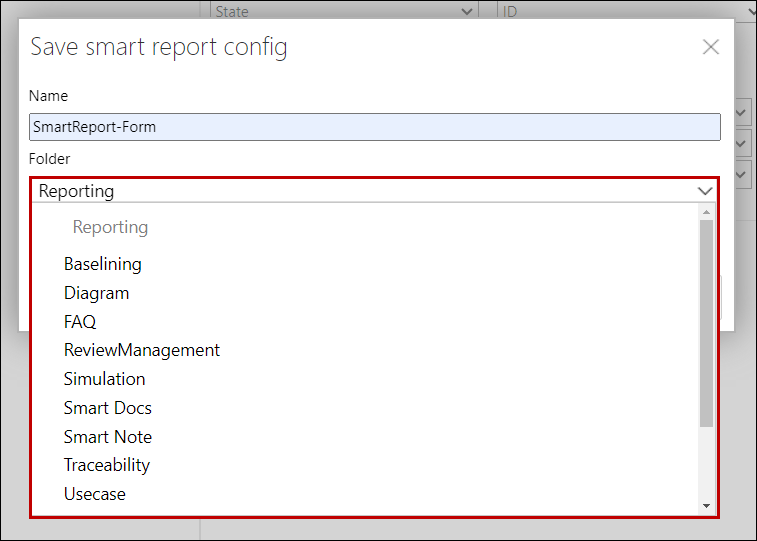
16. Select desired folder.
17. Click the OK Button.
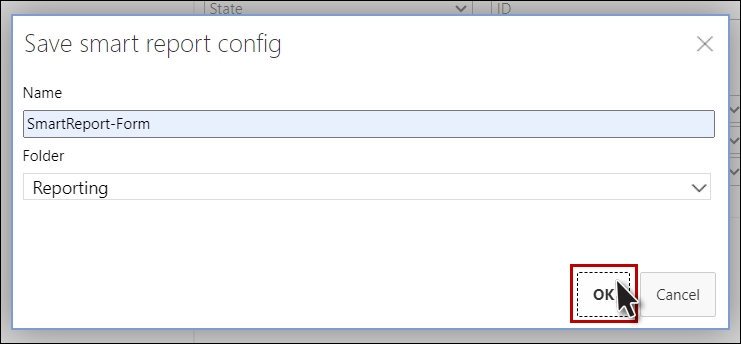
• The report is created.
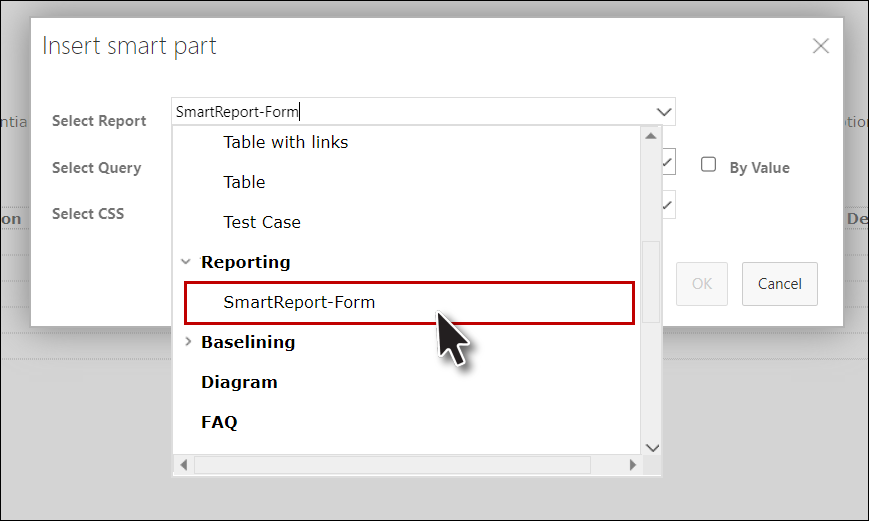
• The report also becomes accessible through the Insert Smart Part option.
• *Save option gets enabled if New file has been created while Save As option get enabled for any changes that occur in default templates or previously created reports. These options use to save the report, the choice is given to user to select desired folder for saving the report.